Checklist for Migrating SBC Routing to the ARM
Administrators can use the checklist shown in the following table when migrating SBC routing to the ARM. Tick off the items in the list as you proceed.
The screen shots shown here are of Web interface version 7.2. If you're using Web interface version 7.0 or earlier, refer to earlier versions of this document.
SBC Migration Checklist
|
Item |
SBC-Level |
What should be viewed in the ARM |
||||||||||||||||||
|---|---|---|---|---|---|---|---|---|---|---|---|---|---|---|---|---|---|---|---|---|
|
1 |
Configure the SBC in the way you used to, including all the IP Groups for connectivity with external SIP trunks and PBXs. |
Unrelated to ARM |
||||||||||||||||||
|
2 |
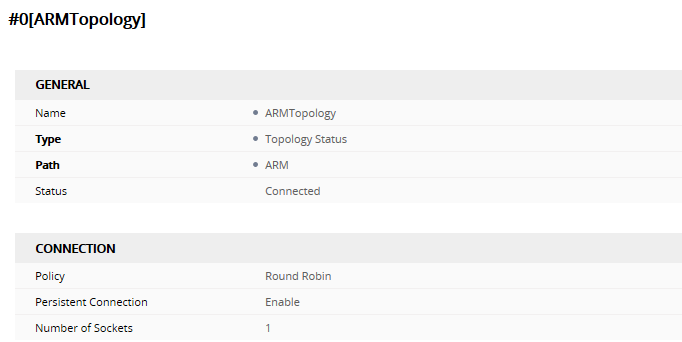
Configure the IP address of the ARM's 'Configurator' Note: Do not configure Routers independently. Only configure 'Configurator' IP address and credentials:
|
View the new Node. Make sure it becomes green-coded, indicating that it's available. |
||||||||||||||||||
|
3 |
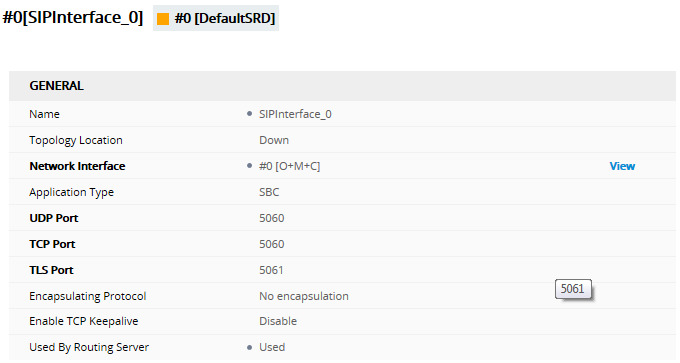
Choose the SIP interfaces you want to use in the ARM (for ARM Peer Connections and ARM Connections) to be 'Used by Routing Server'.
|
You're able to select the chosen SIP Interfaces as ARM 'Routing Interfaces' for ARM Connections between the Nodes (SBCs) |
||||||||||||||||||
|
4 |
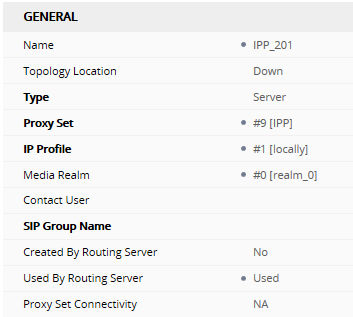
Select each IP Group you want to use in the ARM as a Peer Connection for routing, to be Used by Routing Server. These should be, for example, SIP trunks and connections to IP PBXs.
|
View the selected IP Groups as ARM Peer Connections and attached VoIP Peers. View their availability status (green/red). In the ARM, unlock these Peer connections. |
||||||||||||||||||
|
5 |
At this stage, the ARM does not route calls, though you can apply a ‘test route’ at the ARM level. The Node (SBC) does not send a routing request to the ARM after a SIP invite. |
In the ARM you can now:
|
||||||||||||||||||
|
6 |
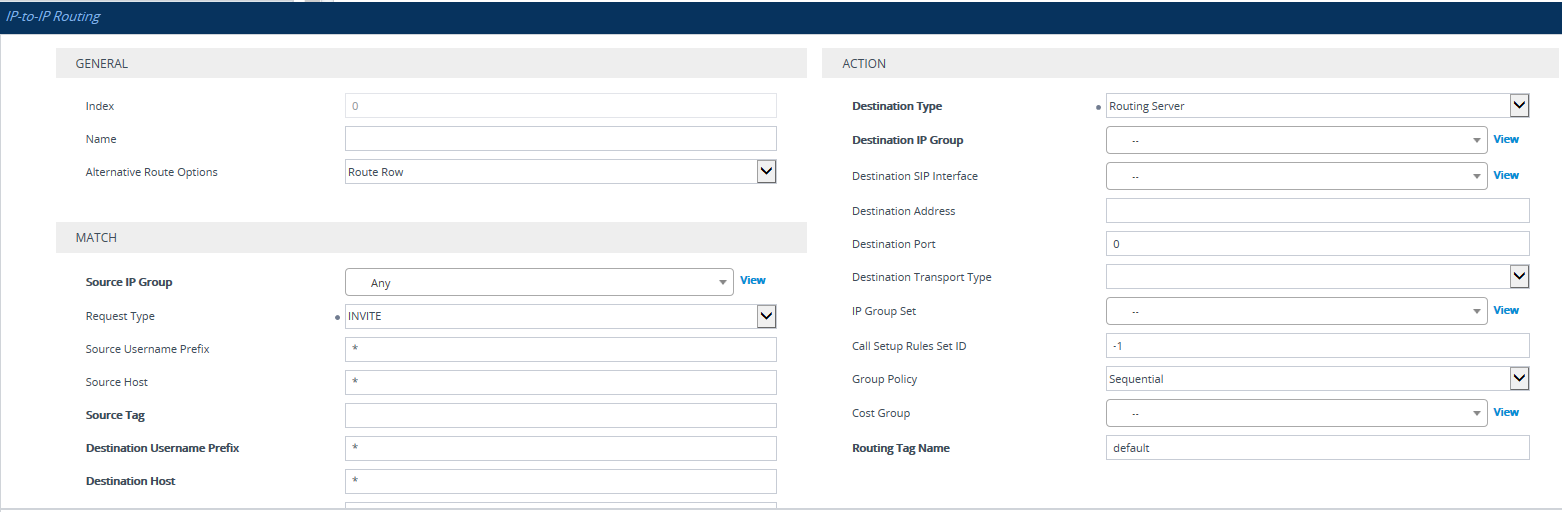
Command the SBC to route calls using the ARM:
|
Calls are now routed by the ARM:
|
||||||||||||||||||
|
7 |
Configure manually using the ini file (or in the 'Admin' Web interface page): SendAcSessionIDHeader = 1 |
Causes the SBC to preserve Call ID when a call passes through several SBCs. |