Set a Service Provider Configuration
You can customize configuration for specific device types managed at the Service Provider level using the following methods:
| ■ | Using the Features button to apply extensively used features on specific phone models. For example, configure Automatic DST for Teams on C470HD phones. |
| ■ | Configuring individual parameters on specific phone models. For example, enable SSH on Teams devices. |
| ➢ | To set a Service Provider configuration: |
| 1. | Open the Service Provider Configuration page (Setup > Configuration > Service Provider Configuration). |
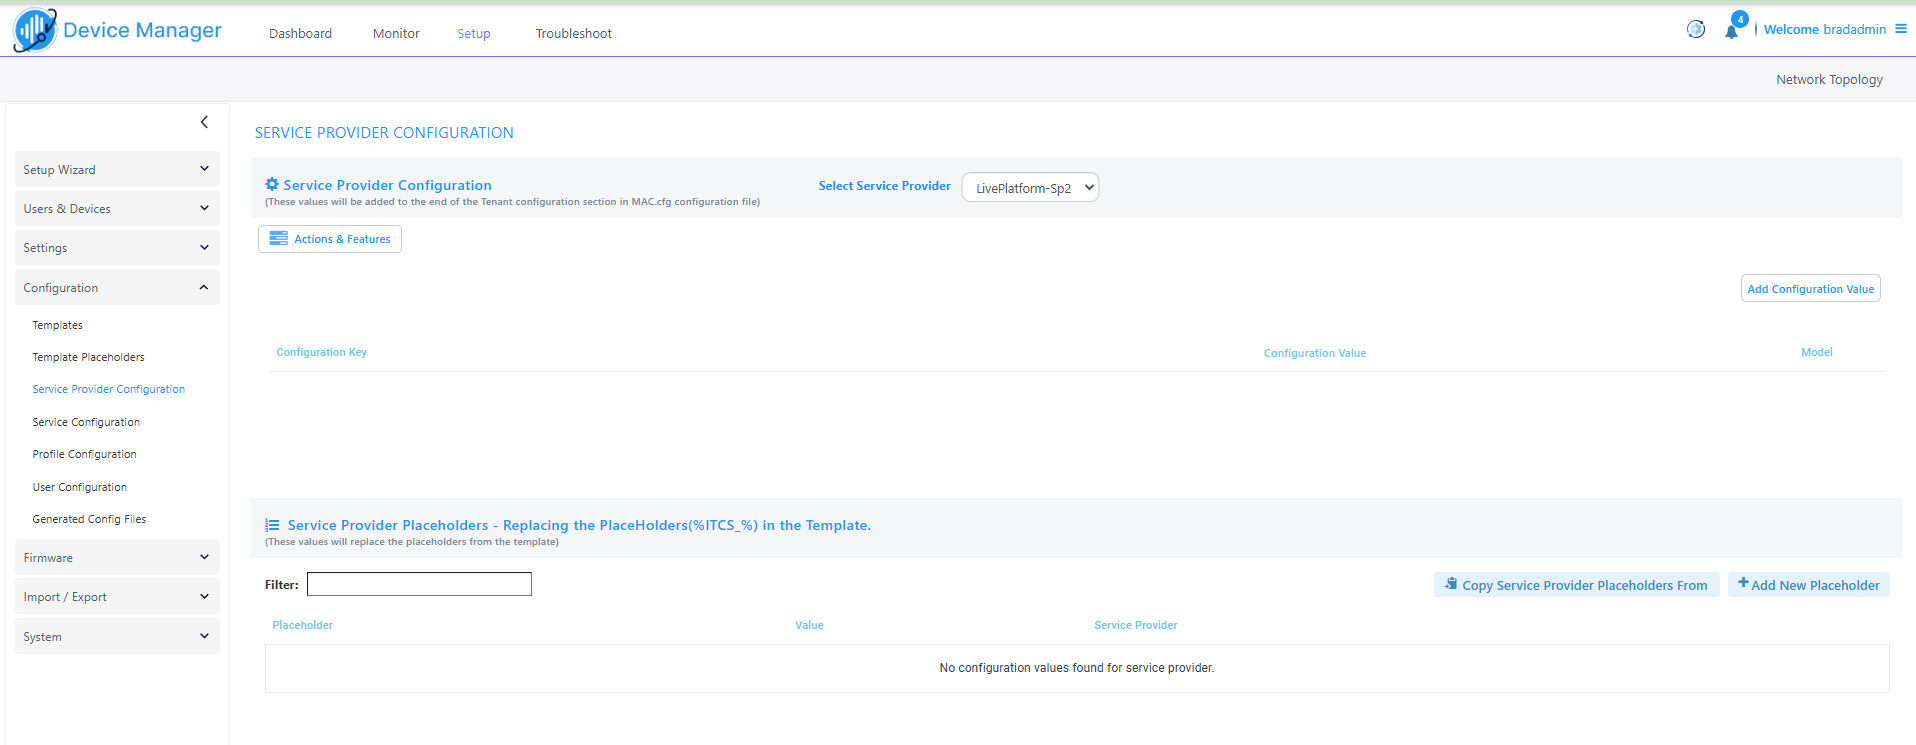
| 2. | From the Select Service Provider drop-down, choose the relevant service provider. |
| 3. | Click Actions & Features to perform global configuration for specific phone models. |
| ● | Open the Features drop-down and then choose the relevant feature. |

|
Feature |
Description |
|---|---|
|
DST for IGS |
Configure Day Light Savings for IGS Phones. |
|
DST for Teams |
Configure Day Light Savings for Microsoft Teams phones. |
|
Pin Lock |
Configure Personal Identification Number (PIN) to unlock your device. |
|
CAP Profile |
Configure the CAP (Common Area Phone) profile. |
|
SIP App |
Configure the SIP App for Emergency Calling. |
| ● | Open the Actions drop-down and then choose the relevant action. |

|
Action |
Description |
|---|---|
|
Copy & Save Configuration
|
Copy a configuration and apply it to the selected users. |
|
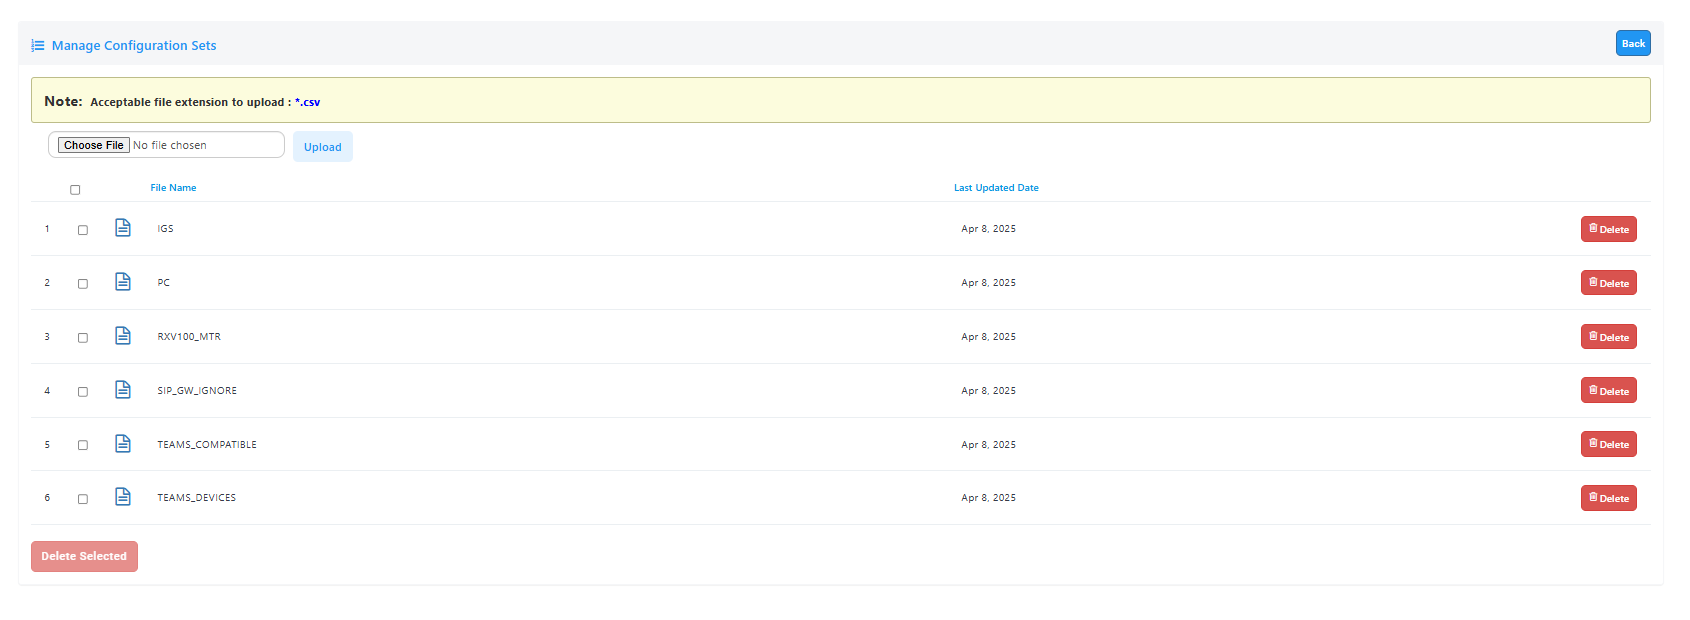
Manage Configuration Sets |
Upload Device Configuration files from an external location.
|
| 4. | Click the Add Configuration Value button. |
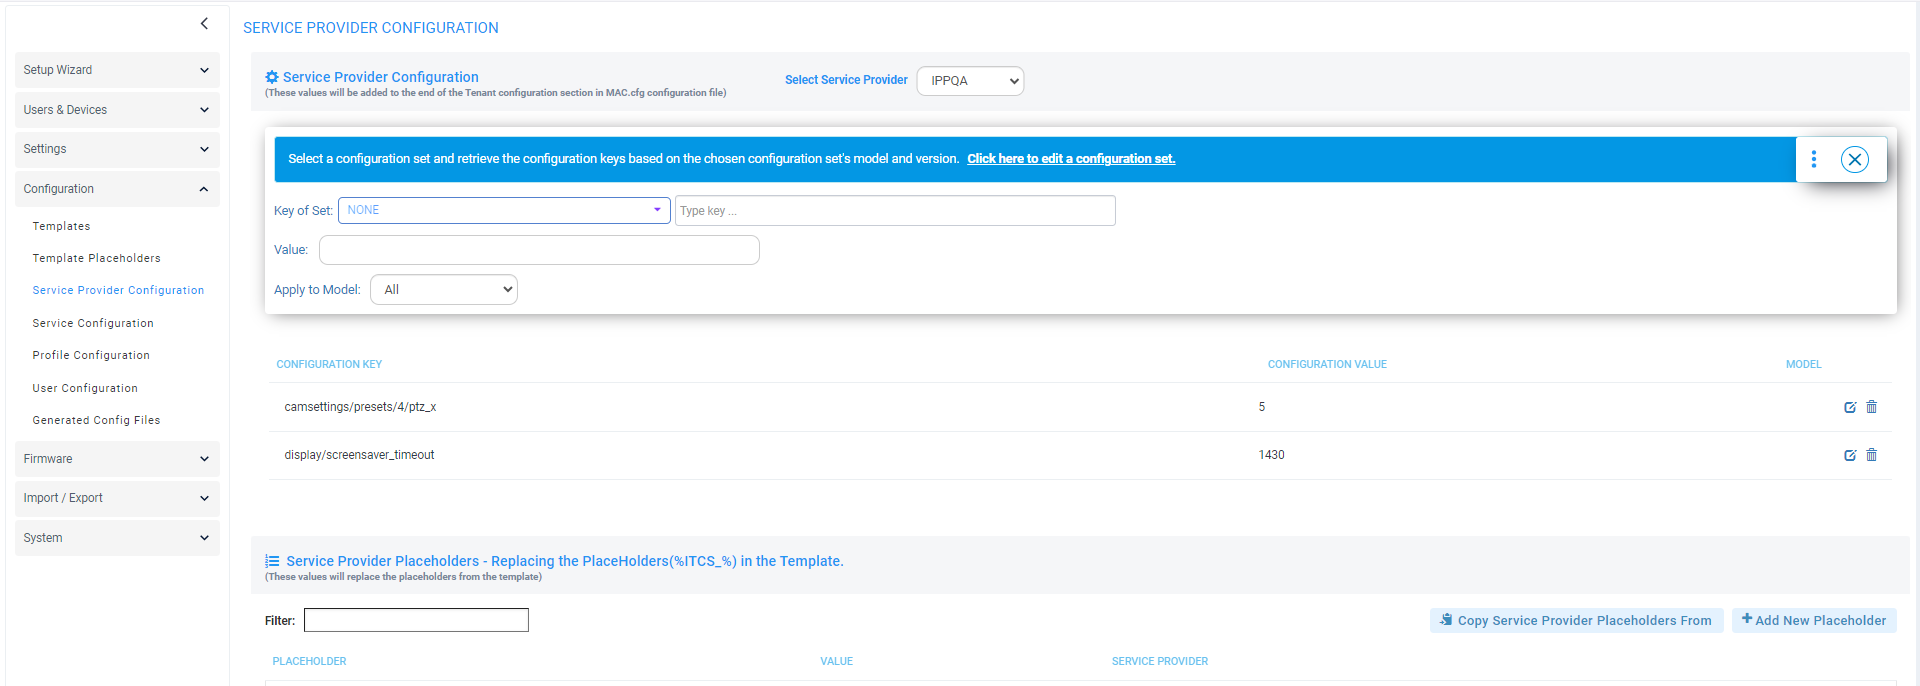
| 5. | Configure the parameters using the table below as reference. |
|
Parameter |
Description |
|---|---|
|
Configuration Set |
Defines a group of parameters associated with a specific device model. From the drop-down, select the configuration set of the device to update/change at the Service Provider level. |
|
Configuration Key |
Enter the key for the parameter you want to change, for example, display/language. You can optionally later edit | delete your entry in the screen section below this parameter. |
|
Configuration Value |
Enter the value for the parameter you want to change, for example, en-US. |
| 6. | Under the ‘Service Provider Placeholders’ section, enter a ‘Filter’ to facilitate quickly locating an entry in the list, if necessary. |
| 7. | Do one of the following: |
| ● | Add a New Placeholder: |
| i. | Click the +Add New Placeholder button. |
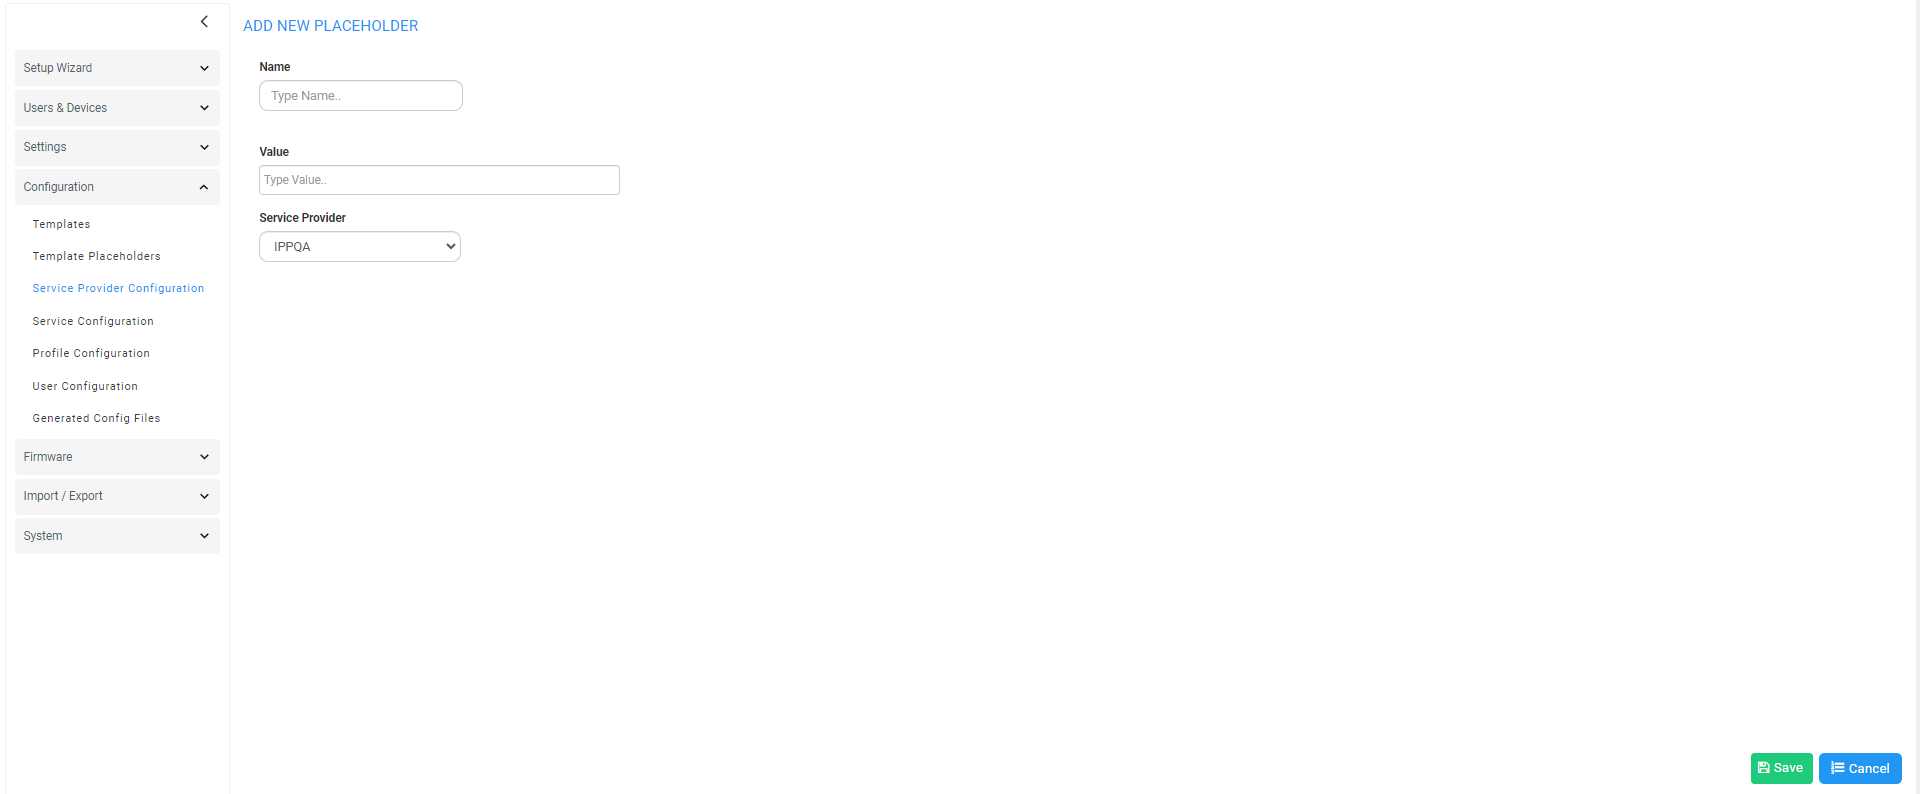
| ii. | From the 'Name' drop-down, select the name of the new placeholder. |
| iii. | In the 'Value' field, enter the value of the new placeholder. |
| iv. | From the ‘Service Provider' drop-down, select a new Service Provider. |
| v. | Click Save; the new placeholder is added to the page. |
| ● | Copy placeholder from another Service Provider configuration: |
| i. | Click the Copy Service Provider Placeholders From button. |
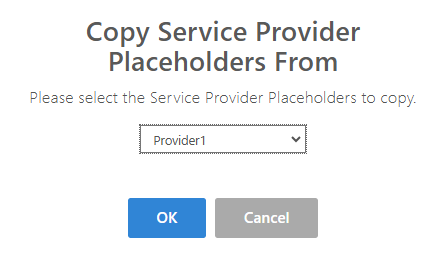
| ii. | From the drop-down, choose the relevant provider and then click OK. |