Managing Zoom Phone Leads
Once you create a new lead in zoom.us app it is displayed in the Customer Leads page. You can then apply license to the lead.
| ➢ | To manage qualified leads: |
| 1. | From the Customer Actions drop-down list, select Zoom > Open Qualified Leads Page. |
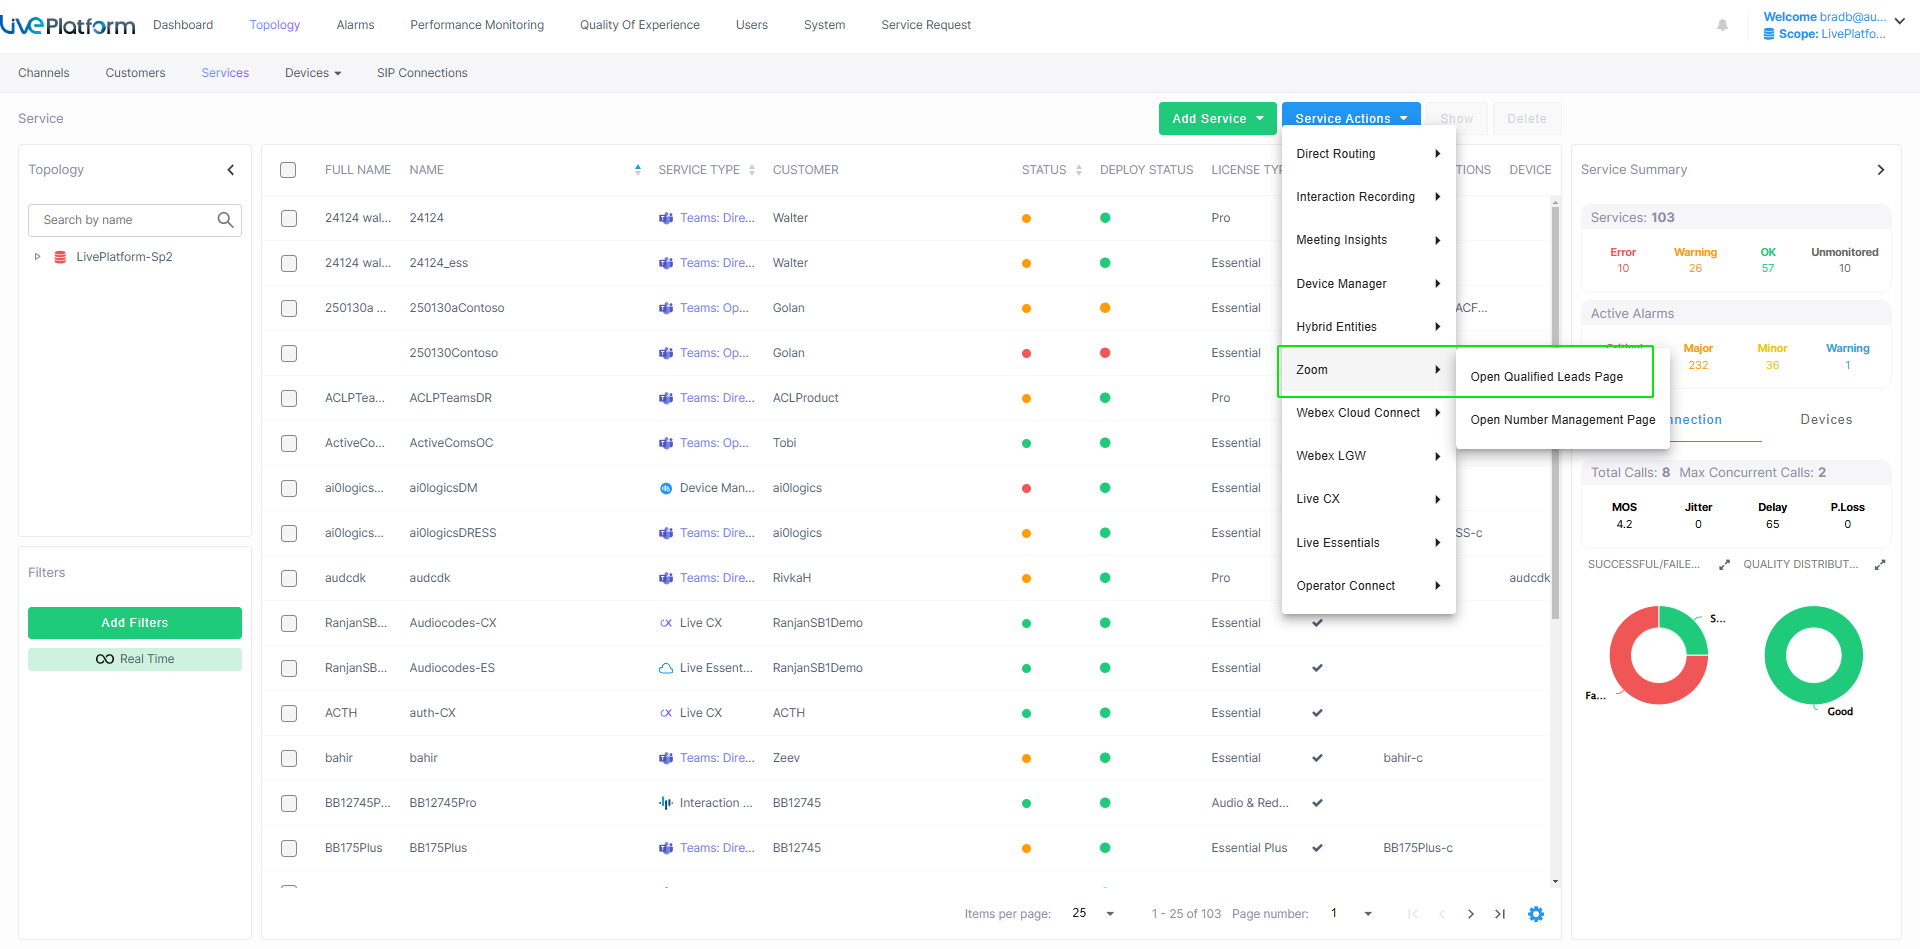
| 2. | From the Tenant drop-down list, choose the Service Provider tenant and then click Select. |
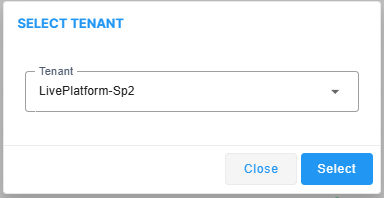
The Customer Leads page is displayed.

| 3. | Select the All Customers tab to view a list of all customers. |
The following table describes the customer details.
Customer Details
|
Lead Field |
Description |
|||||||||||||||
|---|---|---|---|---|---|---|---|---|---|---|---|---|---|---|---|---|
|
Full Name |
The company name. |
|||||||||||||||
|
Service Name |
The name of the service. |
|||||||||||||||
|
Customer |
Then name of the customer. |
|||||||||||||||
|
Size |
Company Size |
|||||||||||||||
|
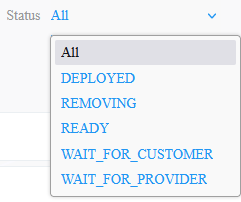
Status |
One of the following:
|
|||||||||||||||
| Zoom Account Number |
Zoom customer account number. |
|||||||||||||||
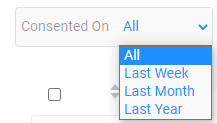
| Consented On |
Date when license is applied to customer lead. |
|||||||||||||||
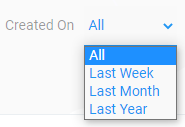
| Last Modified |
Date of last update of the customer account. |
The following table describes the table filters.
Table Filters
|
Filter |
Description |
|||||||||||||||
|---|---|---|---|---|---|---|---|---|---|---|---|---|---|---|---|---|
|
Customer Name/Zoom Account Number |
The name of the customer attached to the service or the Zoom Account Number of the customer. |
|||||||||||||||
|
Consented Date and Created Date |
From the drop-down list, choose one of the following:
|
|||||||||||||||
| Last Modified Date |
From the drop-down list, choose one of the following:
|
|||||||||||||||
| Status |
Deployment statuses:
|