Outbound calling
In a typical bot deployment, Live Hub receives a phone call and connects it to your bot. The outbound calling feature allows a third-party dialer application to initiate a phone call towards a target number and connect this call to your bot. This setup is often used by companies for outbound dialing campaigns, whereby the dialer automatically initiates calls with potential customers. This feature is also termed "dialout".
The basic call flow for outbound calling is as follows:
-
The outbound dialer application sends an HTTPs request to Live Hub, triggering it to make an outbound call to the specified end user.
-
Optionally, Live Hub sends an event to the bot indicating the outbound call initiation, including the parameters of the call (e.g., the called number).
-
Live Hub initiates the outbound call over SIP to the end user.
-
When the end user answers the call, speech-to-text begins and the user’s first utterance (e.g., "Hi") is sent to the bot to trigger its logic (e.g., reply with "Hi there, we are calling from…"). In addition, Live Hub notifies the bot that the call has been answered, by sending it the call-initiation event.
-
Optionally, Live Hub sends the dialer application asynchronous status notifications of the call ("answered", "failed" or "completed") using HTTP.
Additionally, Live Hub can be configured to detect if a human or machine (fax or answering) has answered the call.
The following diagram shows a high-level call-flow for outbound calling:

To enable outbound calling with phone numbers provided by AudioCodes, you must have a Live Hub Essential account and approval from AudioCodes Support.
The default rate limit of outbound calls per bot number is 1 call per second and 3 concurrent calls. If you want to increase this limit, please contact AudioCodes Support.
Here are steps to enabling, using, and testing outbound calls:
Enable outbound calls
The following procedure describes how to enable and configure outbound calling on your bot connections.
-
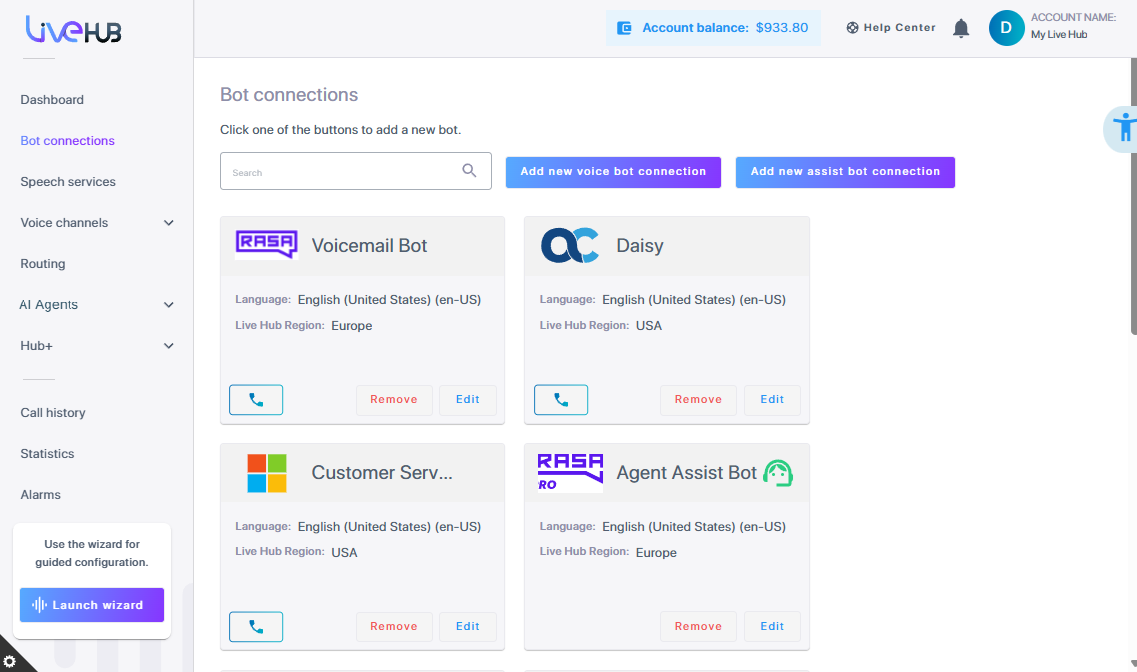
In the Navigation pane, select Bot connections.
-
Click Edit on the bot connection for which you want to enable outbound calling.
-
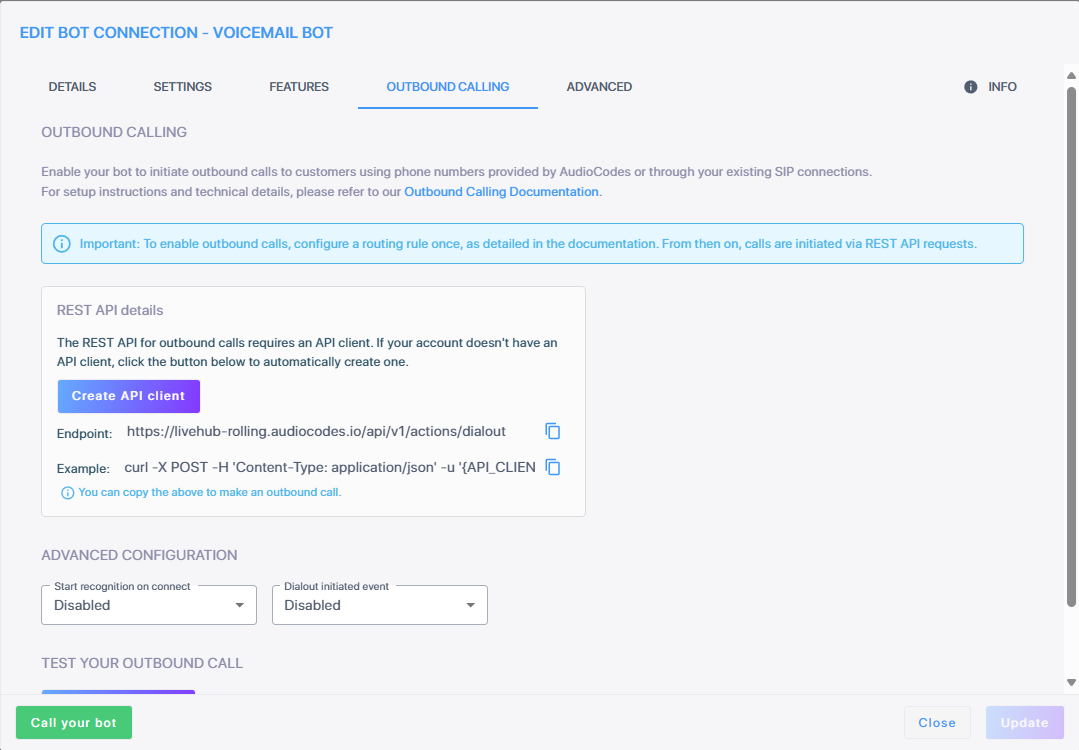
Select the Outbound Calling tab.
-
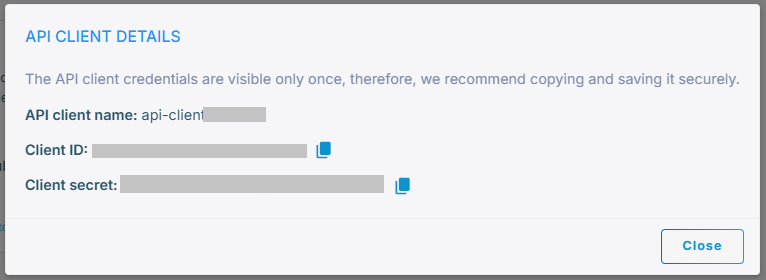
Click Create API client.A client ID and client secret is displayed. Keep this for future use for making a outbound request.
To manually create an API client, got to IAM, create an API client, and assign it to Call Control and Call Data Manager user groups.
-
Under Advanced Configuration', configure additional settings.
-
If you want Live Hub to start recognition (speech-to-text) of the target user's utterances upon initial outbound call connect, then from the 'Start recognition on connect' drop-down list, select Enabled; otherwise, leave it at default (Disabled) so that the bot will not expect any speech from the user upon call connect.
-
From the 'Dialout initiated event' drop-down list, select the appropriate value (i.e., Enabled or Disabled). Each time an outbound call is initiated, an event is sent to the bot. The event is a copy of the START message. By default, this value is disabled.
-
-
Click Update.
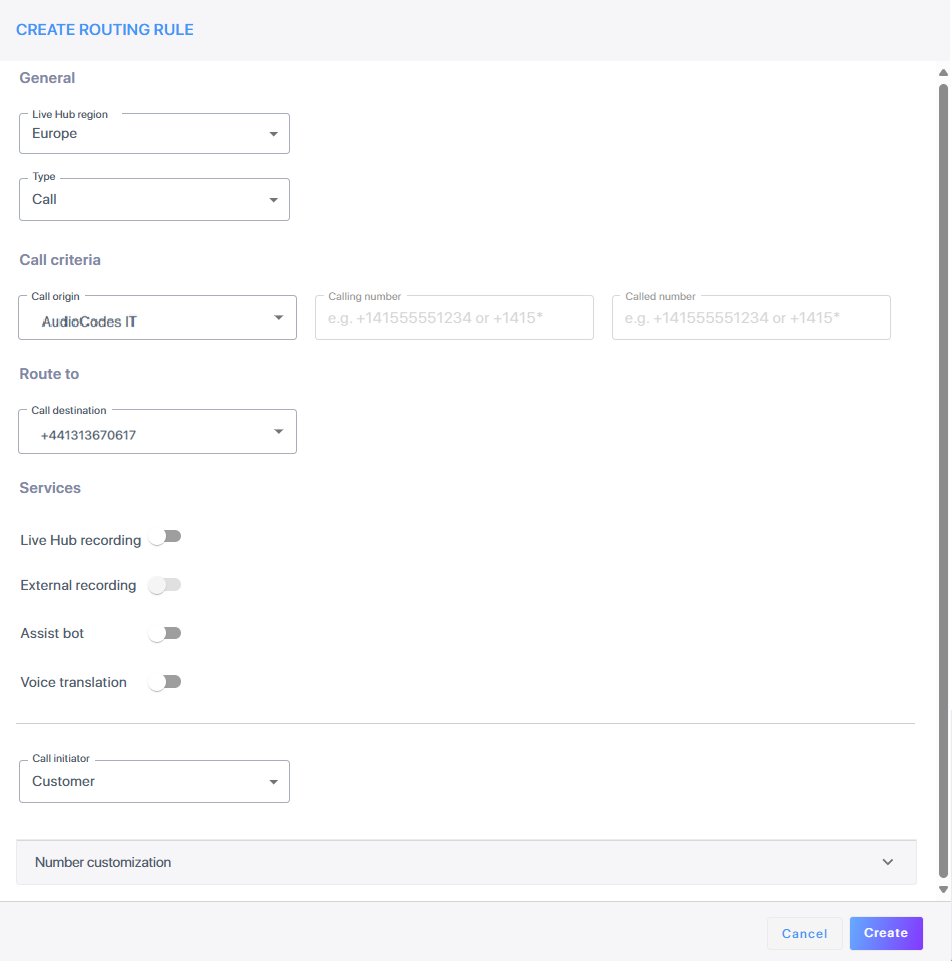
Create a routing rule
To make outbound calls, you must configure a routing rule that specifies how Live Hub connects to the destination set in the dial-out request. The 'Call origin' in the routing rule should be set to the bot connection name, and the 'Route to' option can be customized based on your preferred calling method. You can route calls through a SIP connection or designate a phone number to be used as the calling number for outbound calls.
The following describes the configuration required for configuring a routing rule for outbound calling. For complete instructions for creating routing rules, see information on Add a routing rule.
To configure a routing rule outbound calling:
-
In the Navigation pane, select Routing, and then click the Routing Rules tab.
-
Click Add new routing rule.
-
Under General, from the 'Type' drop-down list, select Call.
-
Under Call criteria, from the 'Call origin' drop-down list, choose the bot.
-
Under Route to, from the 'Call destination' drop-down list, select either SIP connection or designate a phone number to be used as the calling number for outbound calls.
Making an outbound call
-
Creating an API Client.
-
Create an API Client as explained in Add an API Client.
-
Store the Client ID and Client secret in a safe place.
-
Assign the API Client to the “Call Control” predefined user group, as explained in Assign an API Client to a user group.
-
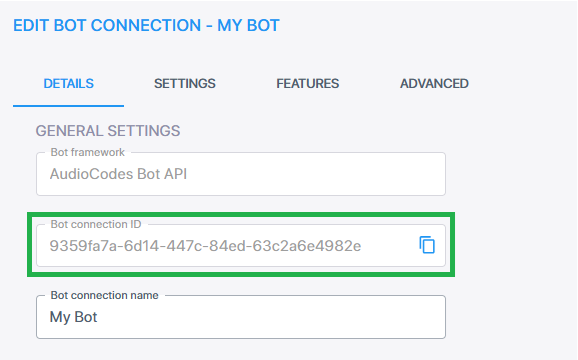
-
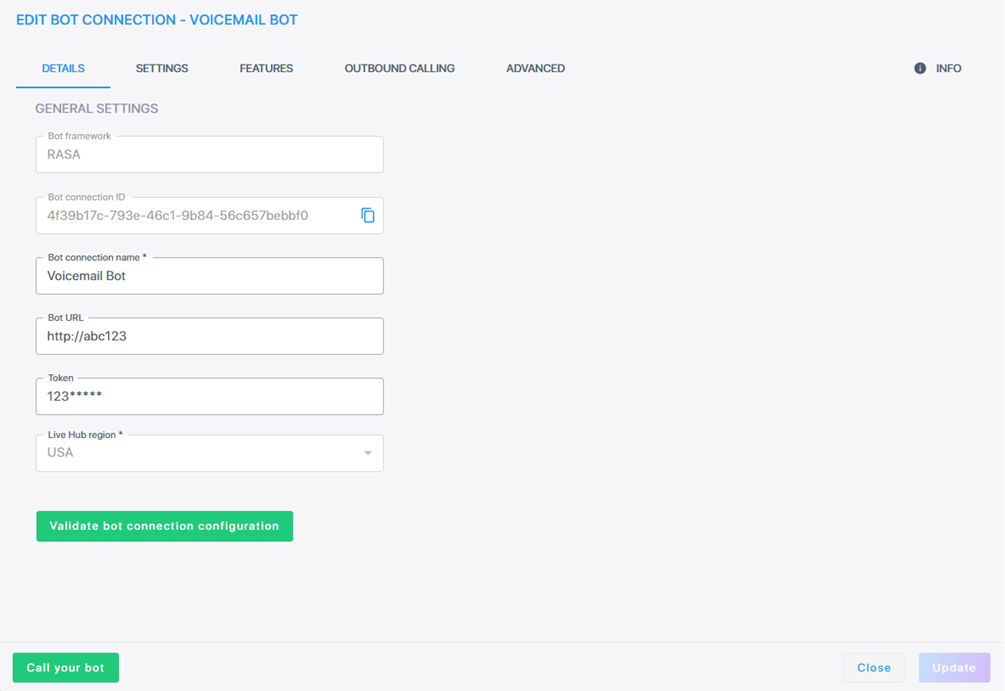
Retrieve the Bot connection ID from the Details tab, as shown below:
-
Make the outbound call using HTTP, as explained in Outbound call initialization and APIs.
-
Use the values of Client ID and Client secret from step 1 for making HTTP Basic authentication. The Client ID and Client secret should be used as the username and password respectively.
-
Use the value of Bot ID from the previous step for populating the 'Bot connection ID' field.
A example of the HTTP POST request:
POST /api/v1/actions/dialout HTTP/1.1 Host: livehub.audiocodes.io Content-Type: application/json;charset=UTF-8 Authorization: BEARER 223d0d870a364a4a { "bot": "BOT_ID", "target": "tel:+123456789" } -
To send a request, you can use the curl command line:
curl -X POST -H "Content-Type: application/json" -u "{CLIENT_ID}:{CLIENT_SECRET}" -d "{ \"bot\": \"{BOT_ID}\", \"target\": \"tel:{DESTINATION_NUMBER}\" }"
-
Test outbound calls
To test outbound calls:
-
In the Outbound calling tab, click Test Outbound Call.
-
In the Test Outbound Call window, enter the target number.
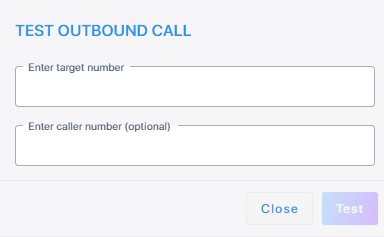
-
Enter the caller number (Optional).
-
Click Test; a message is displayed that the test call has been generated successfully.