Adding credit to your account
When your credit for your Live Hub Essential plan account is running low, you can easily fill it up online through Live Hub.
If you are still a Trial plan account user or your Trial plan has expired, once you add credit to your account, you are automatically upgraded to an Essential plan account.
Your current credit balance is displayed next to your Welcome avatar.
There are three different payment types:
-
Prepaid: With this payment type, you can add credit to your wallet using your credit card. The Administrator can add or change the credit amount, as well as change the billing method to 'Postpaid'. The wallet is displayed on the top-level bar as follows:

-
Postpaid: With this payment type, you are charged at the end of the month manually. At the beginning of each month, the monthly amount to charge starts from zero. Each billable event adds the charge to the monthly amount. The account monthly charge is limited by configuration. When the limit exceeds the amount, the account becomes inactive. The Administrator can change the billing method to 'Prepaid', but cannot add or change the credit amount. The usage amount is displayed on the top-level bar as Monthly usage.

-
Marketplace: With this payment type, the Administrator cannot change the billing method or add or change the credit amount. The payment is charged every hour by Microsoft. No wallet is displayed on the top-level bar.
When an account has been created, the default payment type is Prepaid.
You can only add credit to an account if you have billing privileges (i.e., assigned to IAM-based User Group "Billing Administrator"). For more information, see Overview of users management.
AudioCodes has partnered with BlueSnap, a leading payment gateway for secure transactions. AudioCodes does not store any payment details and is PCI DSS (Payment Card Industry Data Security Standard) certified.
Before you can add credit to your account, you must provide your billing address. Live Hub calculates the tax amount based on this address.
To add credit:
-
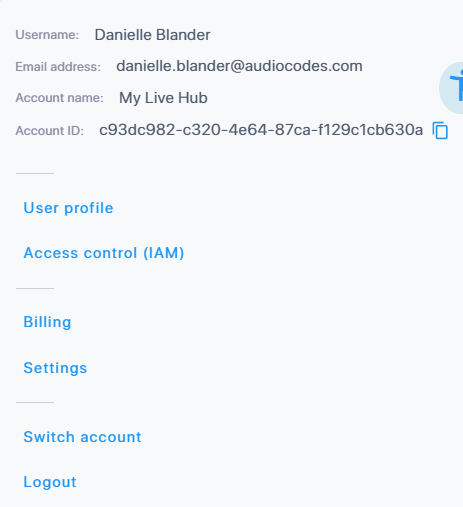
Click your profile icon located in the top-right corner of the Live Hub window; a drop-down menu appears.
-
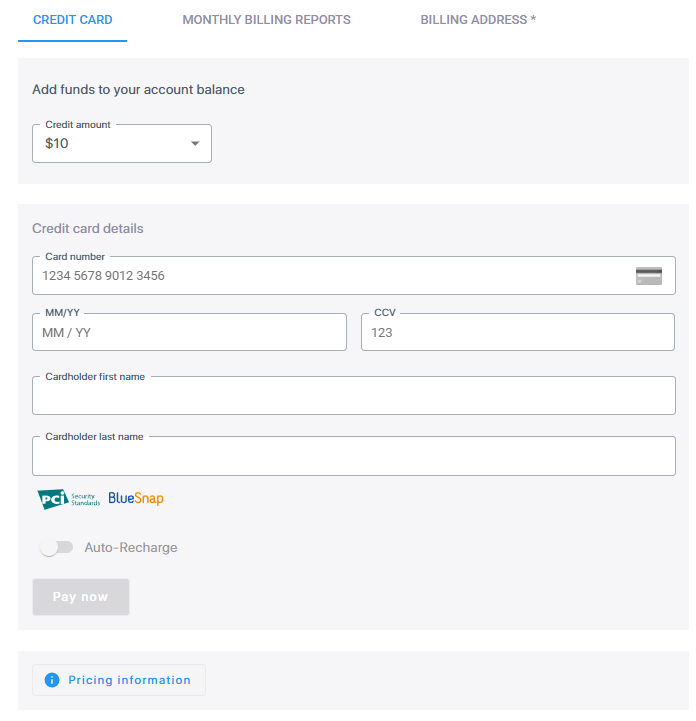
Select Billing. The Credit Card tab is selected, displaying your account plan. If no billing address is provided, you will be prompted to fill it in before continuing.
-
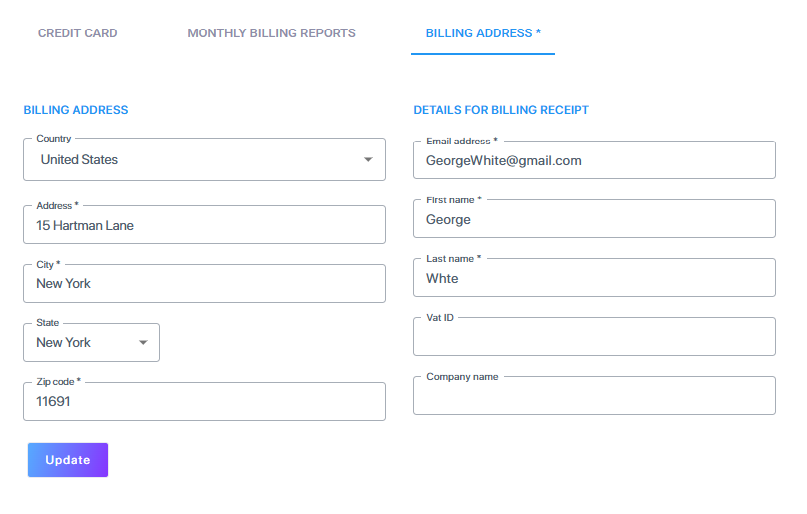
If you haven't provided a billing address, click the billing details link, and then enter your billing address in the opened page:
-
Click Update to apply your billing address. You can at anytime update your billing address, as described in Update your billing address and receipt details.
-
From the 'Credit Amount' drop-down list, select the amount (in US dollars) that you want to add. The tax that you will be charged in addition to the selected credit is displayed below the field. If you want to view AudioCodes Live Hub pricing, click the Pricing info link located at the bottom of the page.
-
Under Credit card details, enter your credit card details.
-
Click Pay now; a message appears advising you that a tax amount will be charged based on your billing address.
-
Click Yes to confirm; a message appears advising you that your payment was successful and that money has been added to your account balance.
-
When you have configured your credit details, click Pay Now; a message appears informing you that the payment was successful
-
Click Yes to proceed; an email is sent advising you that credit was added to your account. If you do not want to proceed, click No.