Changing OAMP Address through Web Interface
You can change the device's default OAMP networking address through the Web-based management tool (Web interface). The default IP address is used to initially access the device.
|
➢
|
To change the default OAMP network address through Web interface: |
|
1.
|
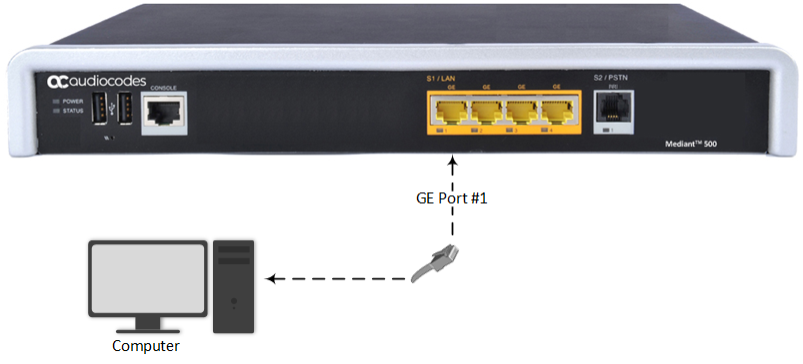
Connect Port 1 (left-most LAN port) located on the front panel directly to the network interface of your computer, using a straight-through Ethernet cable. |
|
2.
|
Change the IP settings of your computer to correspond with the default OAMP IP address and subnet mask of the device.
|
|
3.
|
Access the Web interface: |
|
a.
|
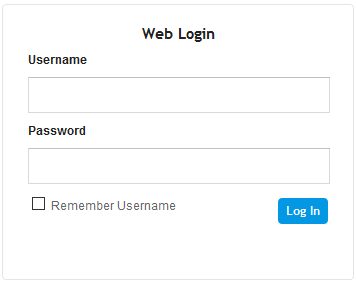
On your computer, start a Web browser and in the URL address field, enter the default IP address of the device; the Web interface's Web Login screen appears: |
|
b.
|
In the 'Username' and 'Password' fields, enter the case-sensitive, default login username ("Admin") and password ("Admin"). |
|
4.
|
Configure the Ethernet port(s) that you want to use for the OAMP interface:
|
|
a.
|
In the Ethernet Groups table, configure an Ethernet Group by assigning it up to two ports (two ports provide optional, port-pair redundancy). For more information, see Configuring Physical Ethernet Ports.
|
|
5.
|
Modify the OAMP interface address to suite your network environment: |
|
b.
|
Select the OAMP interface ("O+M+C"), and then click Edit. |
|
c.
|
From the 'Ethernet Device' drop-down list, select the Ethernet Device that you configured in the previous step.
|
|
d.
|
Under the IP Address group, change the IP address to correspond with your network IP addressing scheme. |
|
e.
|
Under the DNS group, configure the DNS server, if required. |
|
f.
|
Click Apply; the new OAMP address is applied to the device and your connectivity to the device's Web interface at its previous OAMP address is now lost. |
|
6.
|
Change the IP settings of your computer to correspond with the new OAMP IP address and subnet mask that you assigned the device. |
|
7.
|
Access the device using the new OAMP IP address, and then on the Web interface's toolbar, click the Save button. |
|
8.
|
Re-cable the device to the desired network. Your can now access the device's management interfaces using the new OAMP address. |