Configuring OAuth Servers for User Login Authentication
The Login OAuth Servers table lets you configure a single interface (Entra ID tenant) with the OAuth 2.0 server for OAuth-based user login authentication. OAuth-based login authentication is applicable to the device's web interface, CLI, and REST API.
The following procedure describes how to configure the OAuth server through the Web interface. You can also configure it through ini file [LoginOAuthServers] or CLI (configure system > login-oauth-servers).
| ➢ | To configure an OAuth server for user login authentication: |
| 1. | Open the Login OAuth Servers table (Setup menu > Administration tab > Web & CLI folder > Login OAuth Servers). |
| 2. | Click New; the following dialog box appears: |
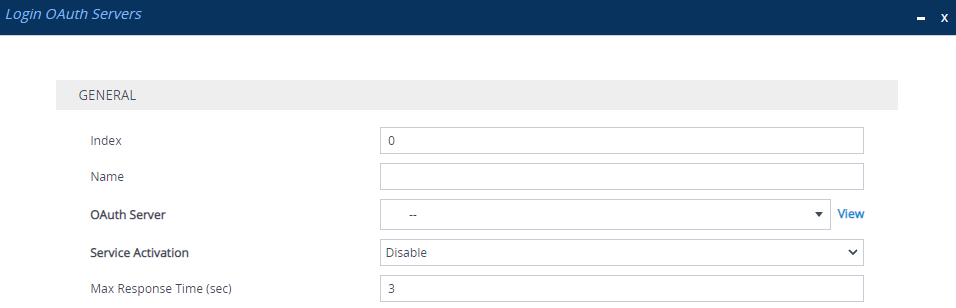
| 3. | Configure the login OAuth server according to the parameters described in the table below. |
| 4. | Click Apply. |
Login OAuth Servers Table Parameter Descriptions
|
Parameter |
Description |
||||||
|---|---|---|---|---|---|---|---|
|
'Index' [Index] |
Defines an index number for the new table row. Note: Each row must be configured with a unique index. |
||||||
|
'Name' server-name [Name] |
Defines an arbitrary name to easily identify the row (tenant ID). The valid value is a string of up to 20 characters. By default, no value is defined. Note: Configure each row with a unique name. |
||||||
|
'OAuth Server' oauth-server [OAuthServer] |
Assigns an OAuth server, which is configured in the OAuth Servers table (see Configuring OAuth 2.0 Servers). By default, no value is defined. |
||||||
|
'Service Activation' service-activation [ServiceActivation] |
Enables this OAuth-based login authentication rule.
|
||||||
|
'Max Response Time' max-resp-time [MaxRespTime] |
Defines the maximum time (in seconds) that the device waits for a response from the OAuth server. If no response is received within this period, the device considers it a response timeout (and no retries are done). The valid value is 1 to 30. The default is 3. |