Create and Register the Azure App
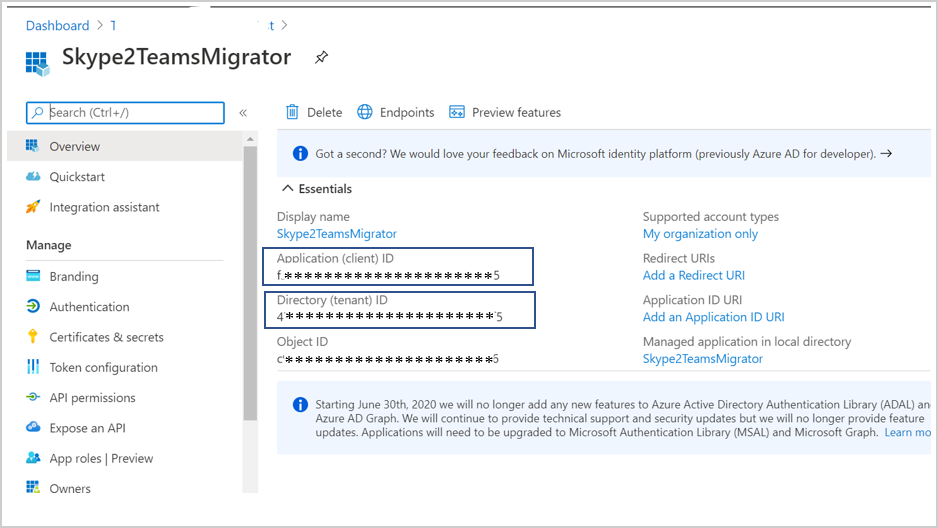
Create App Registration in Azure AD and note application (client) ID and Directory (tenant) ID for the later install steps. This procedure should be performed with tenant administrator user permissions.
|
➢
|
To register and Azure AD App Registration: |
|
1.
|
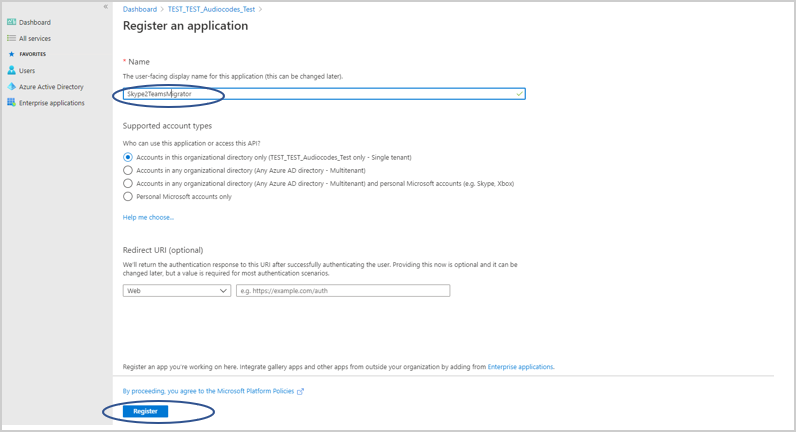
Sign-in to Azure portal and create a new App registration (Azure Active Directory > App registrations > New registration). |
|
2.
|
Add a name for the new application and under Supported account types, select “Accounts in thisorganizational directory only – single tenant”. |
|
3.
|
Select Register and note the Application ID for the following steps. |
|
4.
|
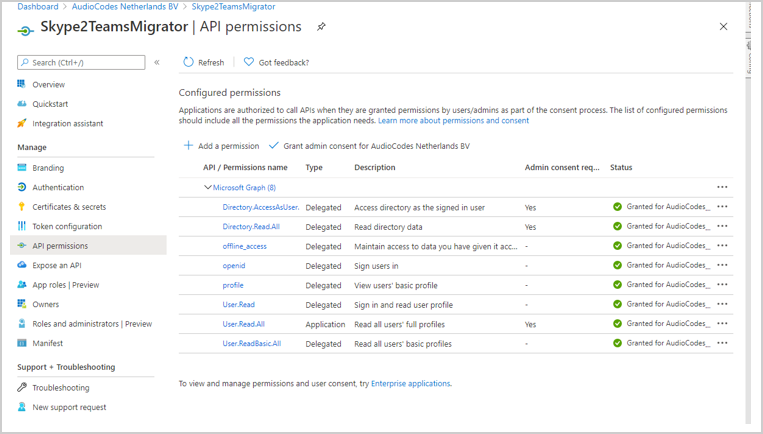
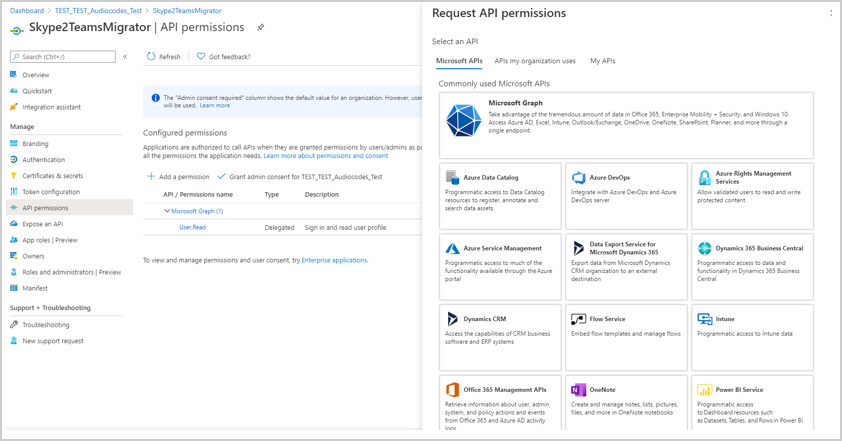
In the Navigation pane, select API Permissions. |
|
5.
|
Click Add a permission and then select the Microsoft Graph tab. |
|
6.
|
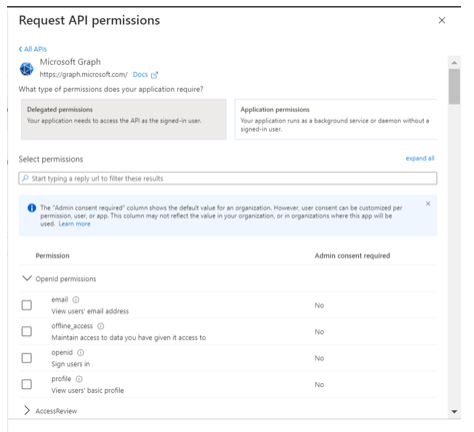
Select Delegated Permission. |
|
7.
|
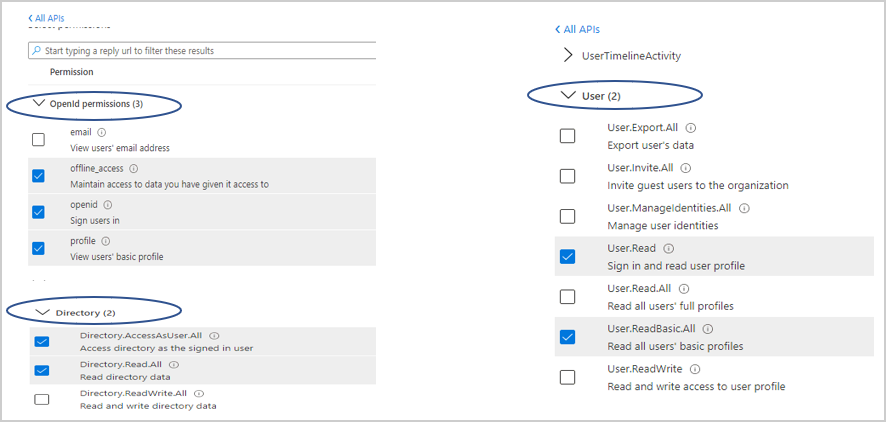
Select the following Delegation Permissions: |
|
◆
|
Directory.AccessAsUser.All |
|
8.
|
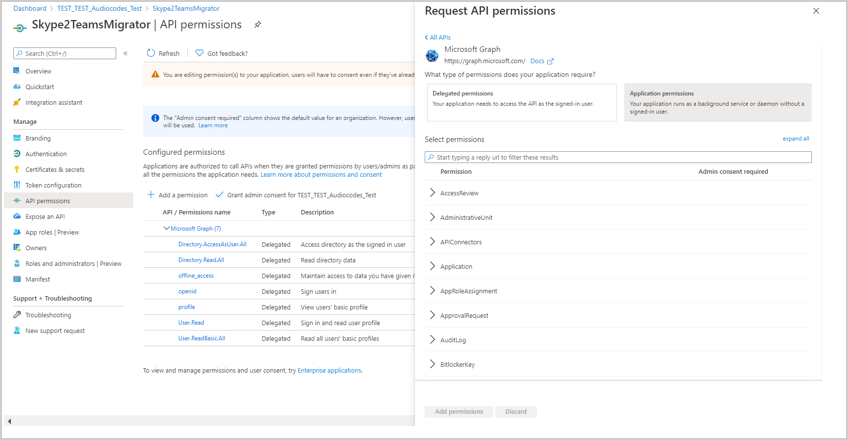
Select the “Grant admin consent for…” and then select yes. |
If the App hasn't been granted admin consent, users are prompted to grant consent the first time they use the App.
|
9.
|
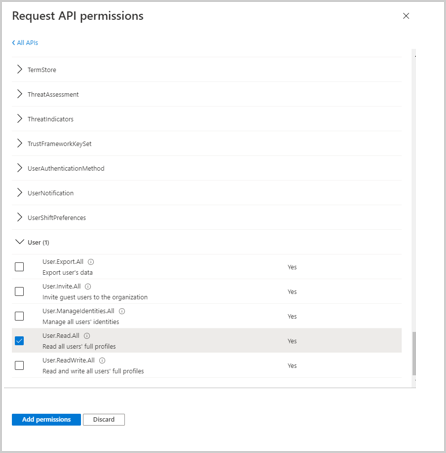
Select Application permissions. |
|
10.
|
Select the following Application permissions. |
|
11.
|
Review all permissions. |