Call Recordings
The Call Recordings tab is available only for tenants that have CIC2 or CIC3 configured as a built-in option.
|
1.
|
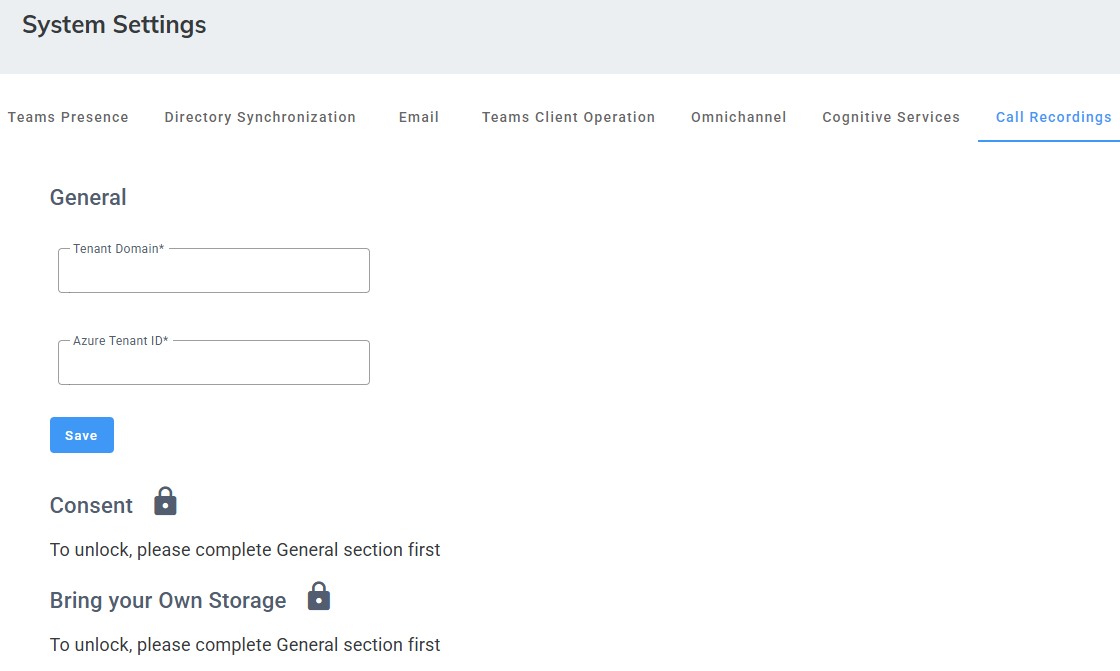
Open the System Settings page (Configuration > System Settings > Call Recordings). |
|
2.
|
Under 'General' field, enter the Tenant Domain and Azure Tenant ID. |
|
3.
|
Click Save. After saving, you need to complete three consent actions. |
|
4.
|
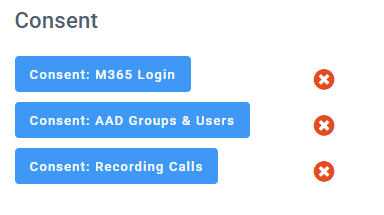
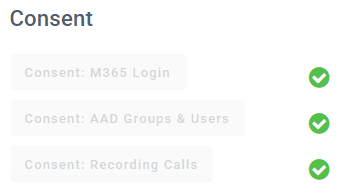
Click each of the buttons below and complete the Microsoft consent process. These consents are mandatory to enable call functionality in the customer’s environment. |
|
●
|
Consent: AAD Groups & Users |
|
●
|
Consent: Recording Calls
|
|
5.
|
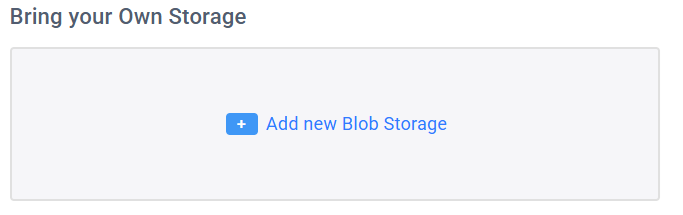
Once completed, you can optionally configure your own storage (up to 10). |
|
6.
|
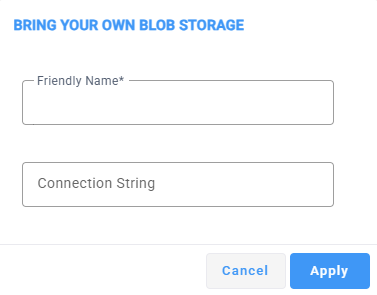
Click Add new Blob Storage. |
|
7.
|
Click Save Changes to save your changes. |
|
8.
|
In the 'Friendly Name' field, enter a name for your storage. |
|
9.
|
Enter a connection string.An Azure Blob Storage connection string is a text value that specifies how your application connects to a specific storage account, including its location and authentication details. |