Configuring Department Prompts
The procedure below describes how to configure a Department audio prompt for the Voca service. You can use an existing default prompt, upload a prompt or record a new prompt.
|
➢
|
To use the default department prompt: |
|
1.
|
Open the Department menu and click on the required department (Departments > {department Dictionary name}). |
|
2.
|
Click on the Department List menu. |
|
3.
|
Select the department you wish to edit by selecting the Department check box. |
|
4.
|
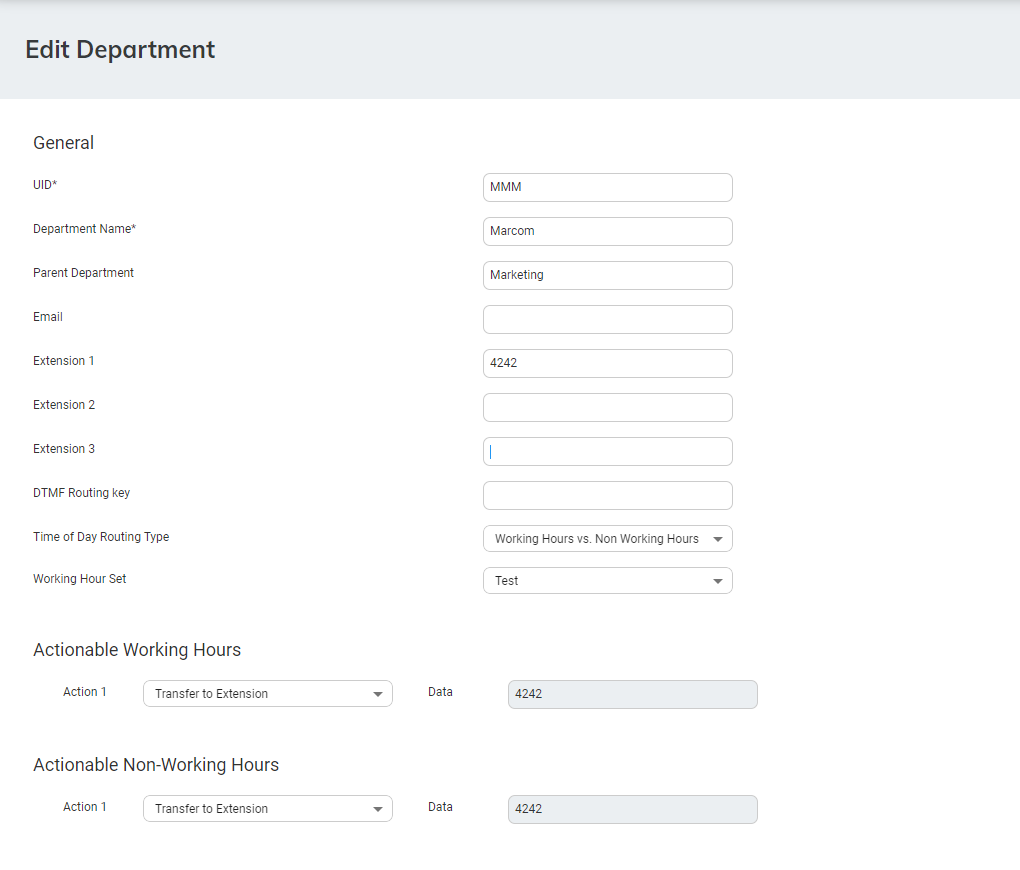
From the ‘Actions’ drop-down list, select Edit Department; the following appears: |
|
5.
|
Under the Prompts group, select 'default' to use a pre-existing prompt. |
|
1.
|
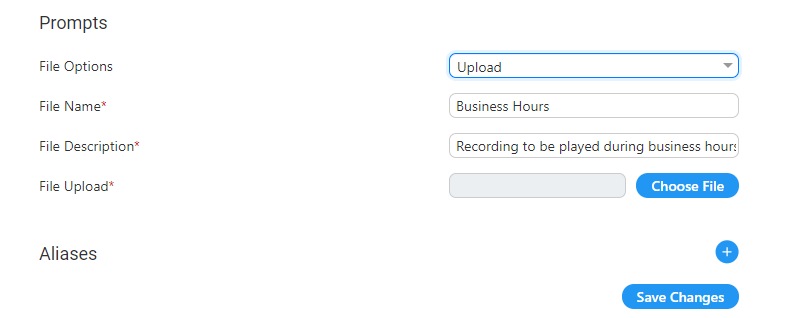
From the 'File Options' drop-down list, select Upload. |
|
2.
|
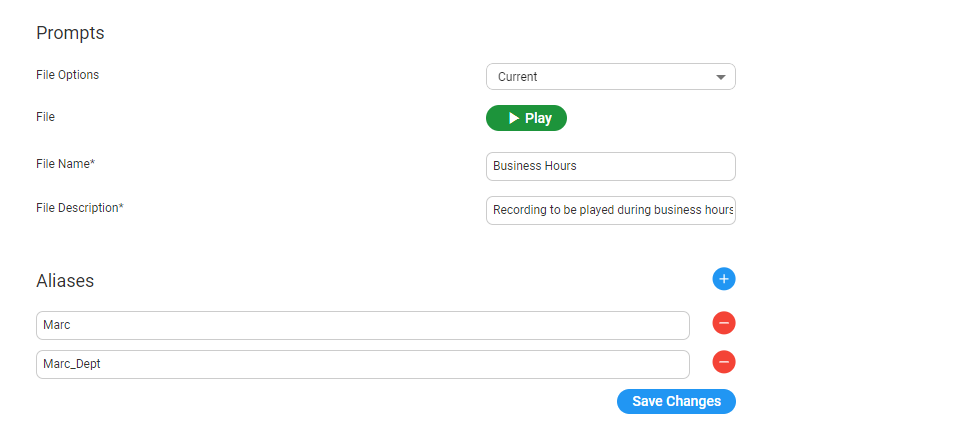
In the ‘File Name’ field, enter the audio file name. |
|
3.
|
In the ‘File Description’ field, enter a description of the prompt. |
|
4.
|
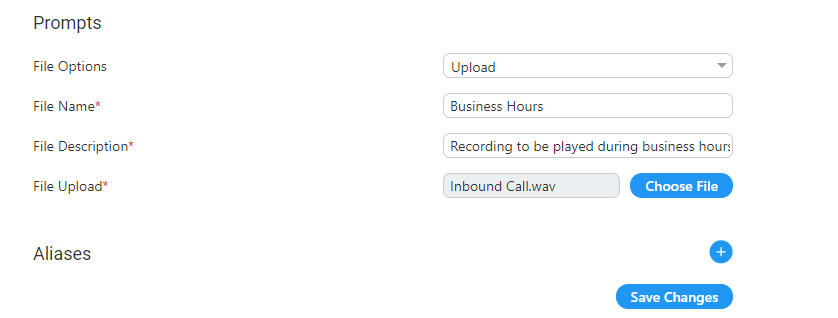
Click Choose File to locate the audio file to be uploaded; and then click Open to select the file. |
|
5.
|
Click Save Changes to complete the upload process. A 'department Successfully Updated' message appears. |
The audio file must be in the following format - .wav file, with 16 Bit Resolution, mono, 8000Hz.
|
1.
|
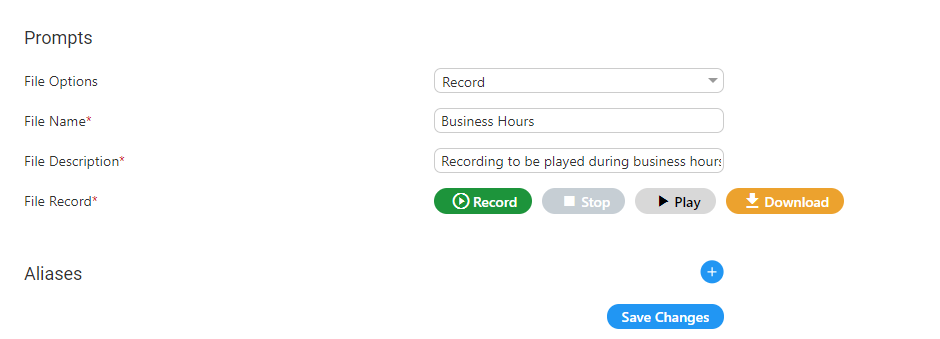
From the 'File Options' drop-down list, select Record. |
|
2.
|
Click Record and then begin recording your prompt. |
|
3.
|
When finished recording, click Stop. |
|
4.
|
To replay the recent recording, click Play. |
|
5.
|
To save a copy of the recorded audio file, click Download. |
|
6.
|
Click Save Changes to complete the recording process. |