Directory Synchronization
The procedures below describe how to configure Azure Active Directory (AD) and Lightweight Directory Access Protocol (LDAP) synchronization.
|
1.
|
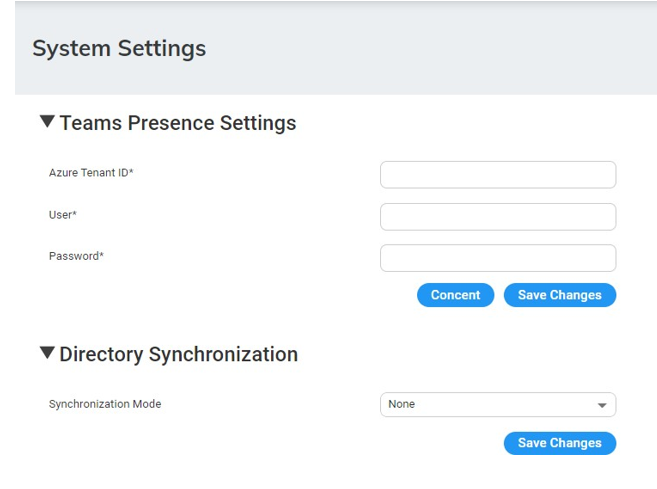
Open the System Settings page (Configuration > System Settings). |
|
2.
|
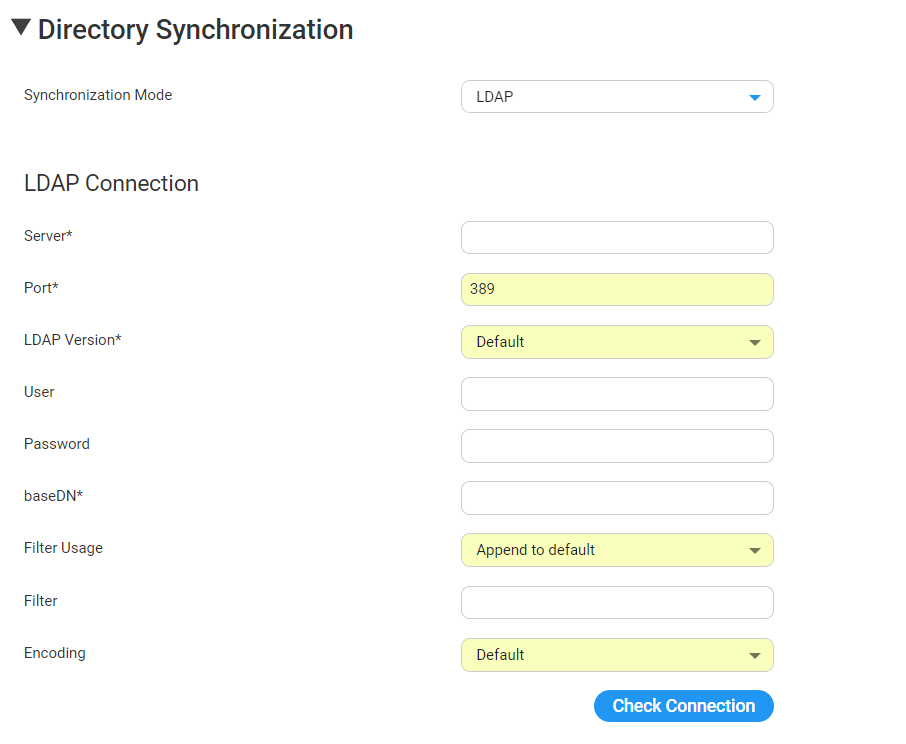
Under the Directory Synchronization group, from the 'Synchronization Mode' drop-down list, select LDAP; the following appears: |
|
3.
|
In the 'Server' field, enter the URL of the LDAP server. It can include either FQDN or an IP Address. |
|
4.
|
In the 'Port' field, enter the port that synchronizes with LDAP. Enter either "398" or "3268". |
|
5.
|
From the 'LDAP Version' drop-down list, select the LDAP Version. |
|
6.
|
In the 'User' field, enter the Service Administrator Name. |
|
7.
|
In the 'Password' field, enter the Service Administrator password. |
|
8.
|
In the 'baseDN' field, define the baseDN that you want to use. |
|
9.
|
From the 'Filter Usage' drop-down list, select the appropriate filter: |
|
●
|
Append to default: Uses the default filter that was applied on Voca. The default filter is: (&(objectCategory=person)(objectClass=user)(" + id + "=*)(|(" + firstName + "=*)(" + lastName + "=*))) |
|
●
|
Replace Default: Replaces the default filter with the filter that you configured in the 'Filter' field. |
|
10.
|
In the 'Filter' field, define the filter that you want to use. For more information, click here. |
|
11.
|
From the 'Encoding' drop-down list, select the appropriate encoding to be used when importing from the LDAP filter. |
To check connectivity to the LDAP server, click the Check LDAP connection button.
|
12.
|
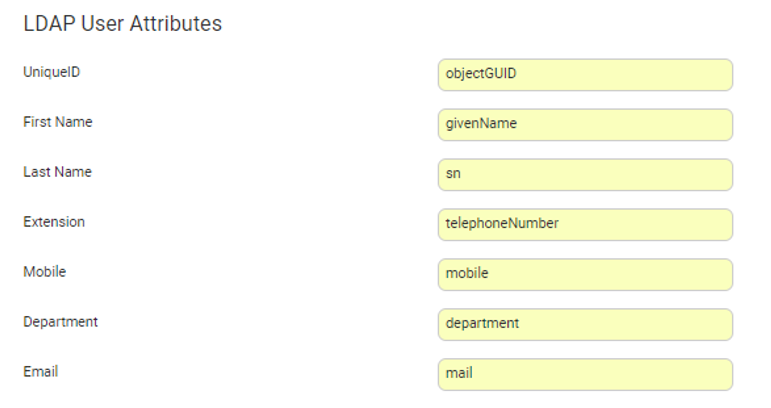
Under the LDAP User Attributes group, you can enter different attributes to import for LDAP or use the default. |
|
13.
|
Select the following fields when you want to import contacts from the Azure AD server: |
|
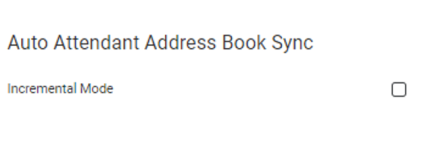
14.
|
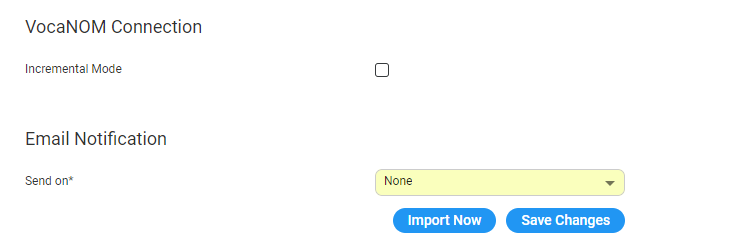
If you select the 'Incremental Mode' check box, the LDAP sync disables all contacts NOT in the list. If the 'Incremental Mode' check box is not enabled, the LDAP sync adds the contacts to the system (without disabling the contacts that do not appear in the updated list). |
|
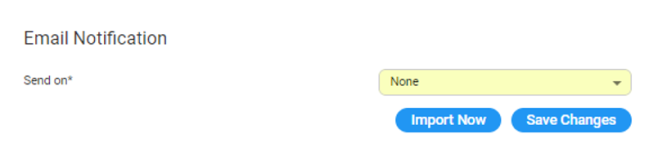
15.
|
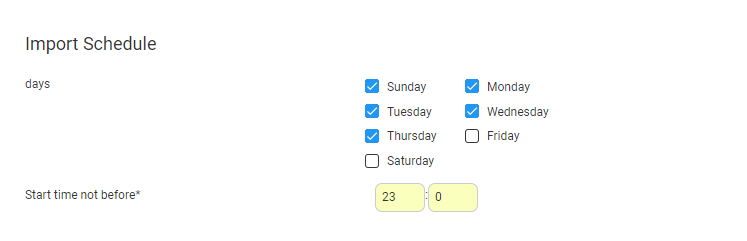
From the 'Email Notification' drop-down list, select one of the following to indicate when notification emails should be sent: |
|
17.
|
Click Import Now to import contacts from the LDAP server immediately (Optional). |
This process requires the following:
|
■
|
The organization Administrator (Microsoft 365) should grant tenant-wide admin consent to Directory and Presence applications on behalf of the organization. |
The consent process is required once for Azure AD sync and once for Teams Presence.
|
■
|
Users with global Administrator privileges or users that assign to the Directory and Presence application that was created in the consent process. |
|
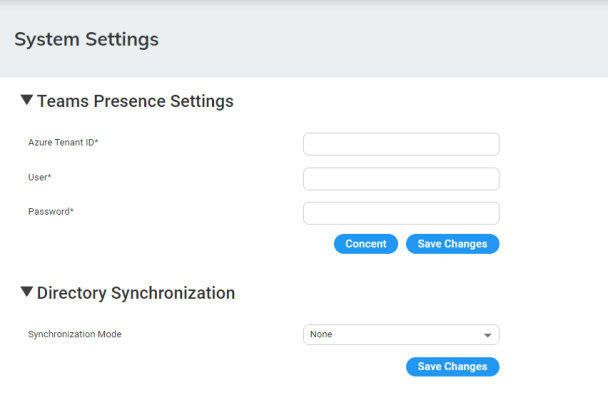
1.
|
Open the System Settings page (Configuration > System Settings); the following appears: |
|
2.
|
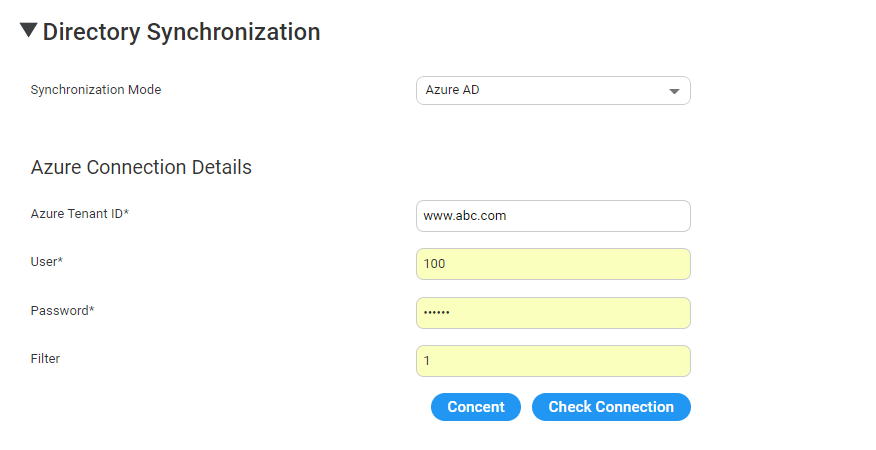
Under the Directory Synchronization group, from the 'Synchronization Mode' drop-down list, select Azure AD; the following appears: |
|
3.
|
In the 'Azure Tenant ID' field, enter the Azure Tenant ID from which to request the presence. |
|
4.
|
In the 'User' field, enter the name of the user defined on the Azure tenant with permissions to access the presence. |
|
5.
|
In the 'Password' field, enter the user’s password. |
|
6.
|
In the 'Filter' field, enter the filter configuration. For example: |
"(startsWith(givenName, 'V') OR endsWith(mail,'@outlook.com')) AND businessPhones/any(p:p le 'a') AND surname ne null and NOT(surname eq 'Last')"
"department in ('Retail', 'Sales') AND givenName le 'zzz' AND mobilePhone ge '9'"
To check connectivity to Azure AD, click Check Connection.
|
8.
|
Under the Azure AD User Attributes group, enter the following: |
|
a.
|
In the 'Unique ID' field, enter "Id". |
|
b.
|
In the 'First Name' field, enter "givenName". |
|
c.
|
In the 'Last Name' field, enter "surname". |
|
d.
|
In the 'Extension' field, enter "businessPhone". |
|
e.
|
In the 'Mobile' field, enter "mobilePhone". |
|
f.
|
In the 'Department' field, enter "department". |
|
g.
|
In the 'Email' field, enter "mail". |

|
9.
|
Select the following fields for when you want to import contacts from the Azure AD server: |
|
10.
|
Under the VocaNOM Connection group, if you select the 'Incremental Mode' check box, the LDAP sync disables all contacts NOT in the list. If the 'Incremental Mode' check box is not enabled, the LDAP sync adds the contacts to the system (without disabling the contacts that do not appear in the updated list). |
|
11.
|
From the 'Email Notification' drop-down list, select one of the following to indicate when notification emails should be sent: |
To check connectivity to Azure AD, click Check Connection.