Editing a Department
The procedure below describes how to edit a department.
|
1.
|
Open the Departments menu, and then click on the required department (Departments > {Department Dictionary Name}). |
|
2.
|
Click on the Department List menu. |
|
3.
|
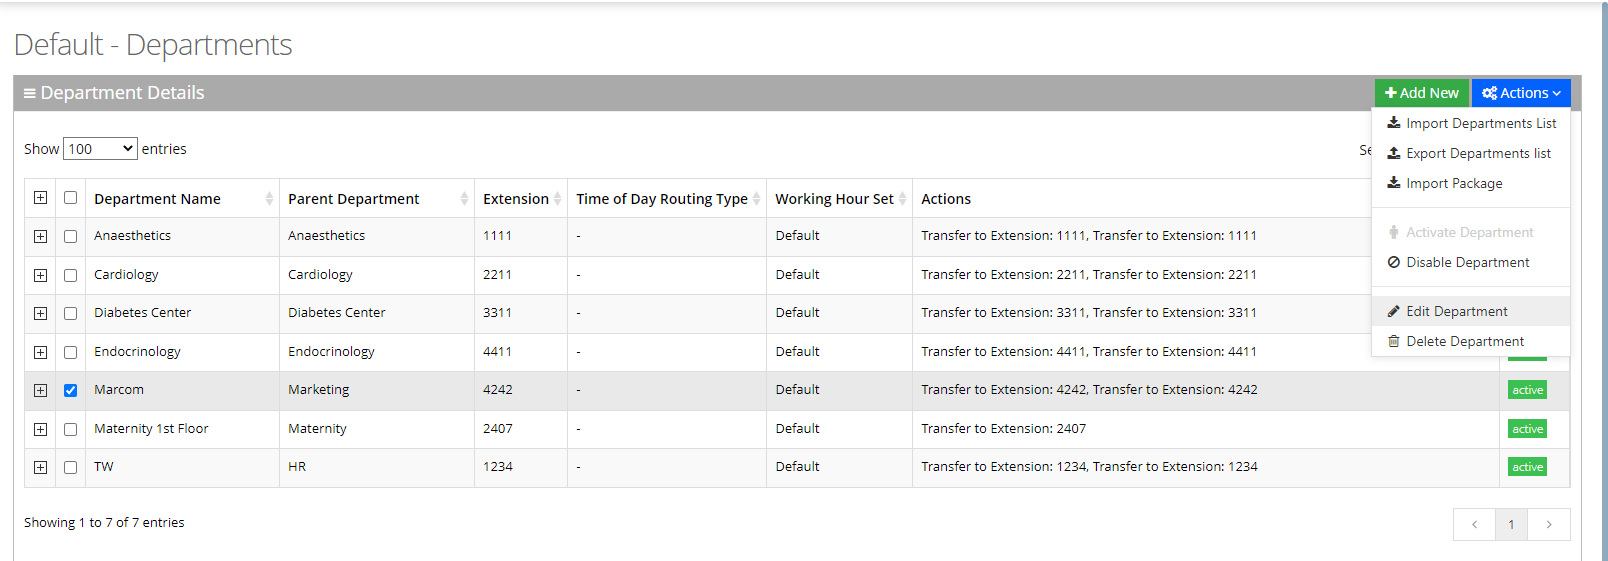
Select the department you wish to edit by selecting the Department check box. |
|
4.
|
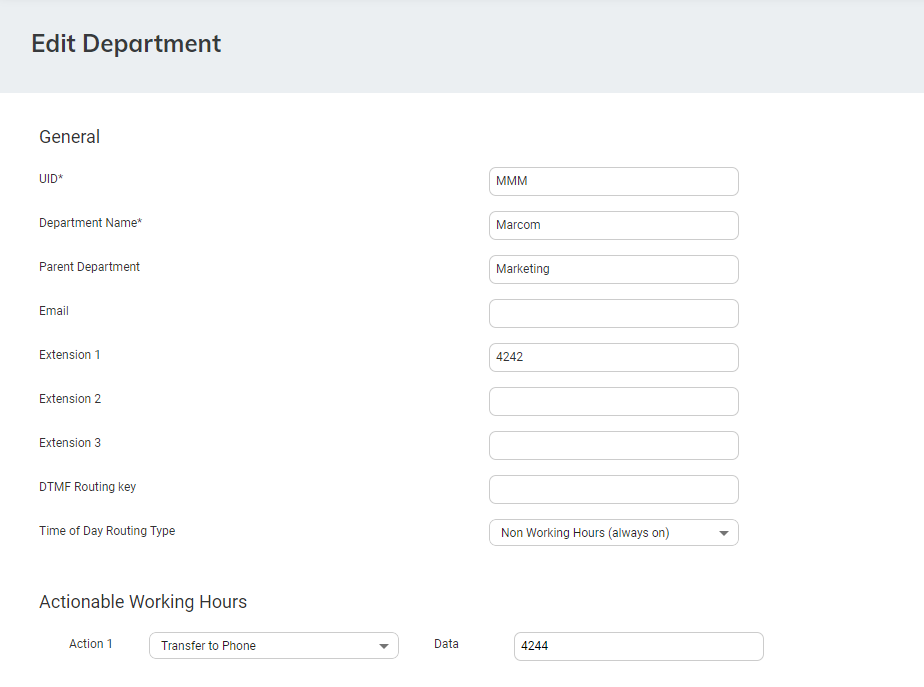
From the ‘Actions’ drop-down menu, choose Edit Department; the following appears: |
|
5.
|
In the ‘Parent Department’ field, enter additional an name for the selected department. If there is more than one department with the same name, Voca checks for the Parent Department that is configured. |
|
6.
|
In the 'Email' field, enter the main department email address that can be used for sending missed call notifications for that department. |
|
7.
|
In the 'Extension 1/2/3' fields, enter the extension numbers for the department. These extensions might be used if Call Hunting is activated for departments in the Speech menu. |
|
8.
|
In the 'DTMF Routing key' field, enter the DTMF routing key. This key is used to reach this department, when entering this DTMF code during the Speech menu (if Transfer by DTMF routing key is enabled in the menu). The key must be unique within the service. |
|
9.
|
The 'Time Of Day Routing Type' drop-down list determines how to handle the incoming call based on working hours. There are three possible options: |
|
●
|
If you select Working Hours (always on), all incoming call, regardless of any working hours, are always handled according to the actions selected. |
|
●
|
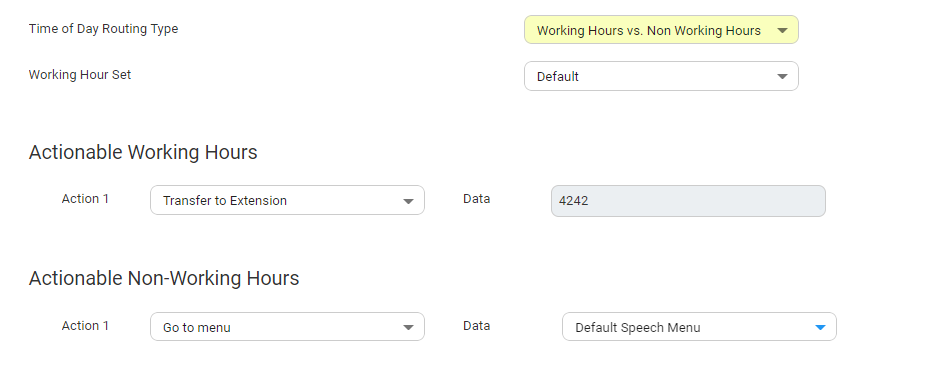
If you select Working Hours Vs Non Working Hours, calls are handled based on working hours. When selecting this option, a Working Hours Set should be selected. Actions will be configured for actionable working hours and for actionable Non-working hours. |
|
●
|
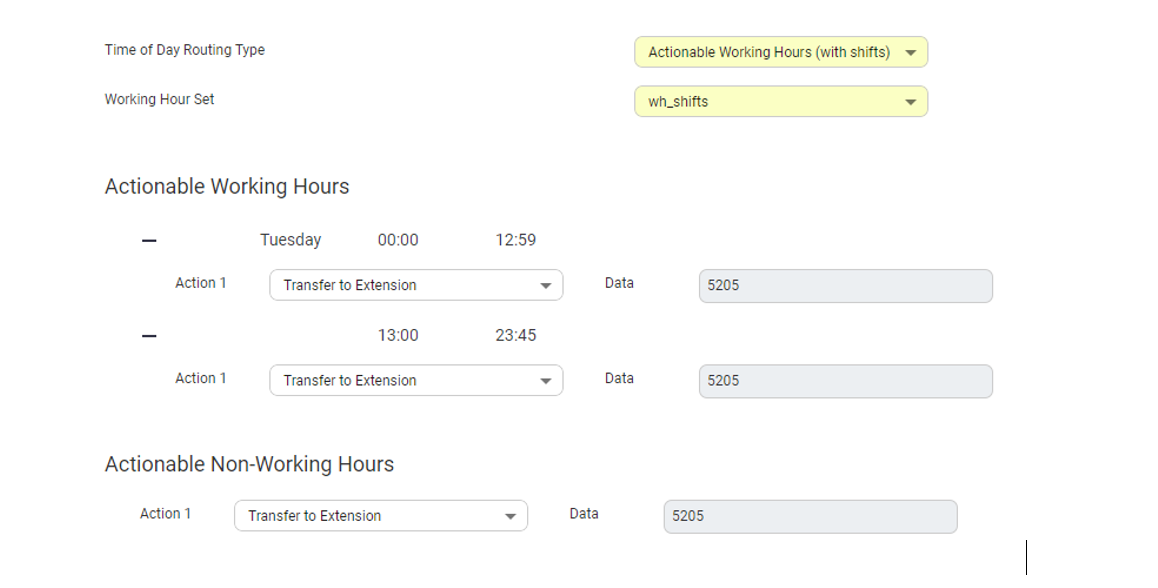
If you select Actionable Working Hours (with shifts), calls are handled based on working hours. When selecting this option, a Working Hours Set should be selected. All shifts defined in that set will be displayed and for each working hour shift. |
|
●
|
Relevant actions can be also configured for the non-working hours. |
|
10.
|
From the 'Action 1' drop-down list, select one of the following options: |

|
11.
|
In the 'Action1 Data' field, enter the related action data for the 'Action 1' field. For more information of the possible Actions, see Actions. |
|
12.
|
Make your changes, and then click Save Changes. |