Attach Locations on Live Platform
You must attach Webex locations to your customer. Locations configured on Webex Cloud Connect are configured as follows:
|
■
|
If the service is onboarded using the 'Integration' mode, locations are synchronized automatically on Webex Cloud Connect and you can choose them from the Location drop-down. The Webex Organization ID is filled automatically. The list is automatically synced each time that it is opened. |
|
■
|
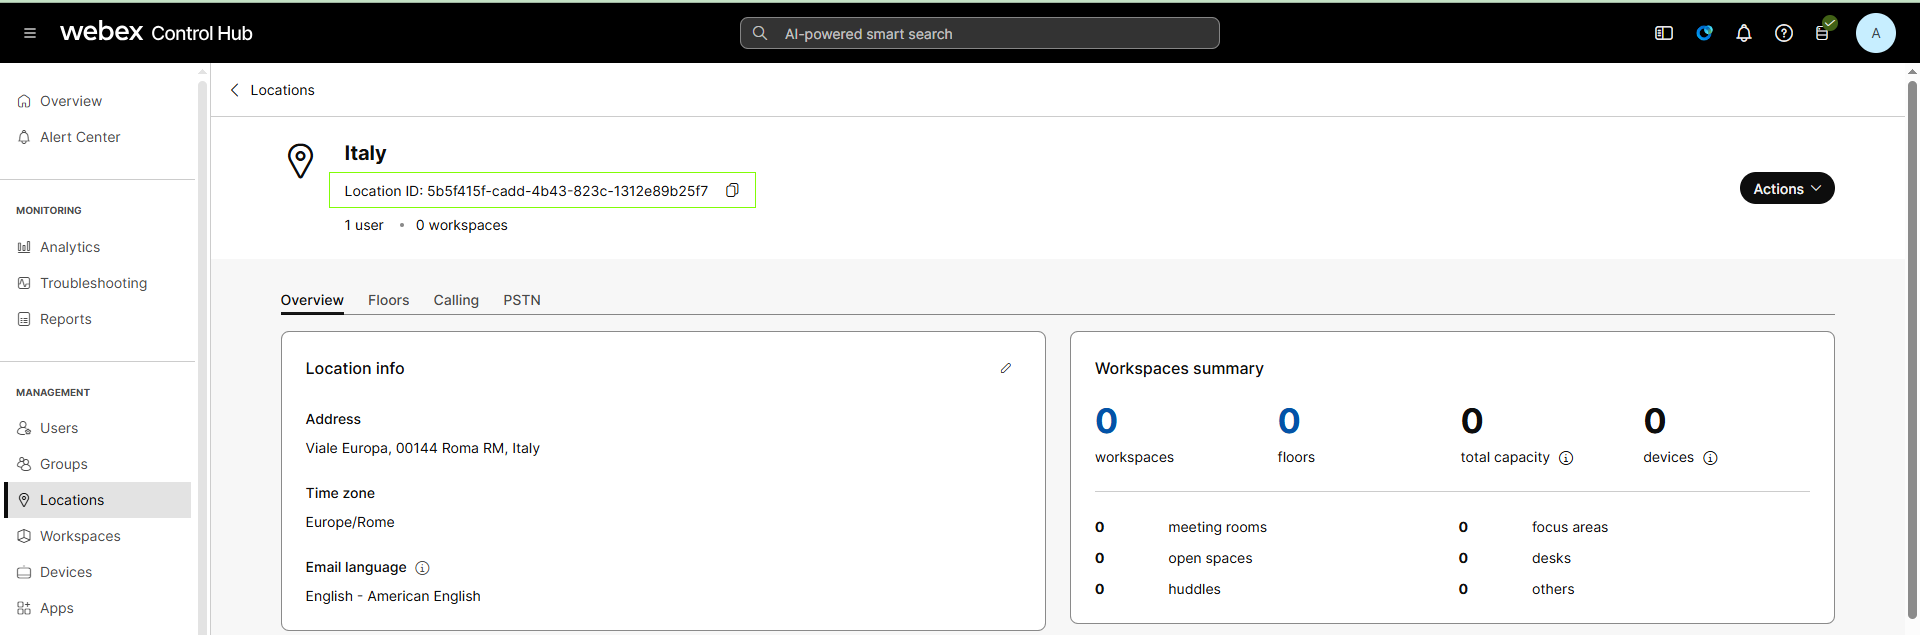
If the service was onboarded using the 'Non-Integrated' mode, you must add locations manually and configure the Location ID (extract from the Webex Control Hub). |
|
1.
|
In the Customer Leads page, select the relevant customer lead, and then from the ...menu, choose Locations. |

|
3.
|
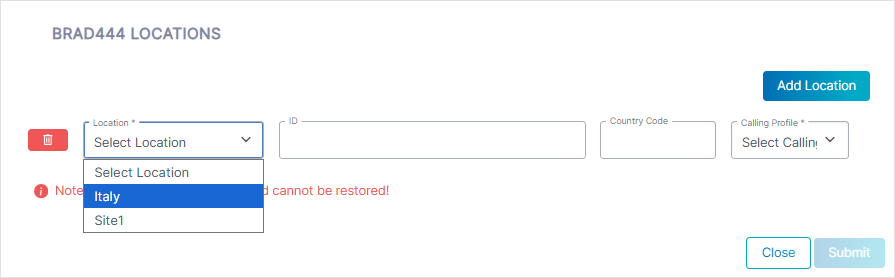
From the Location drop-down list, do one of the following: |
|
●
|
If you onboarded the customer using the Integrated option: Choose the desired location (the locations in the list that have been synchronized from the Webex Control Hub, see Add Site Locations in Webex Control Hub). |
|
●
|
If you onboarded the customer using the Non-Integrated option, click Add Location and then enter the name of the location matching one of your locations configured on Webex Control Hub. |
|
4.
|
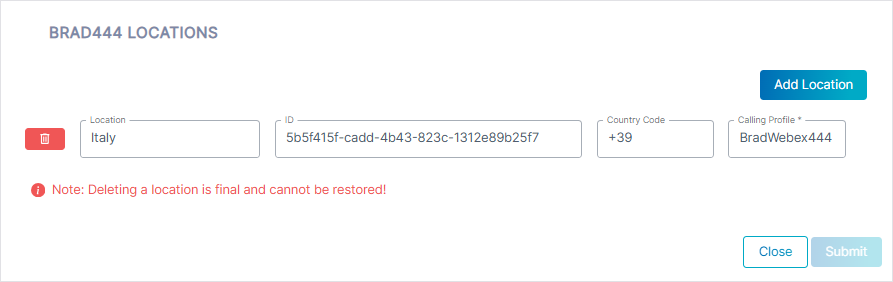
If you onboarded the customer using the 'Non-Integrated' option, enter the 'Location ID' (this field is filled automatically if you onboarded the customer using the 'Integrated' option). |
|
5.
|
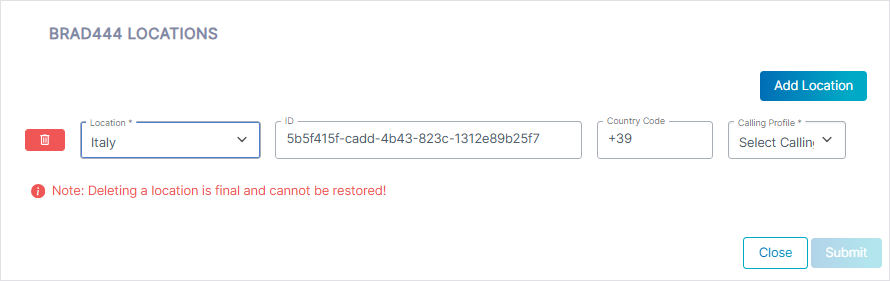
Enter the Country dialing code of the location configured on the Webex Customer Organization. |
|
6.
|
From the Calling Profile drop-down list, choose the relevant calling profile and then Submit. The new location entry is displayed. |