Log into Service Portal
Login to the
| ➢ | To log in for the first time: |
| 1. | Click the URL link sent in the Welcome email shown below. |
Subject: Welcome! Your Interaction Insights Application is Ready
Dear <End Customer Name> Team,
Congratulations! Your application deployment is complete and we're thrilled to inform you that you can now start utilizing Interaction Insights . To get started, follow these steps.
*M365 Administrator permissions are required for each step*
1. Create 2 AAD Groups in Azure Active Directory
o Create two security groups in AAD.
1. One group for users that will be targeted to be recorded. Assign associated users to this newly created group. You can start by assigning one user to the group as a test user.
2. One group for users that will access the recording. Assign associated users to this newly created group. (This is an optional step as a default administrator will have access to all of the recordings).
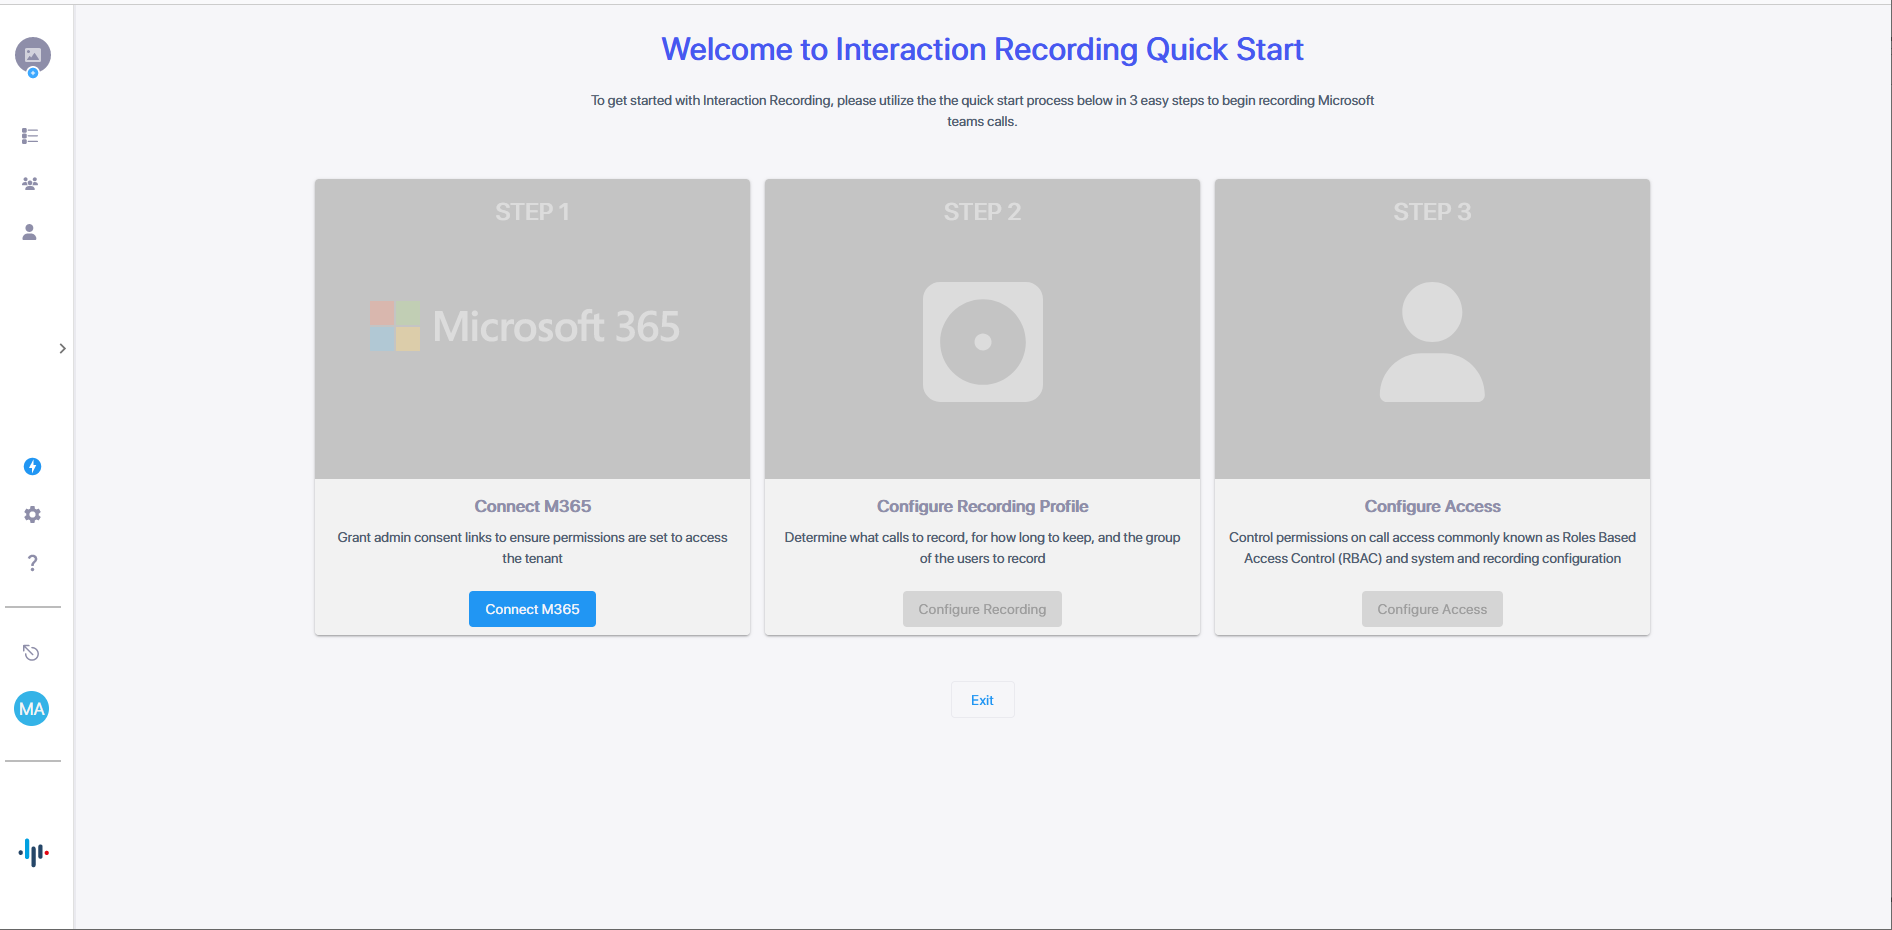
2. Access & Configure Application - Follow 'Quick Start' Wizard
o Access the app at https://qaming.ai-logix.net/.
o Log in with one of the default administrator UPNs provided before the app was deployed: tania@customername.com.
Step 1: Click 'Connect M365' to Grant admin consent by clicking on each 'Grant Admin Consent' option to ensure proper access and operation of the app. Once completed click 'Finish' to return to Quick Start wizard.
Step 2: Click 'Configure Recording' to determine what calls to record, for how long to keep, and the group of the users to record.
1. Under 'Configuration' tab review and if needed change call types to record or retention period.
2. Under the 'Groups Mapping' tab add the AAD security group you created to be recorded.
3. Under the 'MSFT Policy' tab make sure to download MSFT Compliance Policy script and execute the script. Click 'Finish' to finalize the recording profile and return to Quick Start wizard.
Step 3: Click 'Configure Access' to set access permissions for call recordings and the system commonly known as Roles Based Access Control (RBAC). (Optional step, default administrator has full access).
1. Under 'Permissions' set permissions for call recording access and system configuration.
2. Under the 'Groups Mapping' tab add the AAD security group you created to access the recordings.
3. Click 'Finish' to finalize the Access profile. You will receive confirmation that you are ready to start recording.
That's it! Your application is now set up for use and recording! See the admin guide here.
Test a Call with a Targeted User:
• Try out a test call with a targeted user to be recorded.
• Check you have recording notifications with the recording banner presented in Microsoft Team during the call. End the call so the recording can be played back.
• Navigate and click on the 'Interactions' page in top left corner navigation panel in your application to see that the call is successfully recorded and can be played back.
We're excited for you to explore the possibilities of Interaction Insights! If you have any questions or need assistance, feel free to reach out.
Best Regards,
Nuera Team
The Welcome page for the
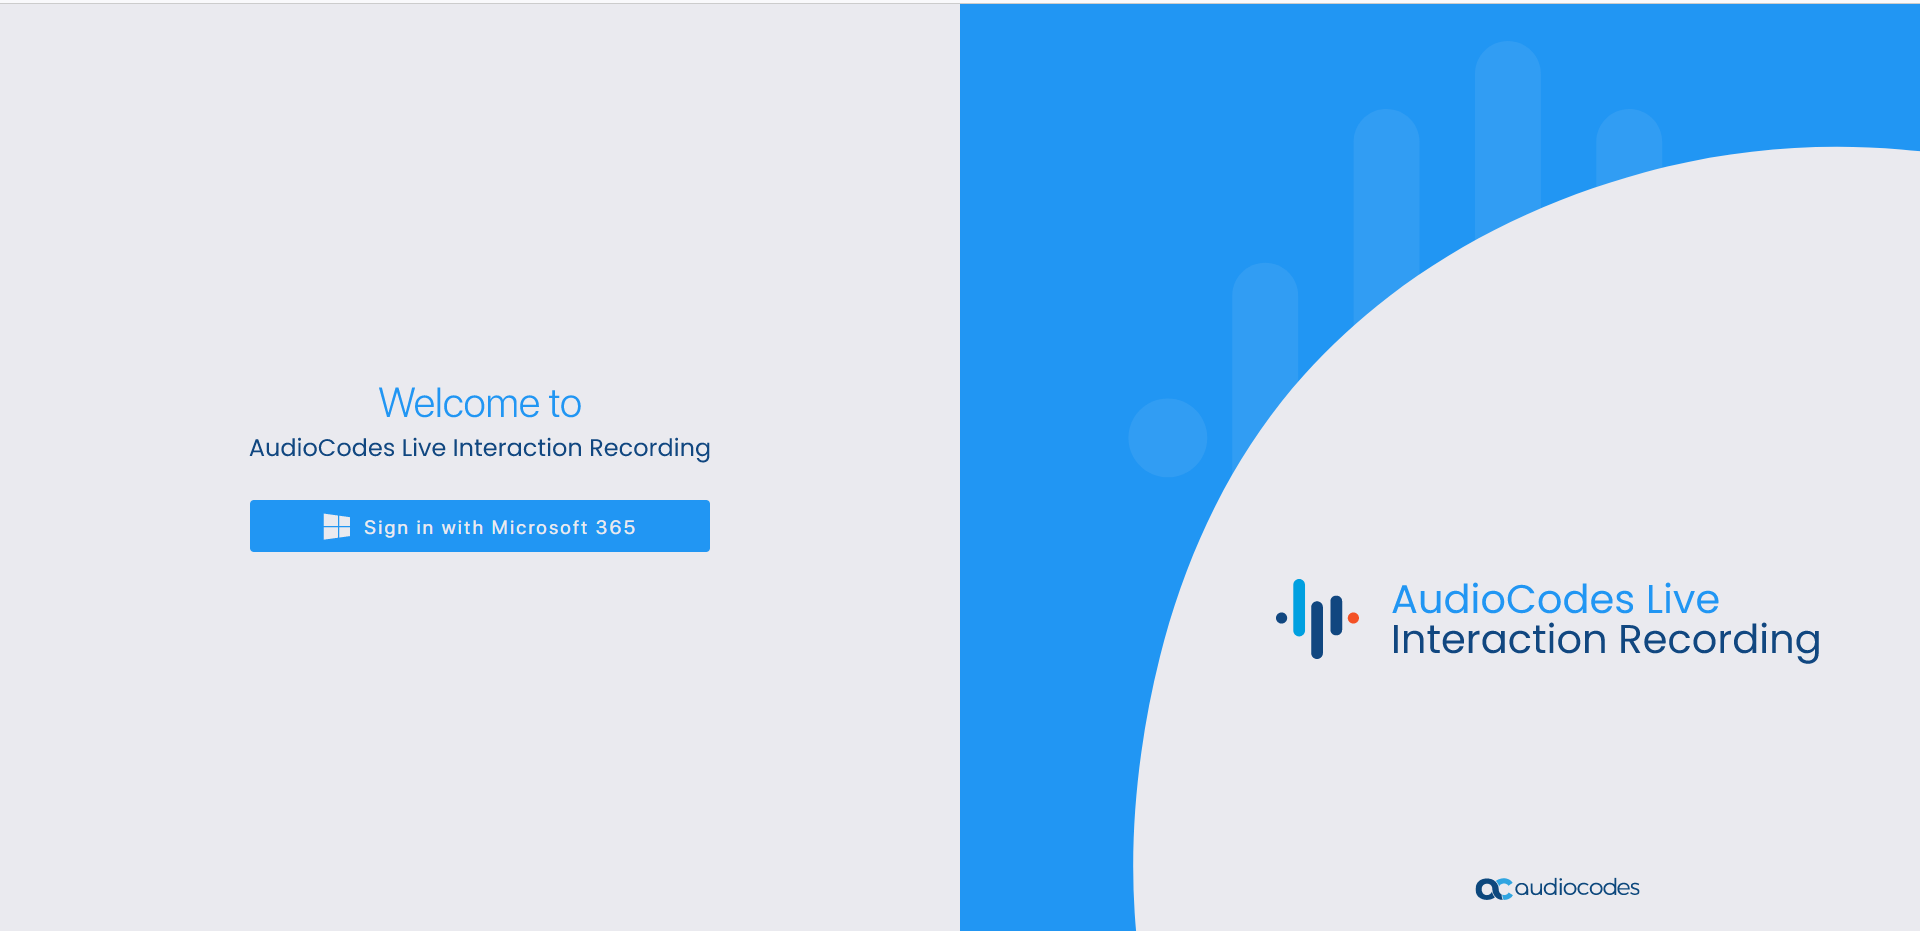
| 2. | Click Sign in with Microsoft 365. |
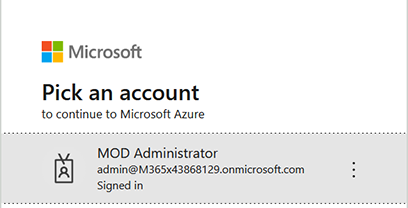
| 3. | Choose the Global admin account of your Live Platform tenant. |

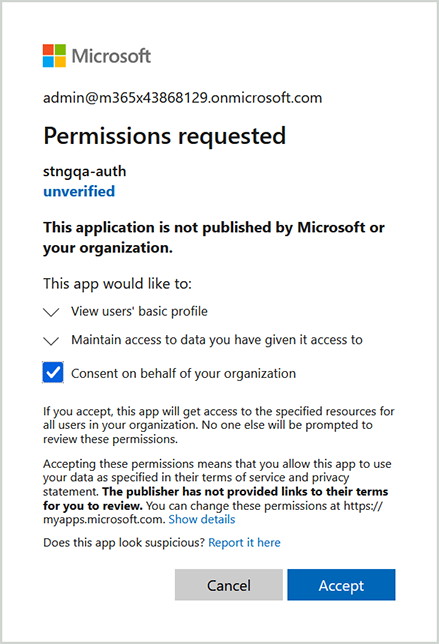
| 4. | Select the Consent on behalf of your organization check box, and then click Accept. The Quick Start wizard opens. |
| 5. | Proceed to Complete the Quick Start Wizard. |