Uploading Numbers directly from Live Platform
This procedure describes how to upload numbers to the Zoom service directly from the Live Platform Management portal.
| ➢ | To upload numbers to a service: |
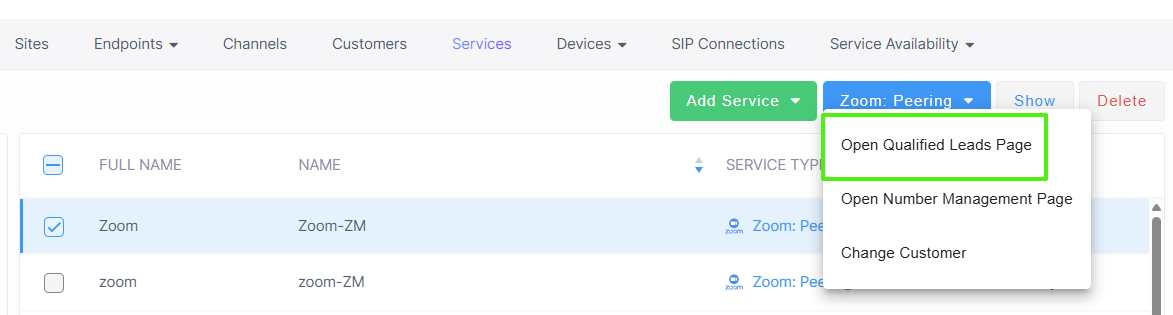
| 1. | Open the Qualified Leads page (in the Services page from the Zoom Peering drop-down, choose Open Qualified Leads page). |
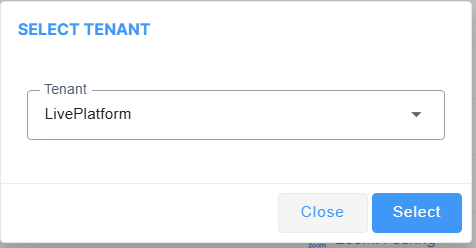
| 2. | Select the relevant tenant and then click Select. |
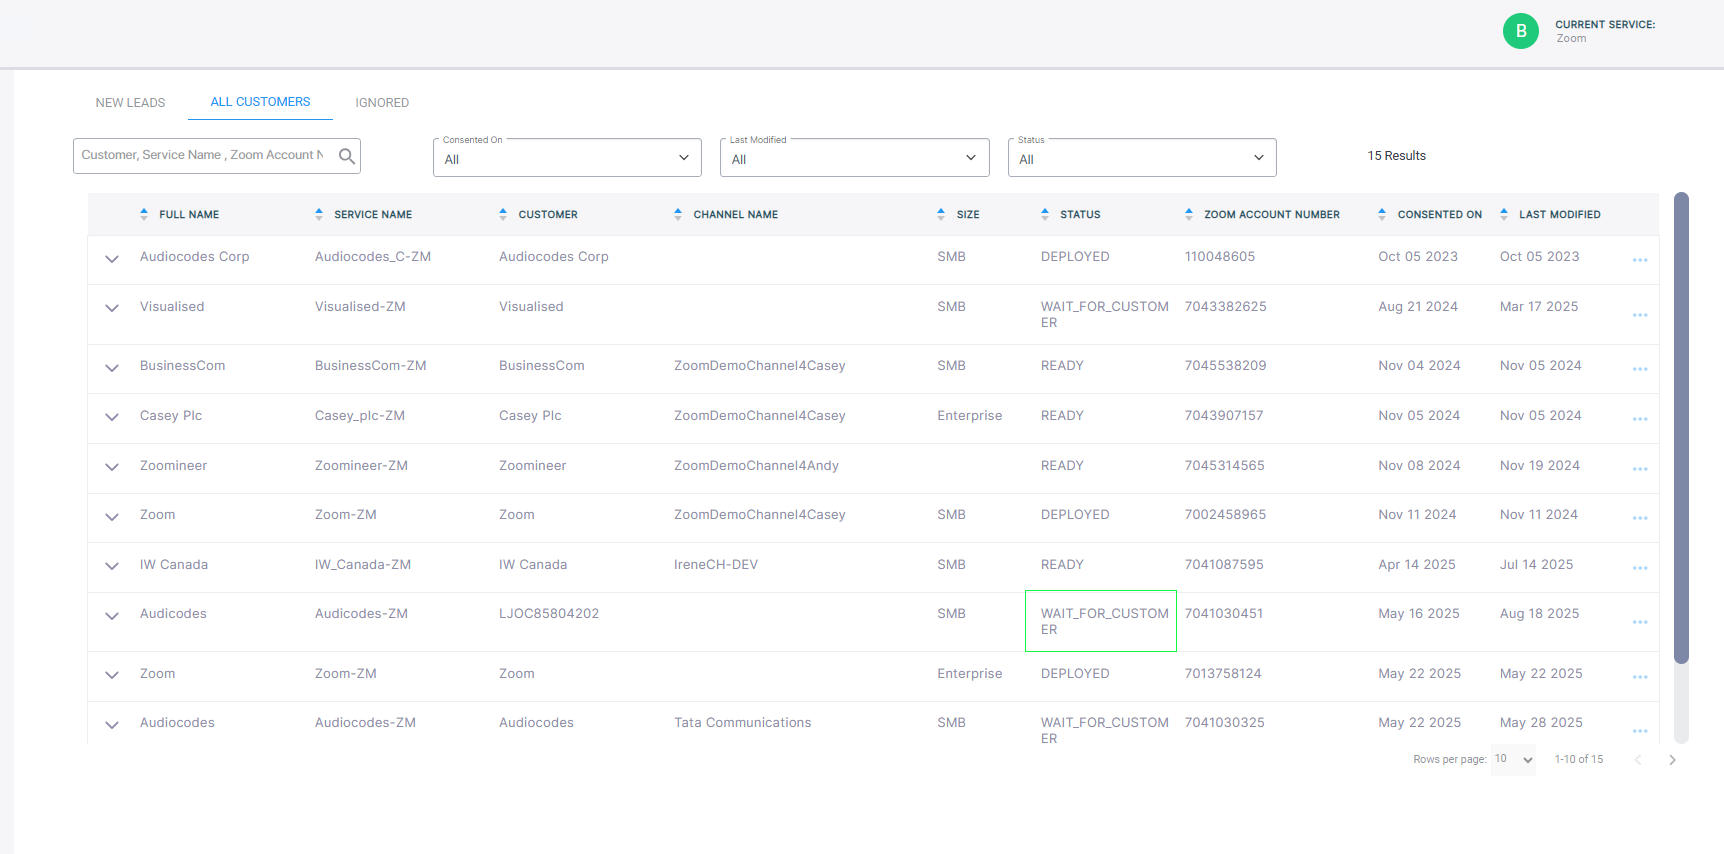
| 3. | Click the All Customers tab. |
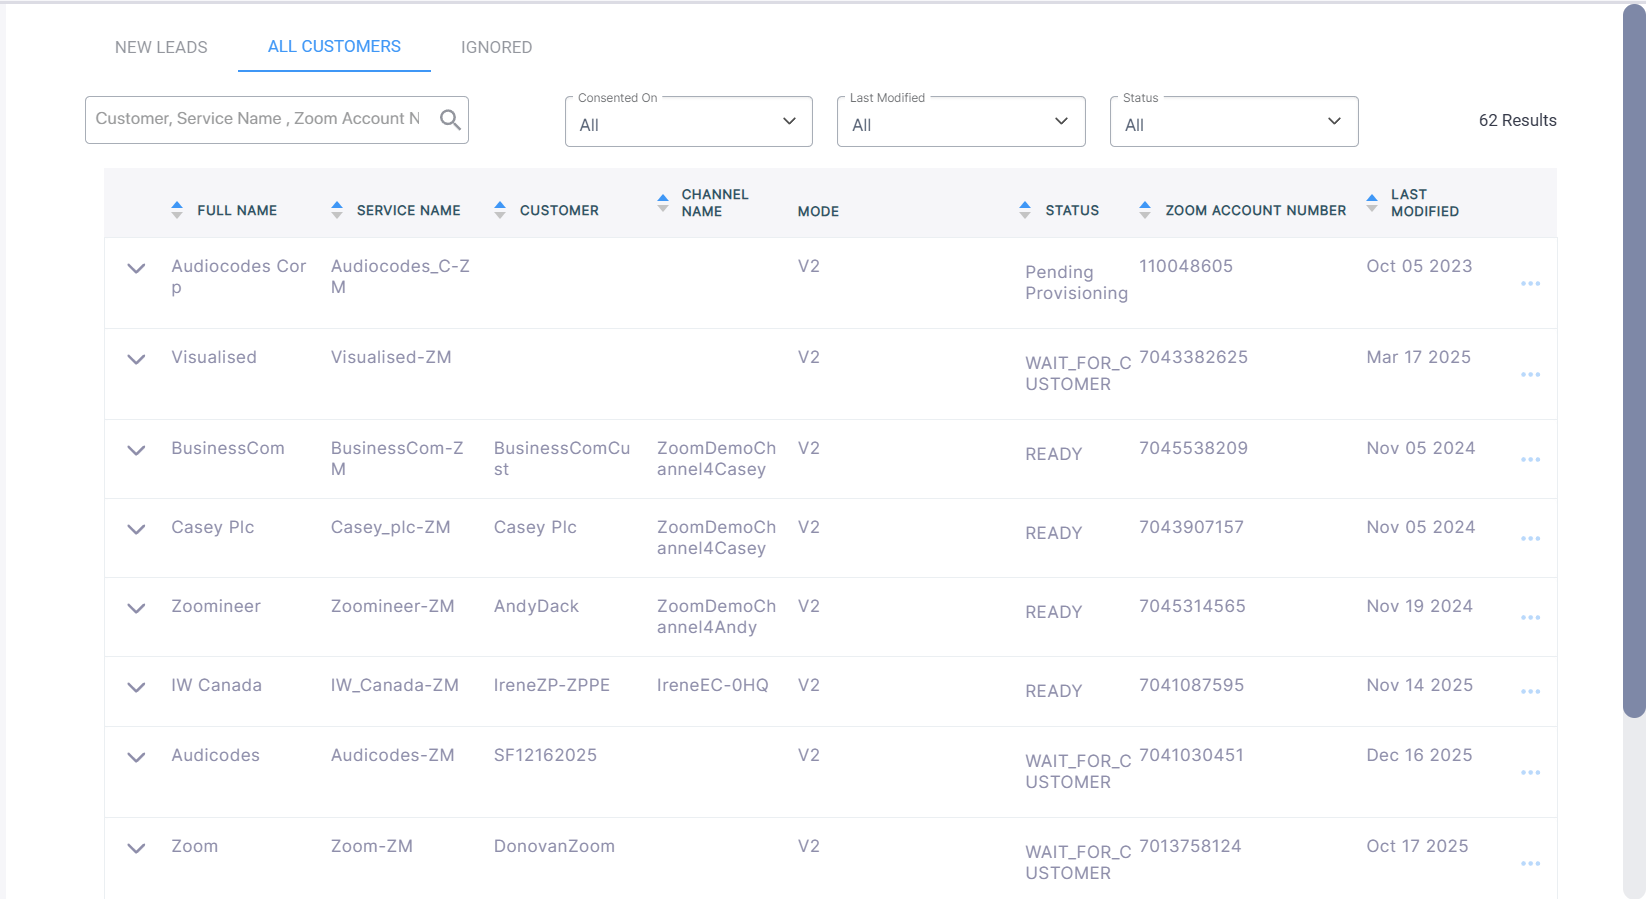
The table below describes the parameters in this page.
|
Parameter |
Description |
|||||||||
|---|---|---|---|---|---|---|---|---|---|---|
|
Full Name |
The Full name of the service. |
|||||||||
|
Service Name |
The name of the service created. |
|||||||||
|
Customer |
The name of the customer attached to the service. |
|||||||||
|
Channel Name |
The name of the channel attached to the service. |
|||||||||
|
Mode |
The Zoom API mode. |
|||||||||
|
Status |
The status of the deployment of the service:
|
|||||||||
|
Zoom Account Number |
The number of the Zoom customer account . |
|||||||||
|
Last Modified |
The date of the last modification of the customer entry. |
| 4. | Select a service, right-click...and then choose Upload Numbers. |
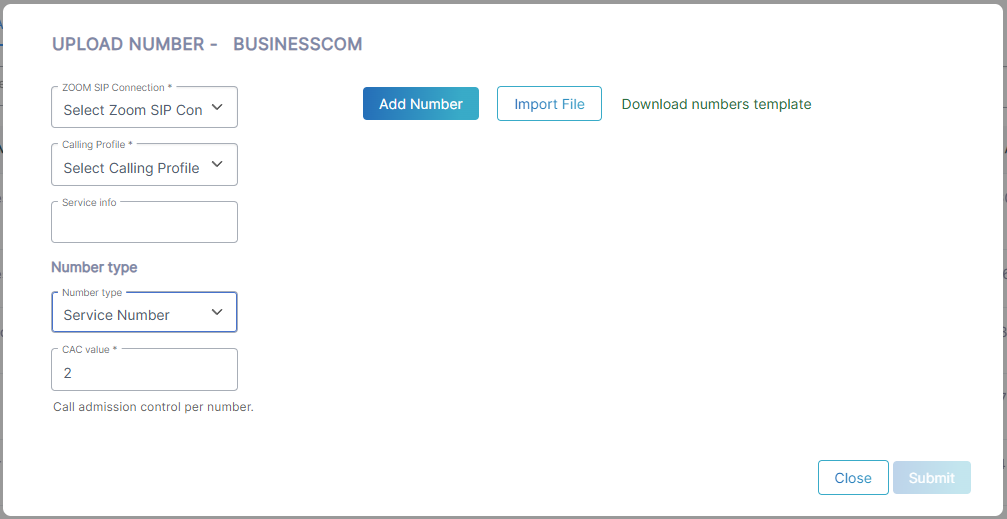
Upload Number-V2 Mode
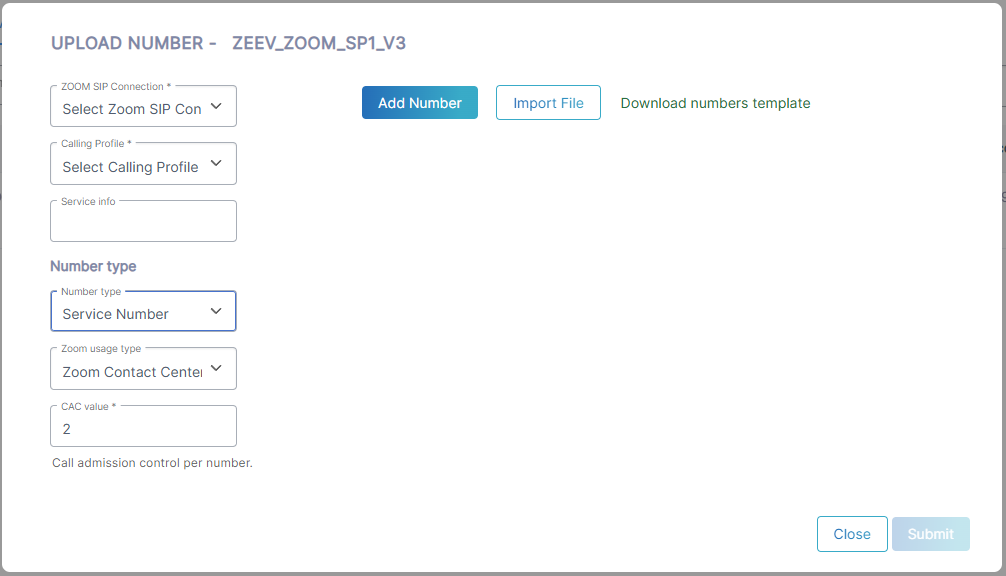
Upload Number-V3 Mode
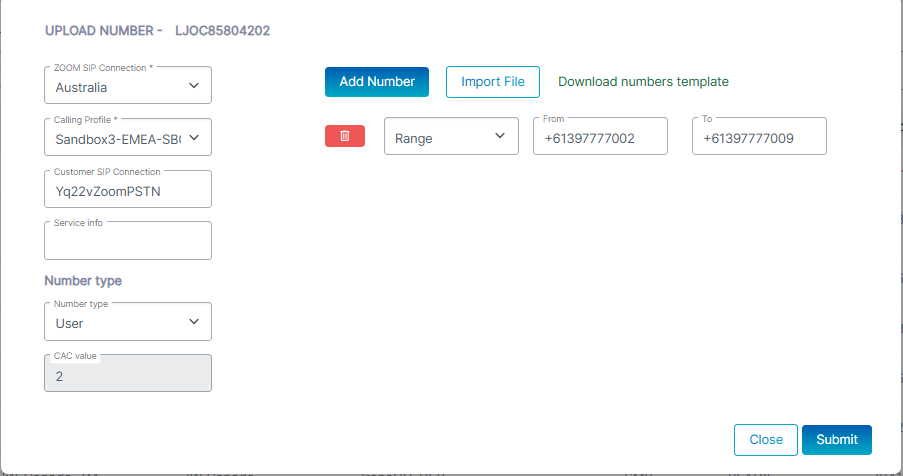
| 5. | Configure parameters according to the table below and then click Submit. |
|
Parameter |
Description |
||||||||||||||||||
|---|---|---|---|---|---|---|---|---|---|---|---|---|---|---|---|---|---|---|---|
|
Zoom SIP Connection |
From the ZOOM SIP Connection field, select the relevant Zoom region:
|
||||||||||||||||||
| Calling Profile |
From the Calling Profile drop-down list, select a configured Calling Profile (see Configure Calling Profiles). |
||||||||||||||||||
| Service Info |
In the Service info field, enter the name of the service or related information. This information is used by the Metering service. |
||||||||||||||||||
| Number Type |
From the drop-down, select one of the following values:
|
||||||||||||||||||
|
Zoom Usage Type |
If you select 'Service' or 'Contact Center' for the Number type then the Zoom Usage Type drop-down is displayed; select one of the following:
This parameter is only displayed when the customer is configured in Zoom V3 mode. |
||||||||||||||||||
|
CAC Value |
Enter the maximum number of concurrent sessions to apply to the number. This value is configurable for Contact Center and Service numbers. Number type 'User' is hard-coded to 2. |
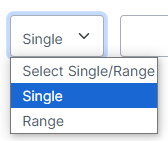
| 6. | Click Add Number to add individual numbers. |
| 7. | From the drop-down list, choose Single number or Range. |
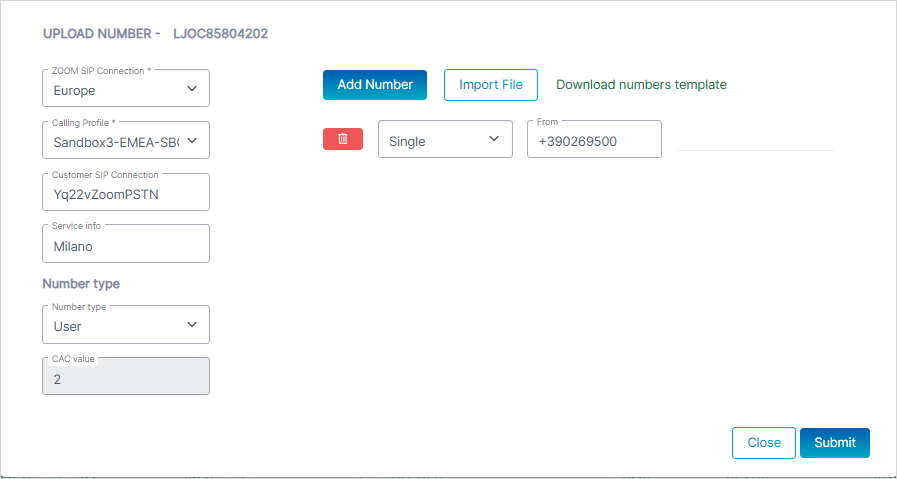

All numbers should be configured in E.164 format with the following validation rules:
| ● | A + sign. |
| ● | Country calling code (international). |
| ● | Local area code. |
| ● | Local telephone number or subscriber number. |
The number has the following structure: [+][country code][area code][subscriber number].
Example United States Telephone number: +12127881500
| ● | Country code: 1 |
| ● | Area code: 212 |
| ● | Subscriber number: 7881500 |
| 8. | Enter the numbers to upload in the relevant field and then click Submit. A confirmation message is displayed. |

| 9. | Click Download numbers template to open a CSV file including example phone numbers. |
| 10. | Configure the file including the list of numbers that you wish to import. All numbers should be in E.164 format as described above. |
The figure below shows how to configure the cells with the '+' value before the country code prefix.

| 11. | Click Import File. |
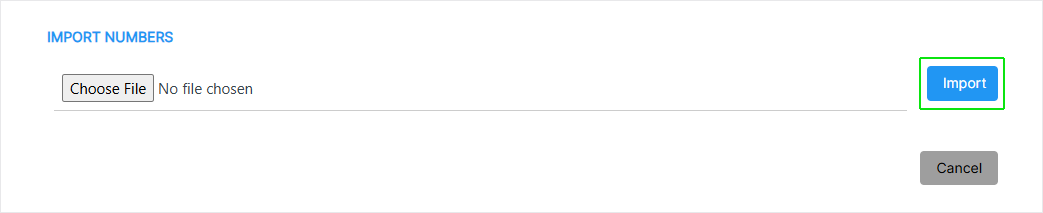
| a. | Browse to the location of the file. |
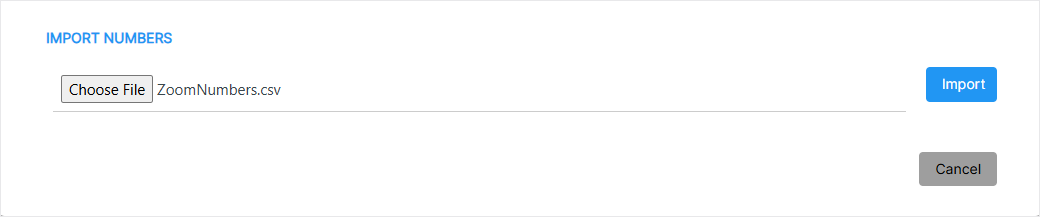
| b. | Click Import. The number import is validated. Close the dialog. |

The successfully imported range is displayed.
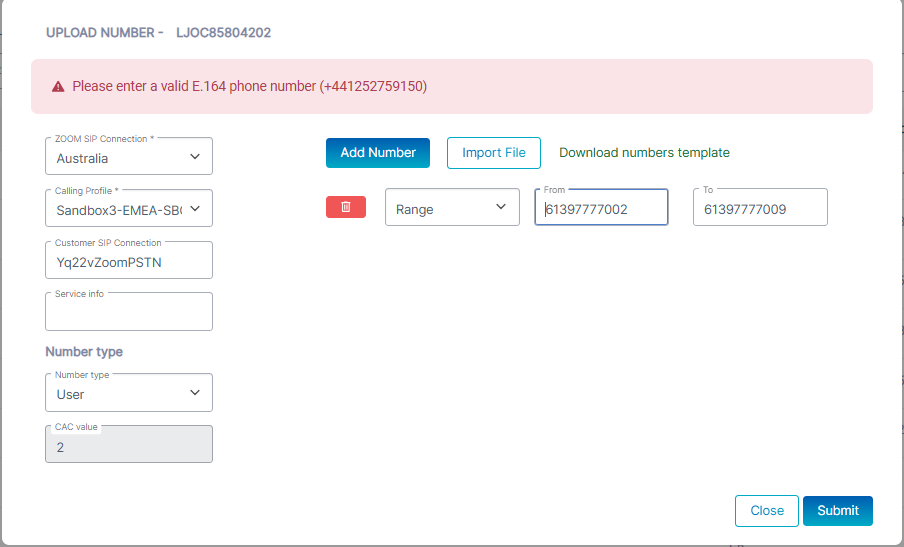
The figure below displays an example of an invalid range (missing + sign).
| 12. | Click Submit. The following confirmation is displayed. |

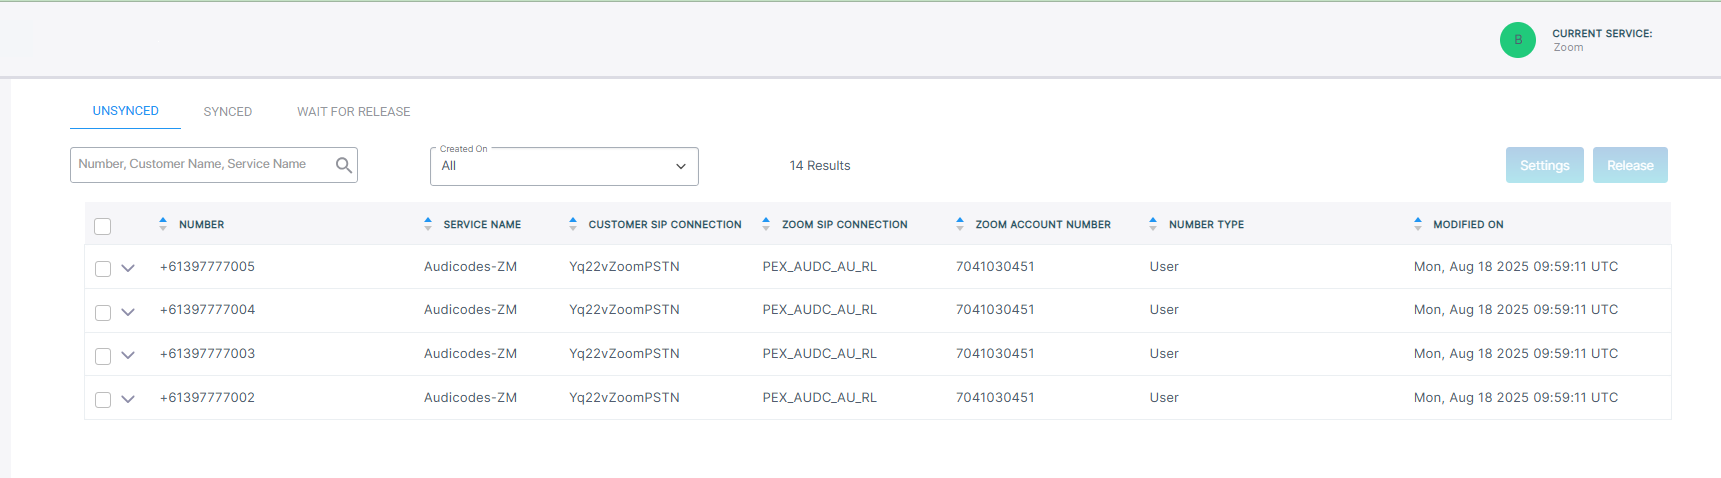
| 13. | In the Navigation pane, click Number Management to view the uploaded numbers. |
| 14. | Return to the Customer Leads page. Note that Status Wait for Customer is displayed. |