Managing Zoom Phone leads
Once you create a new lead in zoom.us app it is displayed in the Customer Leads page. You can then apply license to the lead.
| ➢ | To manage qualified leads: |
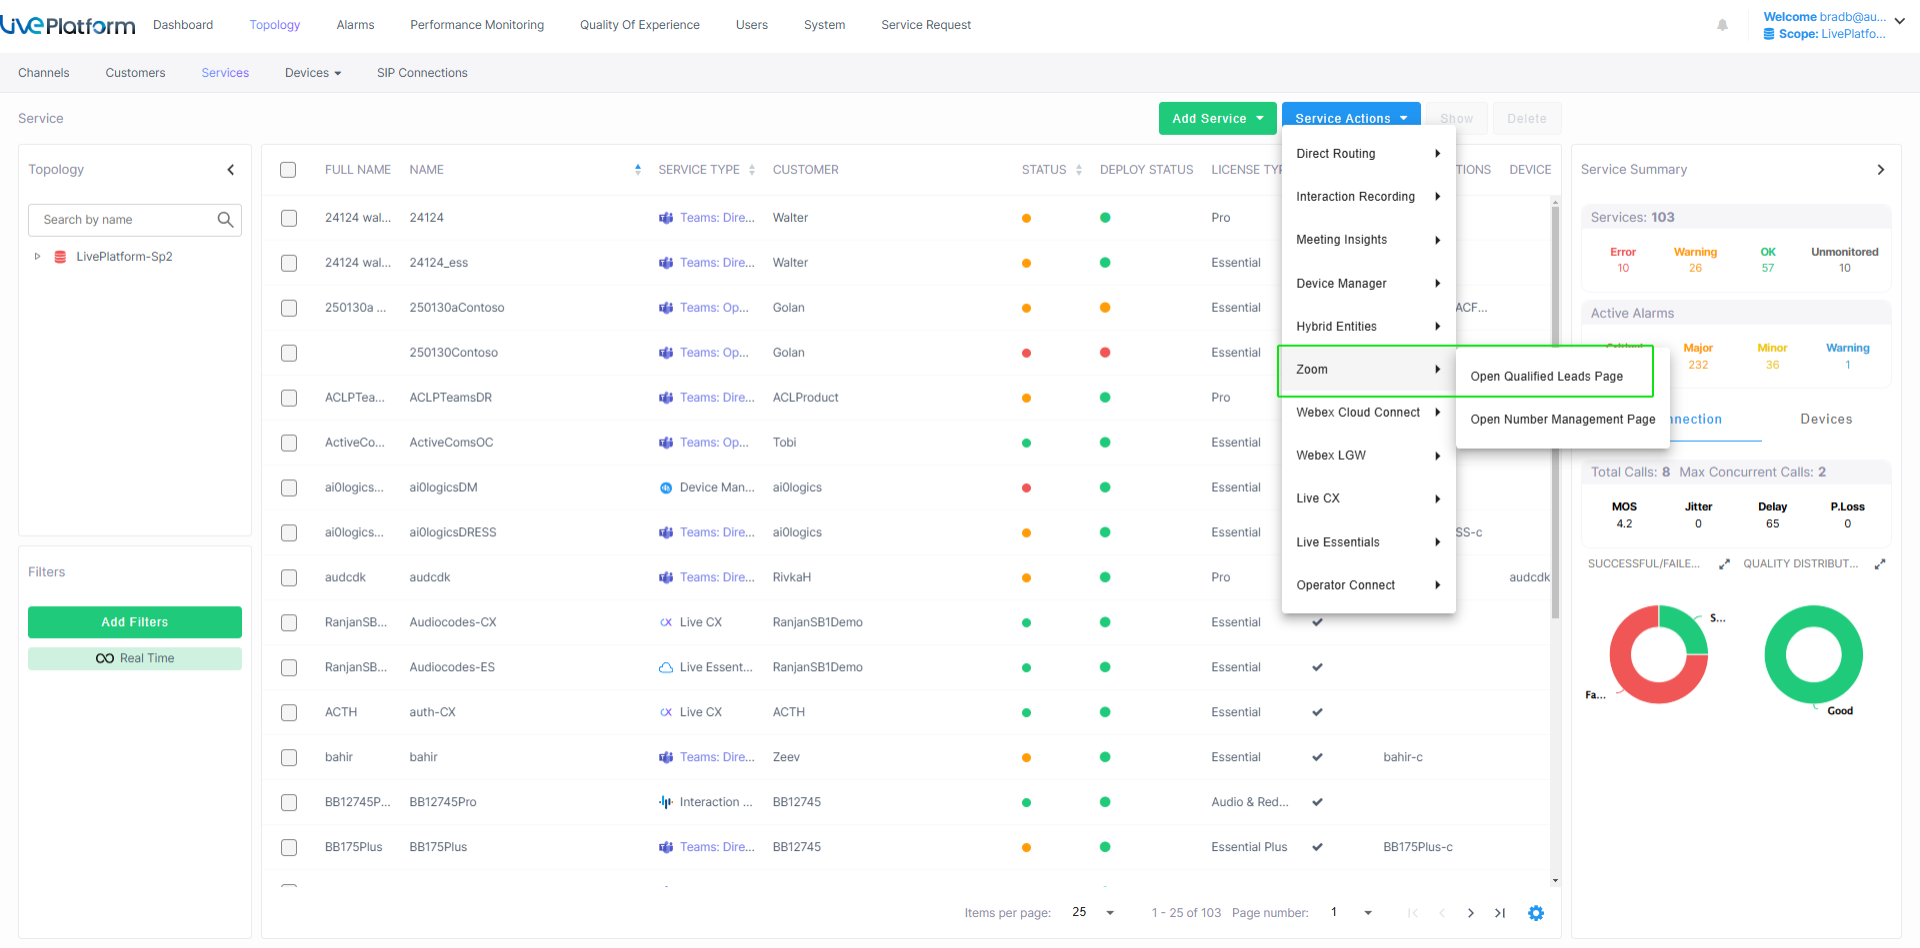
| 1. | From the Customer Actions drop-down list, select Zoom > Open Qualified Leads Page. |
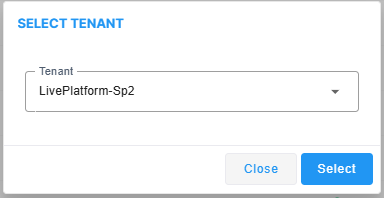
| 2. | From the Tenant drop-down list, choose the Service Provider tenant and then click Select. |
The Customer Leads page is displayed.

| 3. | Select the All Customers tab to view a list of all customers. |
The following table describes the customer details.
Customer Details
|
Lead Field |
Description |
|||||||||||||||
|---|---|---|---|---|---|---|---|---|---|---|---|---|---|---|---|---|
|
Full Name |
The company name. |
|||||||||||||||
|
Service Name |
The name of the service. |
|||||||||||||||
|
Customer |
Then name of the customer. |
|||||||||||||||
|
Size |
Company Size |
|||||||||||||||
|
Status |
One of the following:
|
|||||||||||||||
| Zoom Account Number |
Zoom customer account number. |
|||||||||||||||
| Consented On |
Date when license is applied to customer lead. |
|||||||||||||||
| Last Modified |
Date of last update of the customer account. |
The following table describes the table filters.
Table Filters
|
Filter |
Description |
|||||||||||||||
|---|---|---|---|---|---|---|---|---|---|---|---|---|---|---|---|---|
|
Customer Name/Zoom Account Number |
The name of the customer attached to the service or the Zoom Account Number of the customer. |
|||||||||||||||
|
Consented Date and Created Date |
From the drop-down list, choose one of the following:
|
|||||||||||||||
| Last Modified Date |
From the drop-down list, choose one of the following:
|
|||||||||||||||
| Status |
Deployment statuses:
|


| ➢ | To export the customer list to a CSV file: |
| 1. | In the All Customers tab, click Export CSV. The button is unavailable when the table has no customers. |
The CSV file is downloaded. The file name has the format <name>_yyyyMMdd_HHmmss.csv.
If the usage data of the customers has not yet been calculated, the message "Some data is not available yet. Do you want to proceed and download partial data?" is displayed. Click Download Anyway to download the file without the usage data, or click Cancel.
The file includes the customer details (for example, Full name, Service Name, Customer, Customer Id, Status, Zoom Account Number, Contact Name, Contact Email, Phone Number, Comment, Consented On and Last Modified), and the following usage columns, according to the service type:
| ■ | Total Numbers |
| ■ | Unused Numbers |
| ■ | Total User Numbers |
| ■ | Total Service Numbers |
| ■ | Total CC Numbers |
| ■ | Total CAC |
| ■ | Service Numbers CAC |
A column header marked with an asterisk (*) indicates a value that is updated daily; the other usage values are updated hourly.
| ➢ | To export the numbers of a customer to a CSV file: |
| 1. | In the customer row, open the three-dots menu and select Export Numbers CSV. |
The numbers of the customer are downloaded in a CSV file, in the same format as the export from the Numbers Management page (see Managing Zoom Phone numbers). This option is not available for customers that are still being deployed.
| ● | Channel operators can export only the customers of their own channel. |
| ● | If your session has expired, the message "Your session has expired. Please close the tab and open again from Live Platform." is displayed. |