Configure Click-to-Call on Live Hub
To configure click-to-call:
-
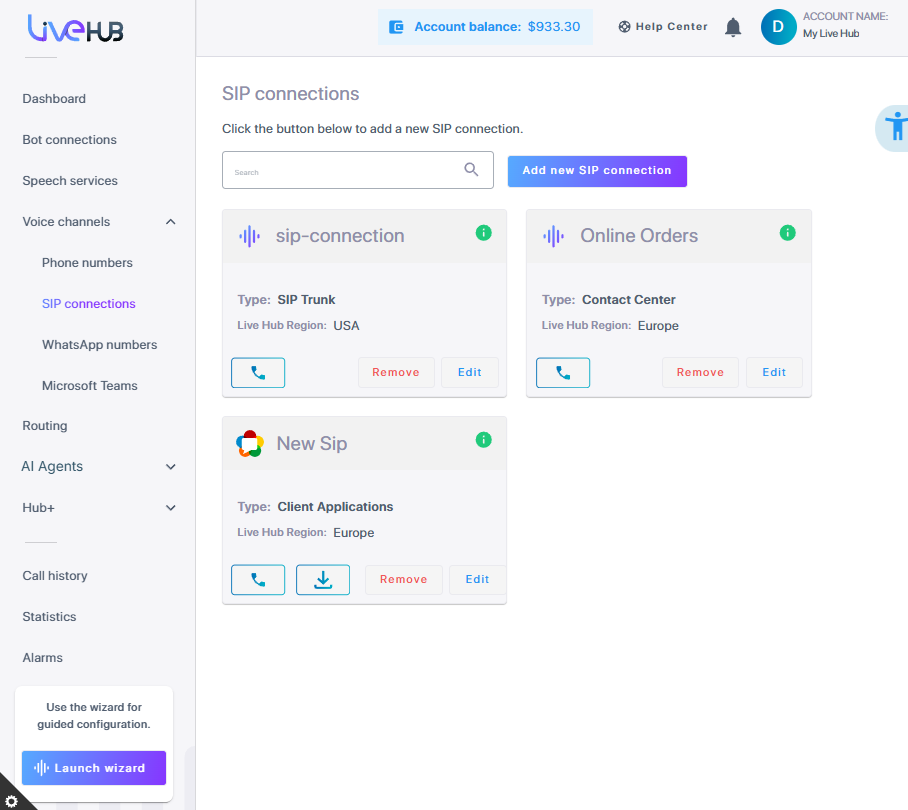
In the Navigation pane, expand Voice channels, and select SIP Connections; the following page is displayed, showing all existing SIP Connections (if any):
-
Click the Add new SIP connection button.
-
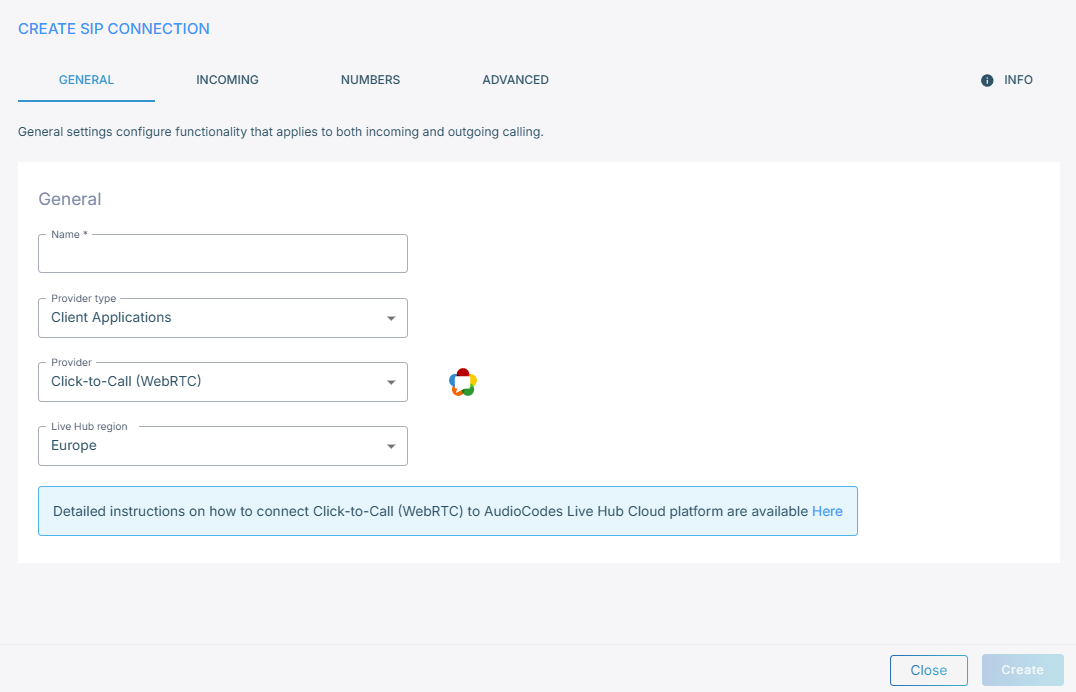
Click the General tab.
-
Under the General group:
-
In the 'Name' field, enter the SIP Connection name.
-
From the 'Provider Type' drop-down list, select Client Applications.
-
From the 'Provider' drop-down list, select Click-to-Call (WebRTC).
-
From the 'Live Hub region' drop down list, select the geographical location (region) in which Live Hub voice infrastructure is deployed.
-
-
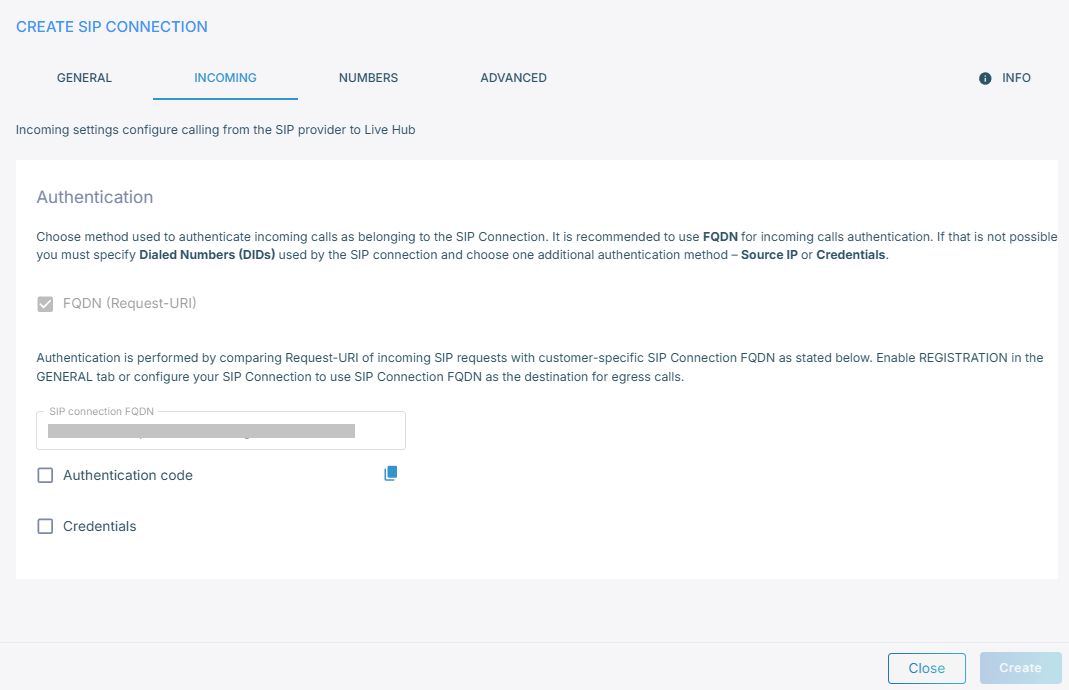
Click the Incoming tab.
-
When securing your data, you have two options: 'Authentication code' or 'Credentials'. 'Authentication code' is more secure and therefore the preferred option, while 'Credentials' provides basic security.
Security Method
Do this ...
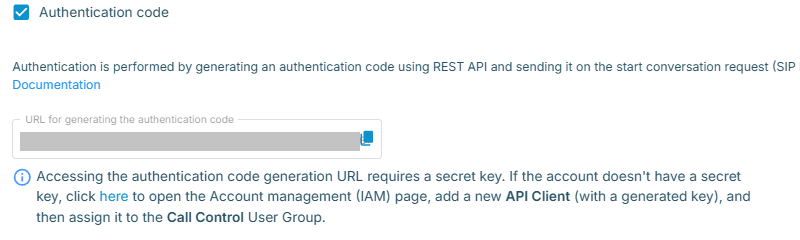
Authentication code -
Select the 'Authentication code' check box; the following appears:
-
To generate an authentication code, use the URL that appears here. For details generating an authentication code using the API, see Authenticate using authentication code
Credentials -
Select the 'Credentials' check box; the following appears:

-
Enter the 'Username' and 'Password' fields. Authentication is performed by checking credentials of incoming SIP requests.
Use these same credentials on the client side.
-
-
Click Create.