Add a Mail-Enabled Security Group
The instructions below focus on how to create a mail-enabled security group through Microsoft 365 admin center.
| ➢ | To add a mail-enabled security group: |
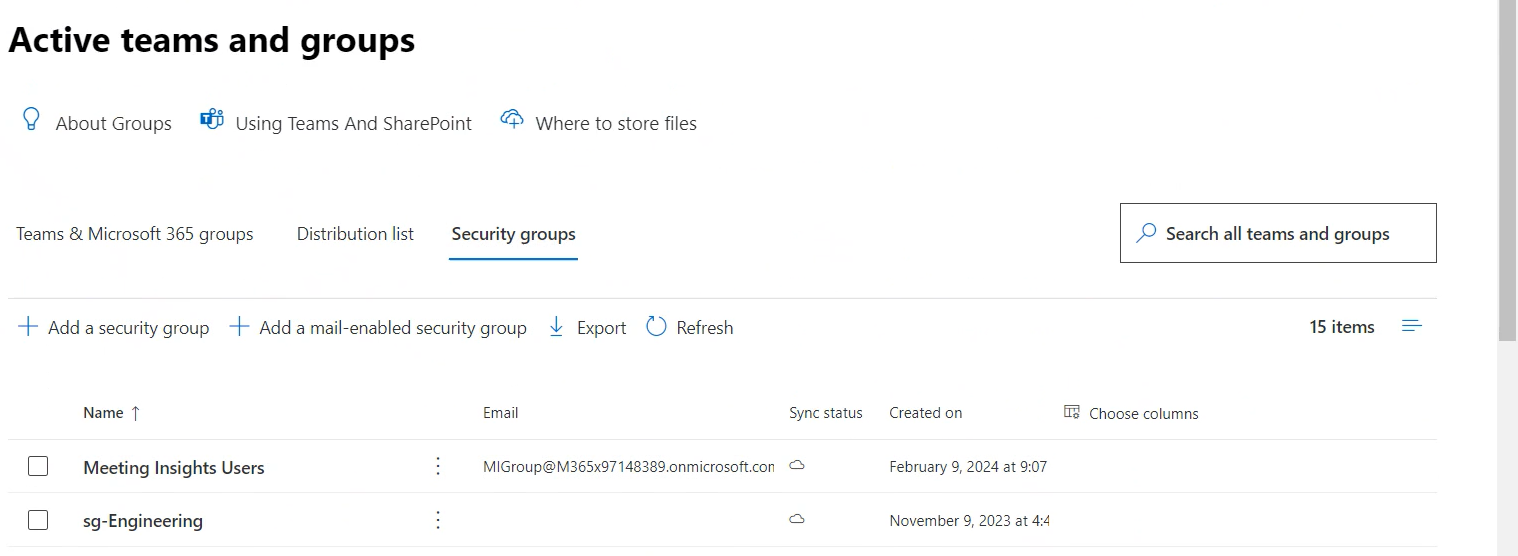
| 1. | In Microsoft 365 admin center, go to Teams & groups > Active teams & groups > Security Groups tab. |
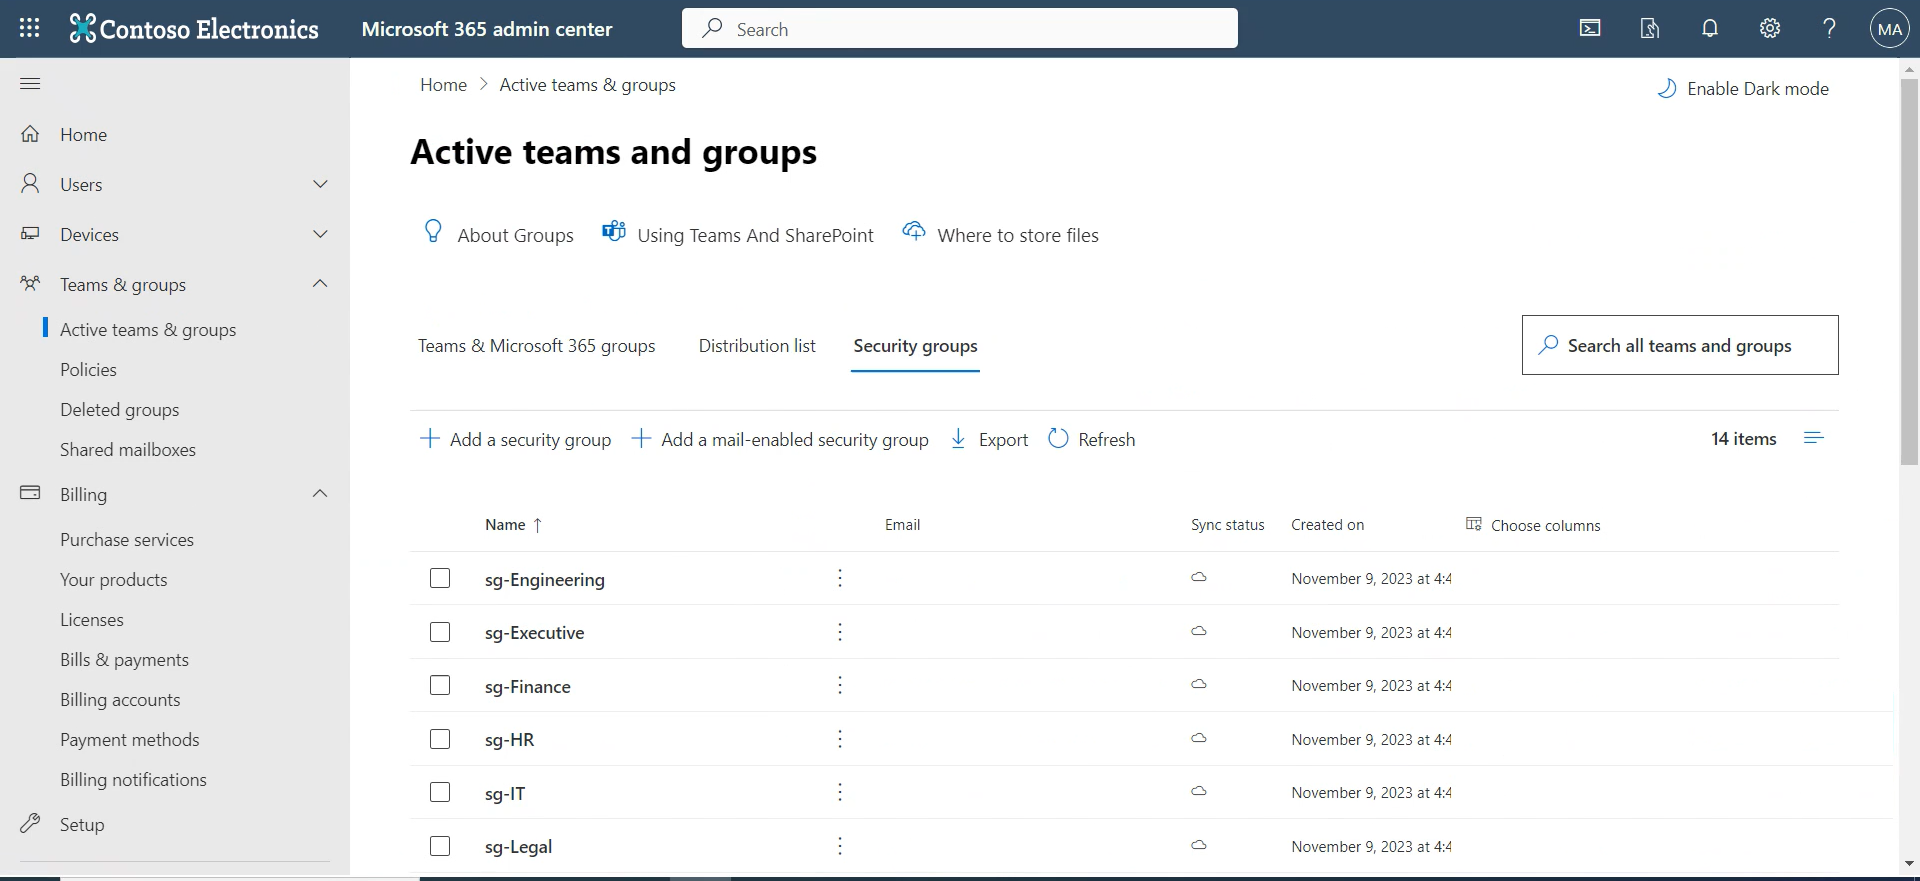
| 2. | In the 'Active teams & groups' page shown above, click + Add a mail-enabled security group. |
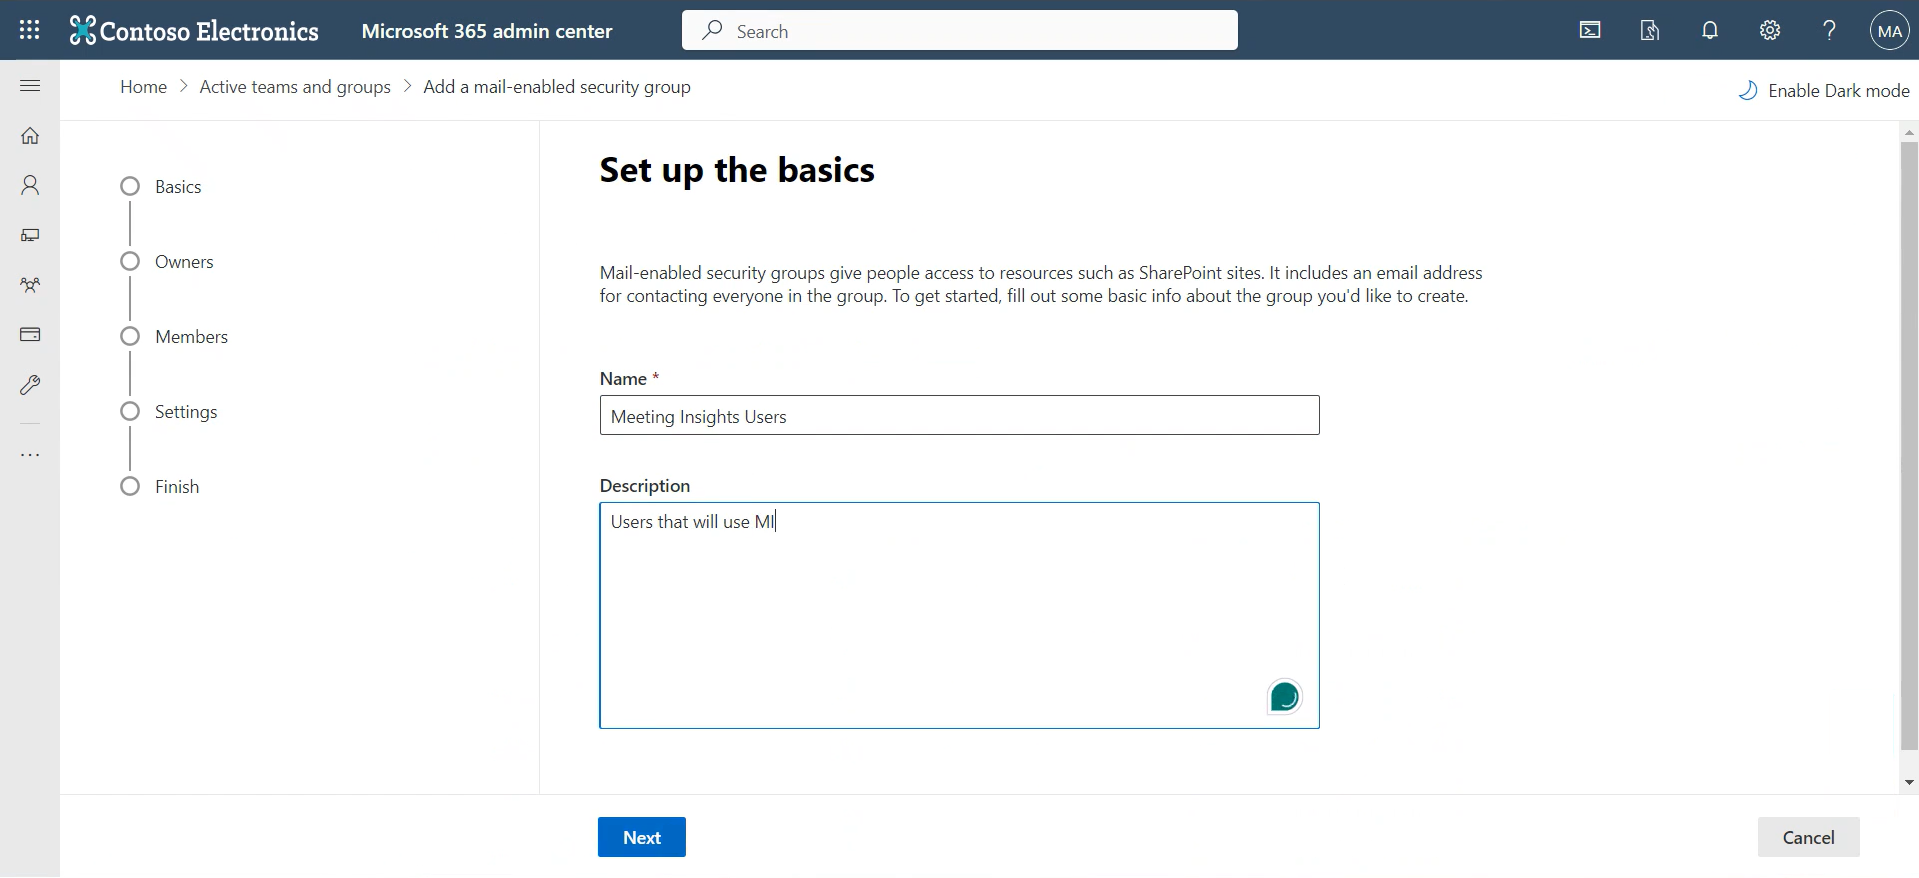
| 3. | In the 'Set up the basics' page shown above, enter Meeting Insights Users in the 'Name' field, enter a 'Description' to facilitate effective management later, and then click Next. |
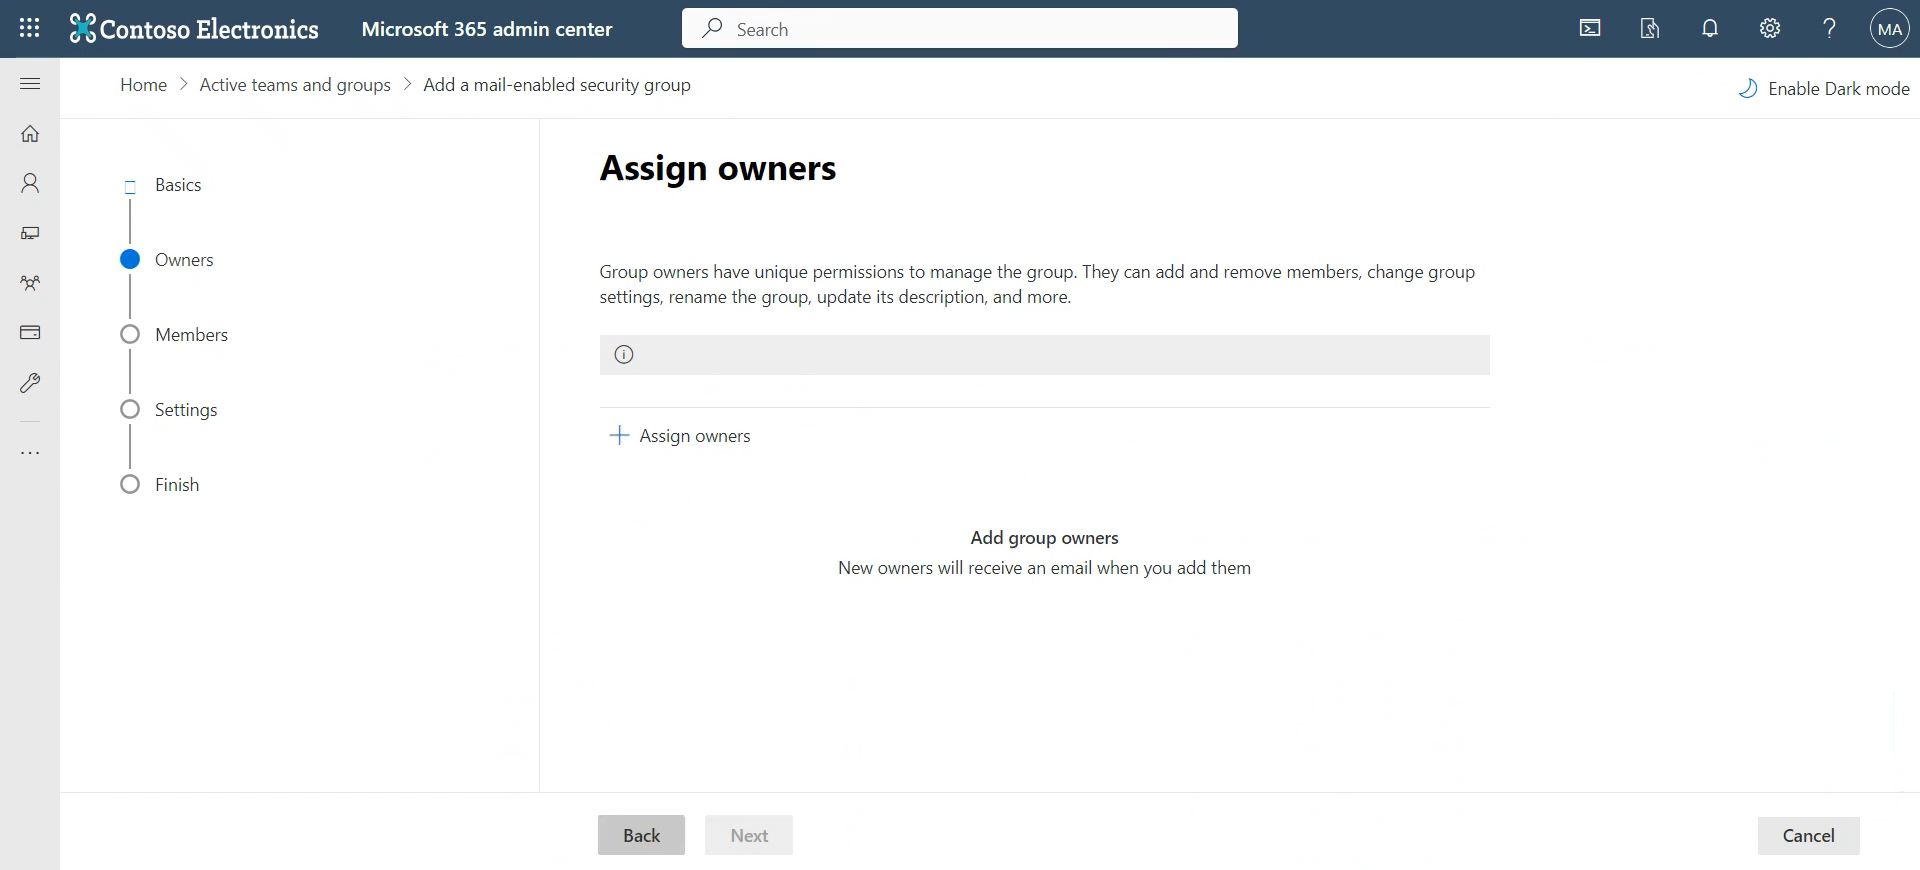
| 4. | In the 'Assign owners' page that opens, click + Assign owners. |
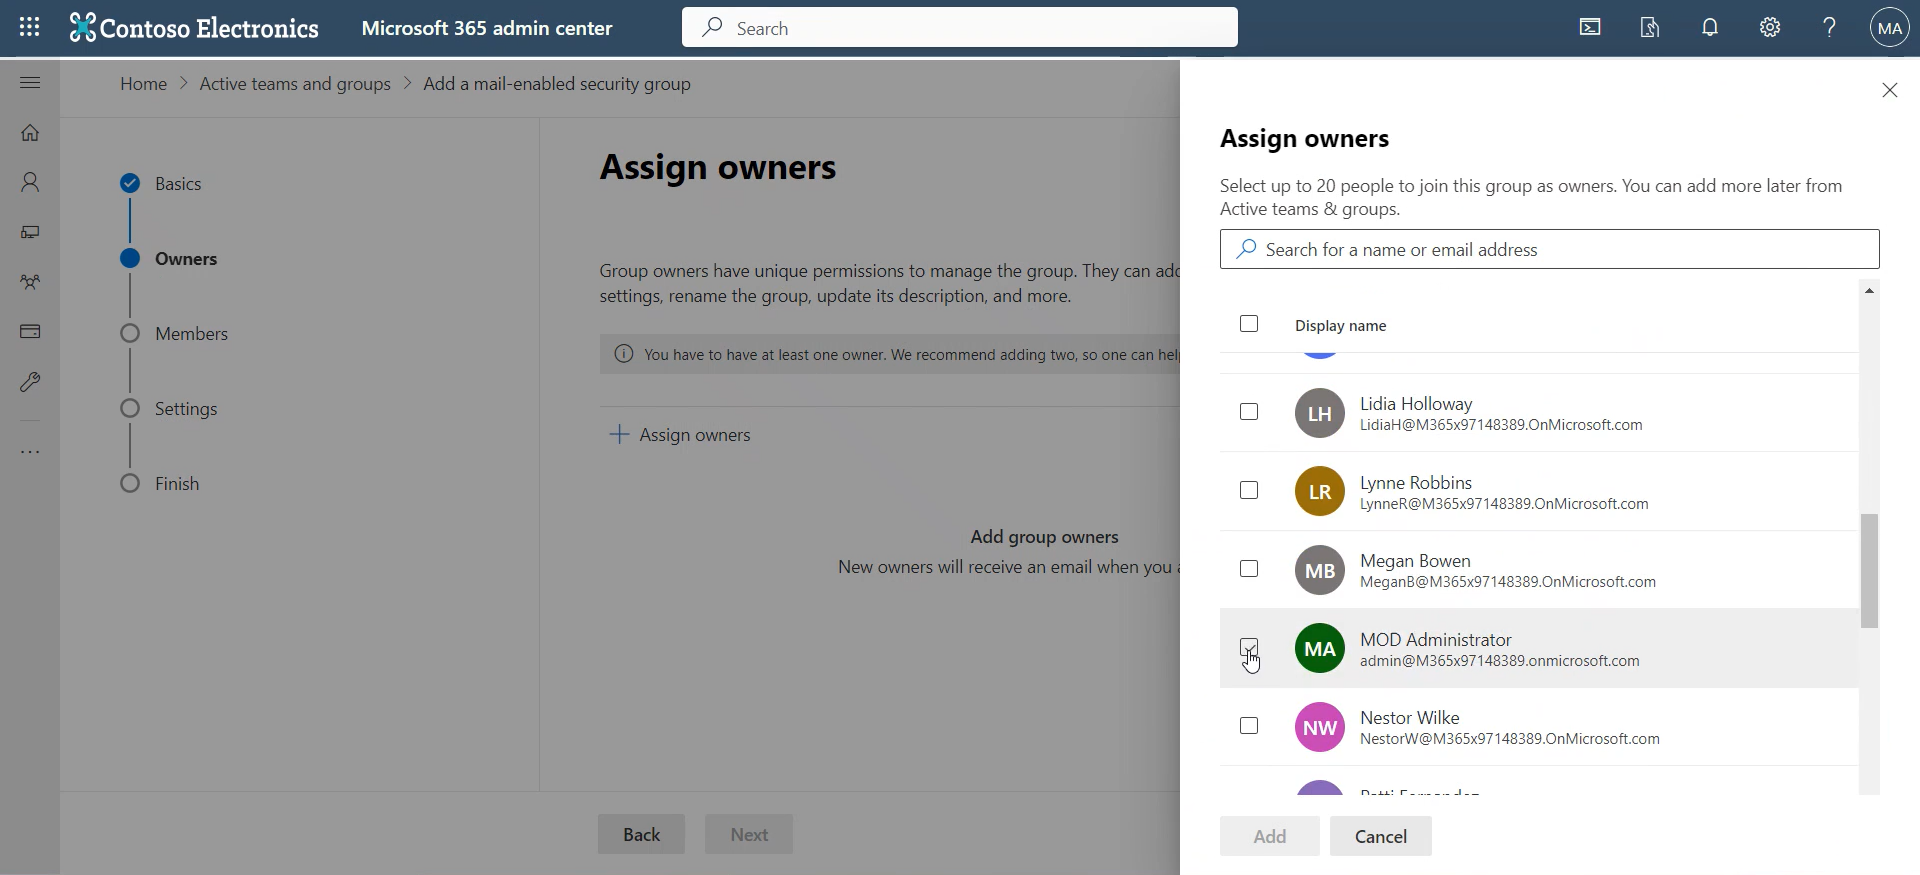
| 5. | From the list that pops up on the right side, select an owner(s) and click Add. |
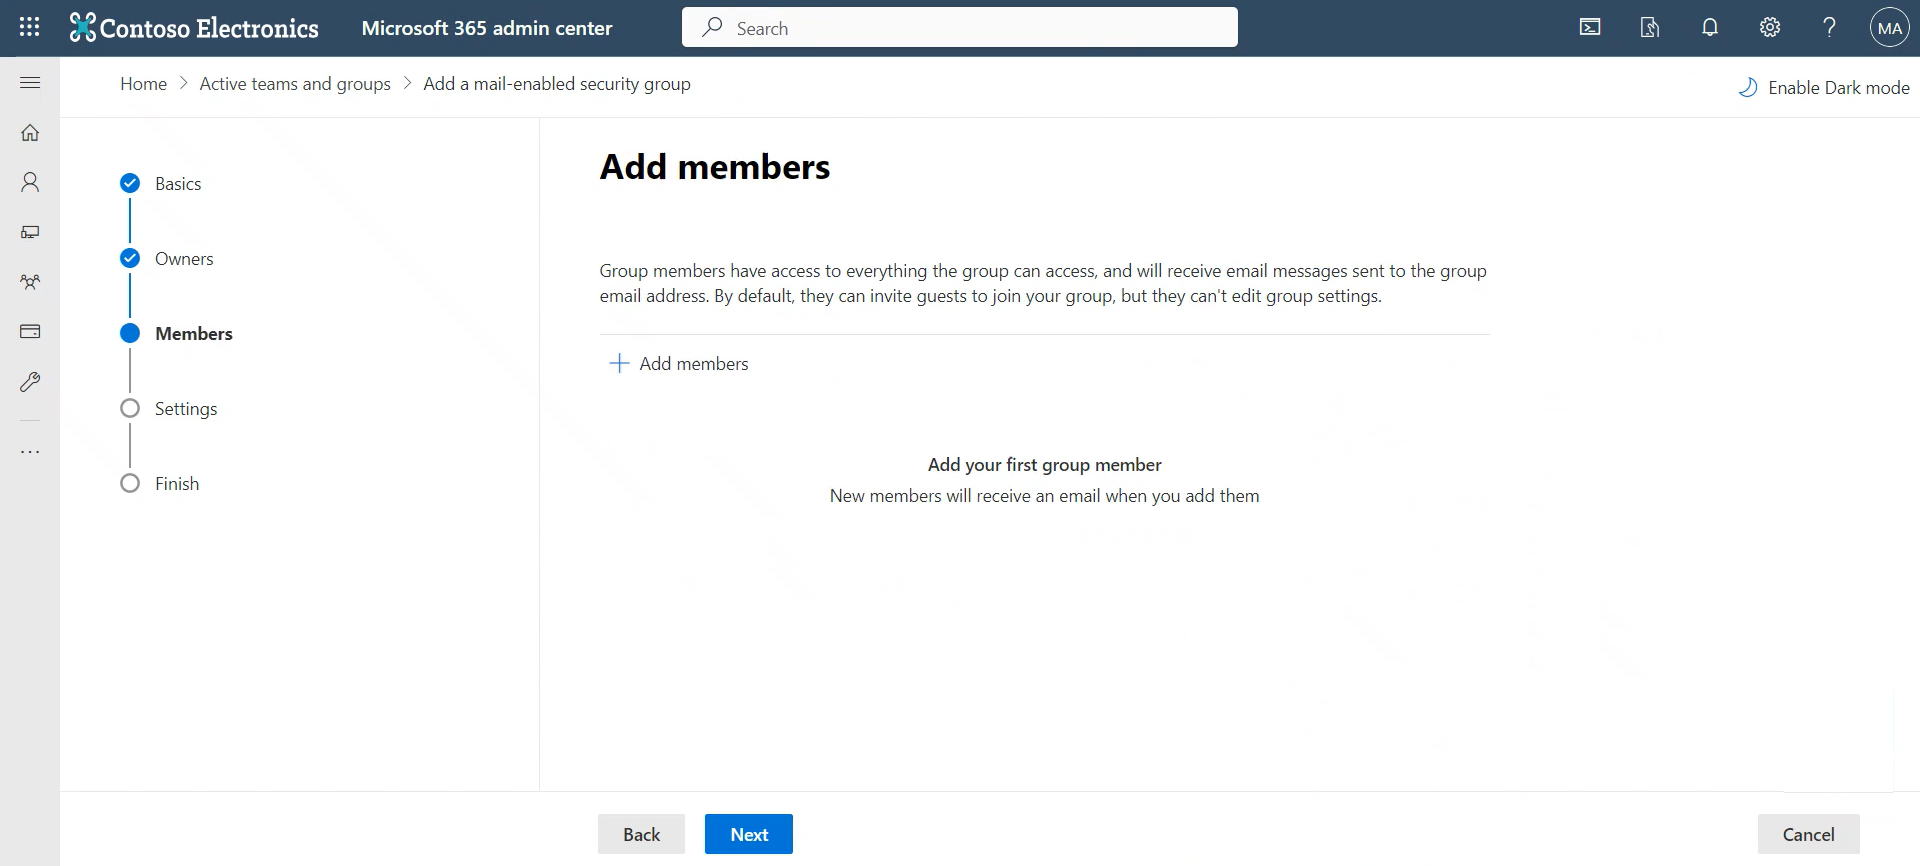
| 6. | In the 'Add members' page shown above, click + Add members. |
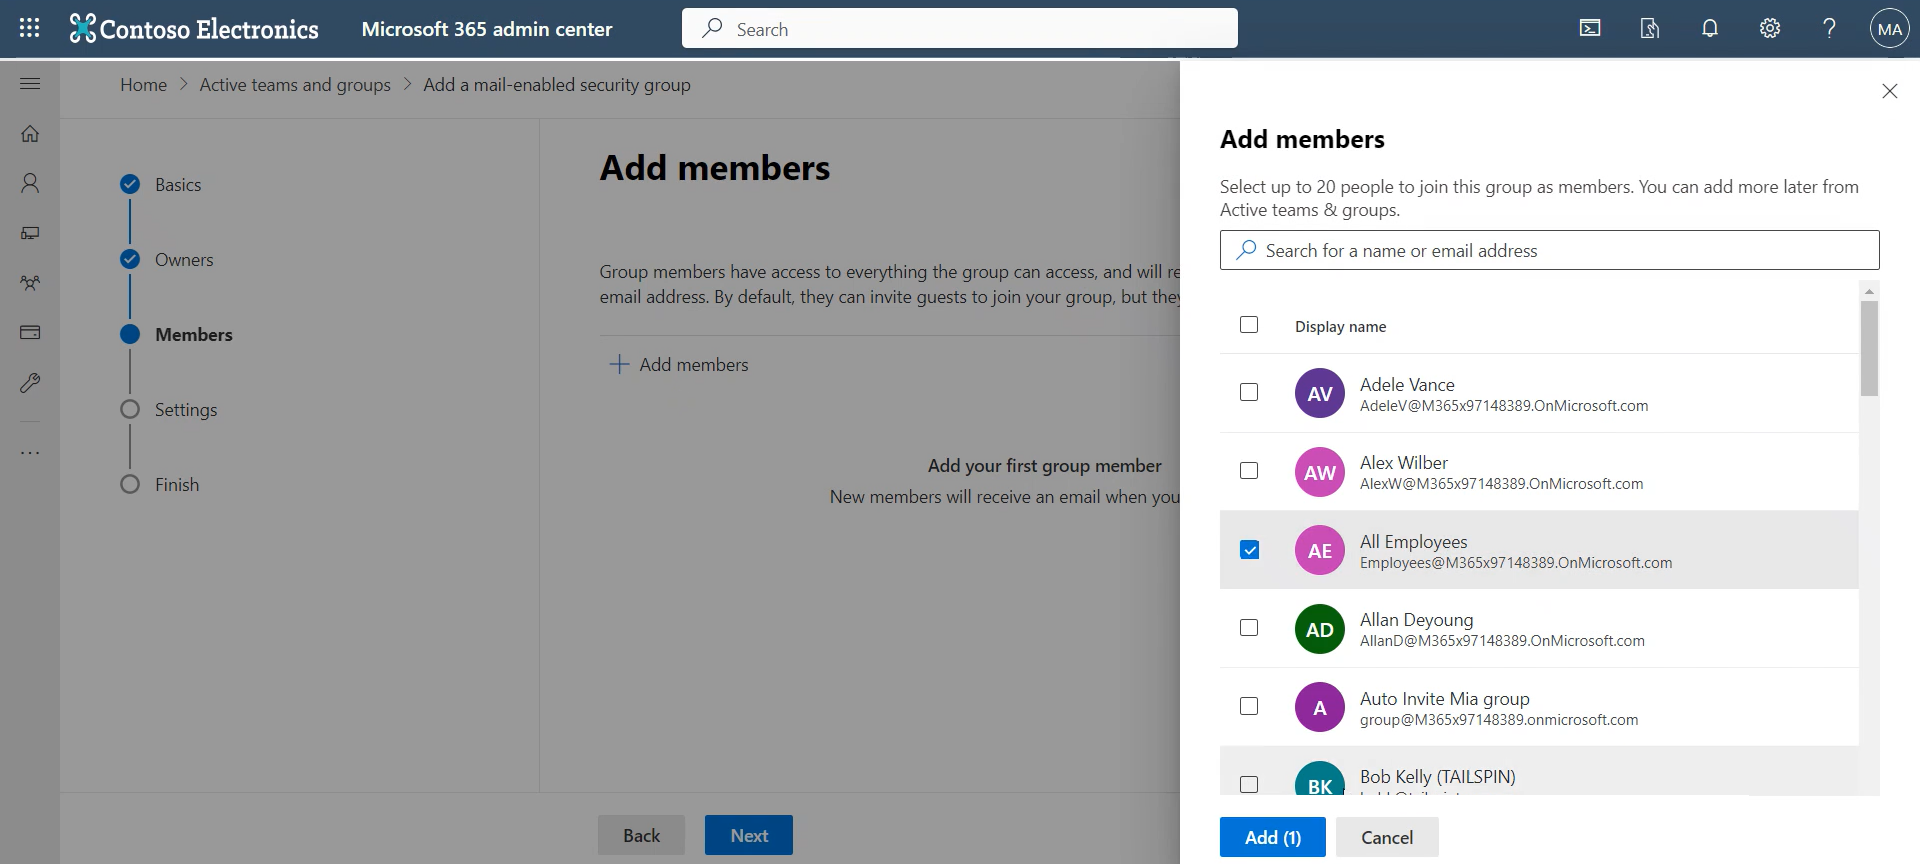
| 7. | Select individual members to add to the group or groups, and then click Add. |
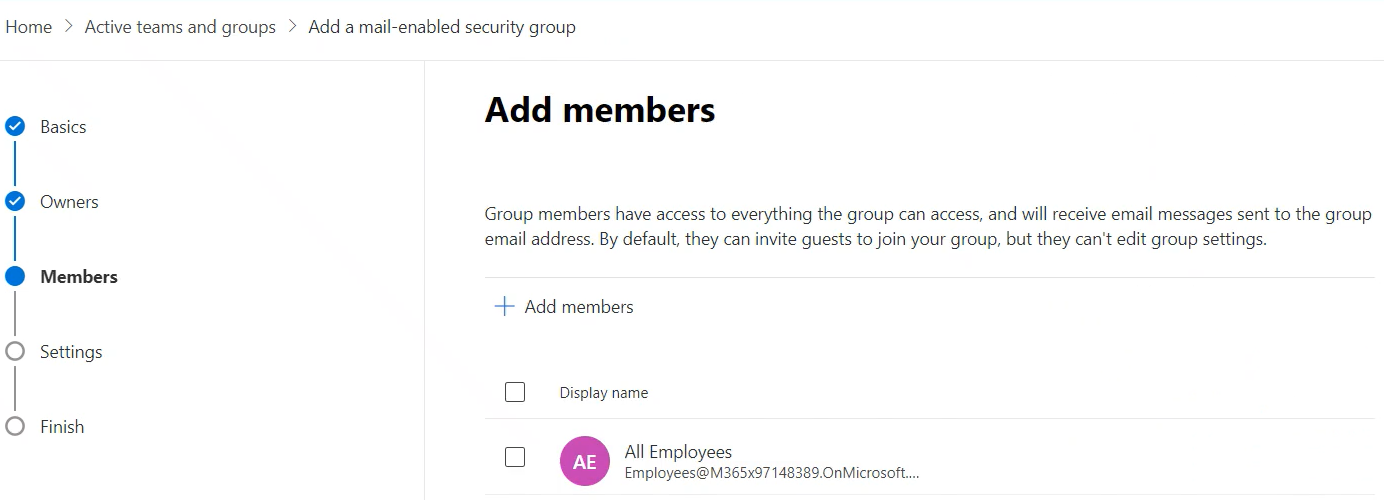
| 8. | Make sure the members you selected were added, and then click Next. |
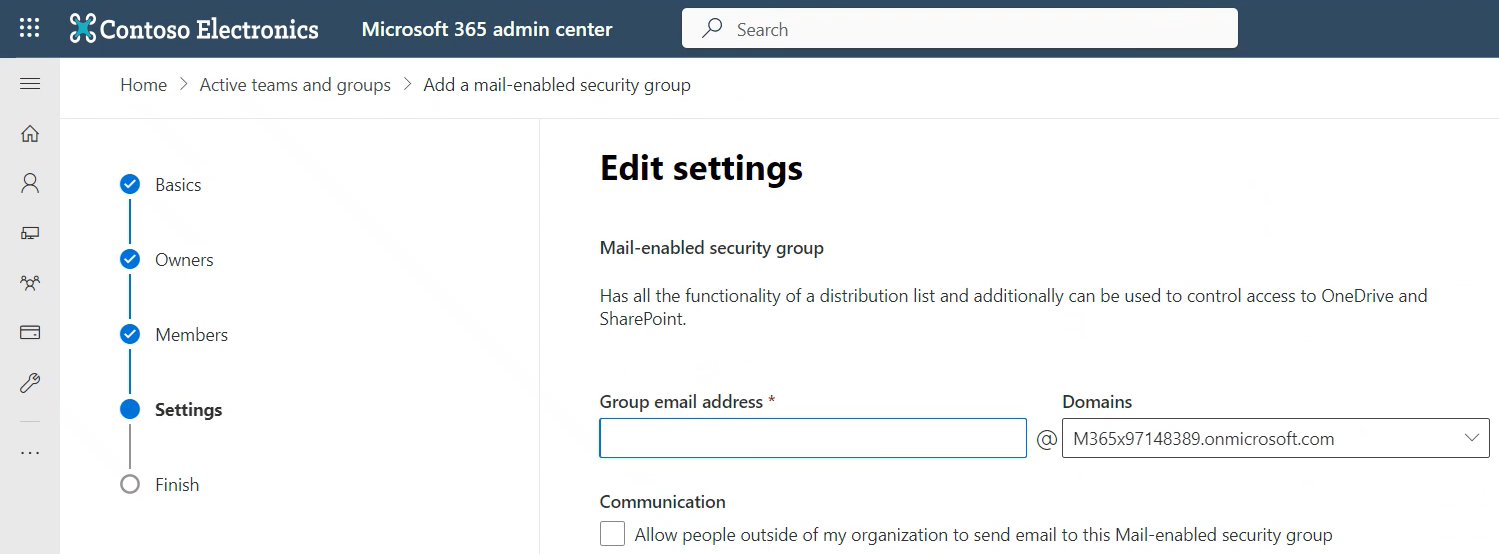
| 9. | In the 'Group email address' field, enter a group name (e.g., MIGroup). |
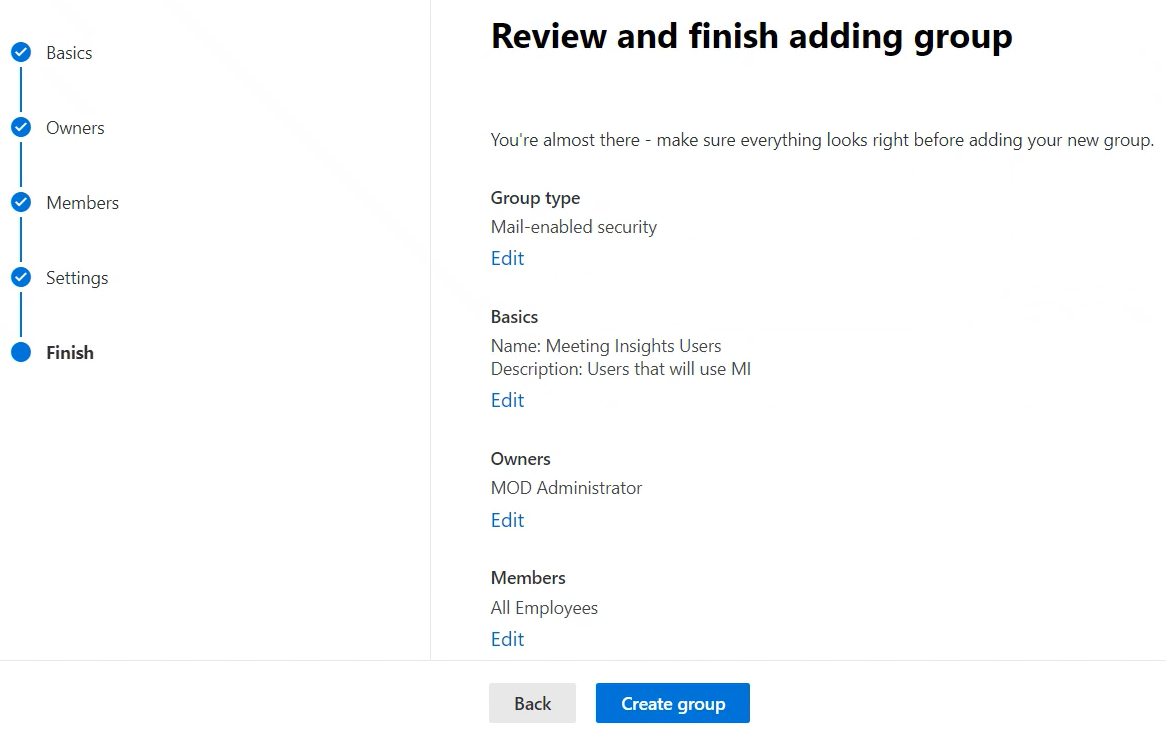
| 10. | Click Create group. |
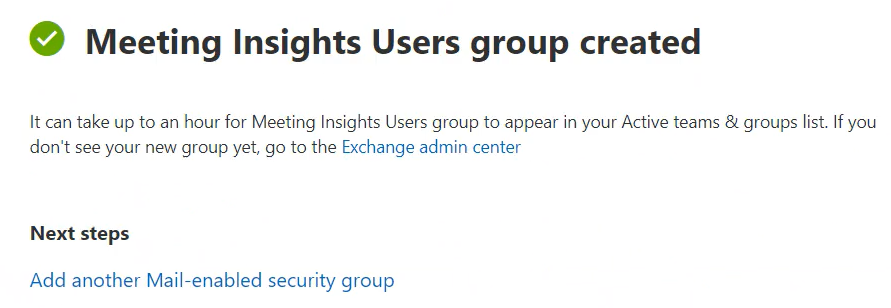
| 11. | Click Close. View the newly created mail-enabled security group listed in the 'Active teams and groups' page: |
Next: Configure the 'Auto-Invite' rule as shown here.