Create New App Registration Automatically using Invitation Wizard
An App registration for securing the connection between Live Platform and your M365 tenant platform can be created automatically using the Invitation wizard. The wizard is triggered through an Authentication URL link sent in an email to either your Live Platform provider or channel admin or to your M365 admin user account. If you create the registration together with your provider or channel then you must provide them with your M365 Global admin user Principal Name (UPN). This process additionally creates an Enterprise application with Delegated Token authentication required for adding the Application registration. You can remove this application once the Application Registration has been successfully created. The name of the application is <LivePlatform_servername>-<ServiceProvider_name>-token. For example, 'Sandbox1-sp2-token'.
Ensure that the Application Administrator admin role is assigned to the customer tenant M365 admin (User Principal Name-UPN) that you configure in the step below.
|
1.
|
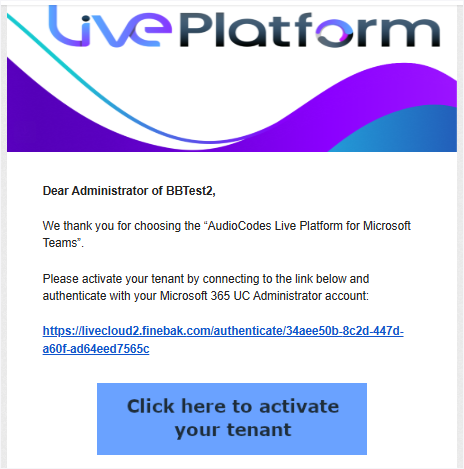
You receive an email link similar to the following: |
|
2.
|
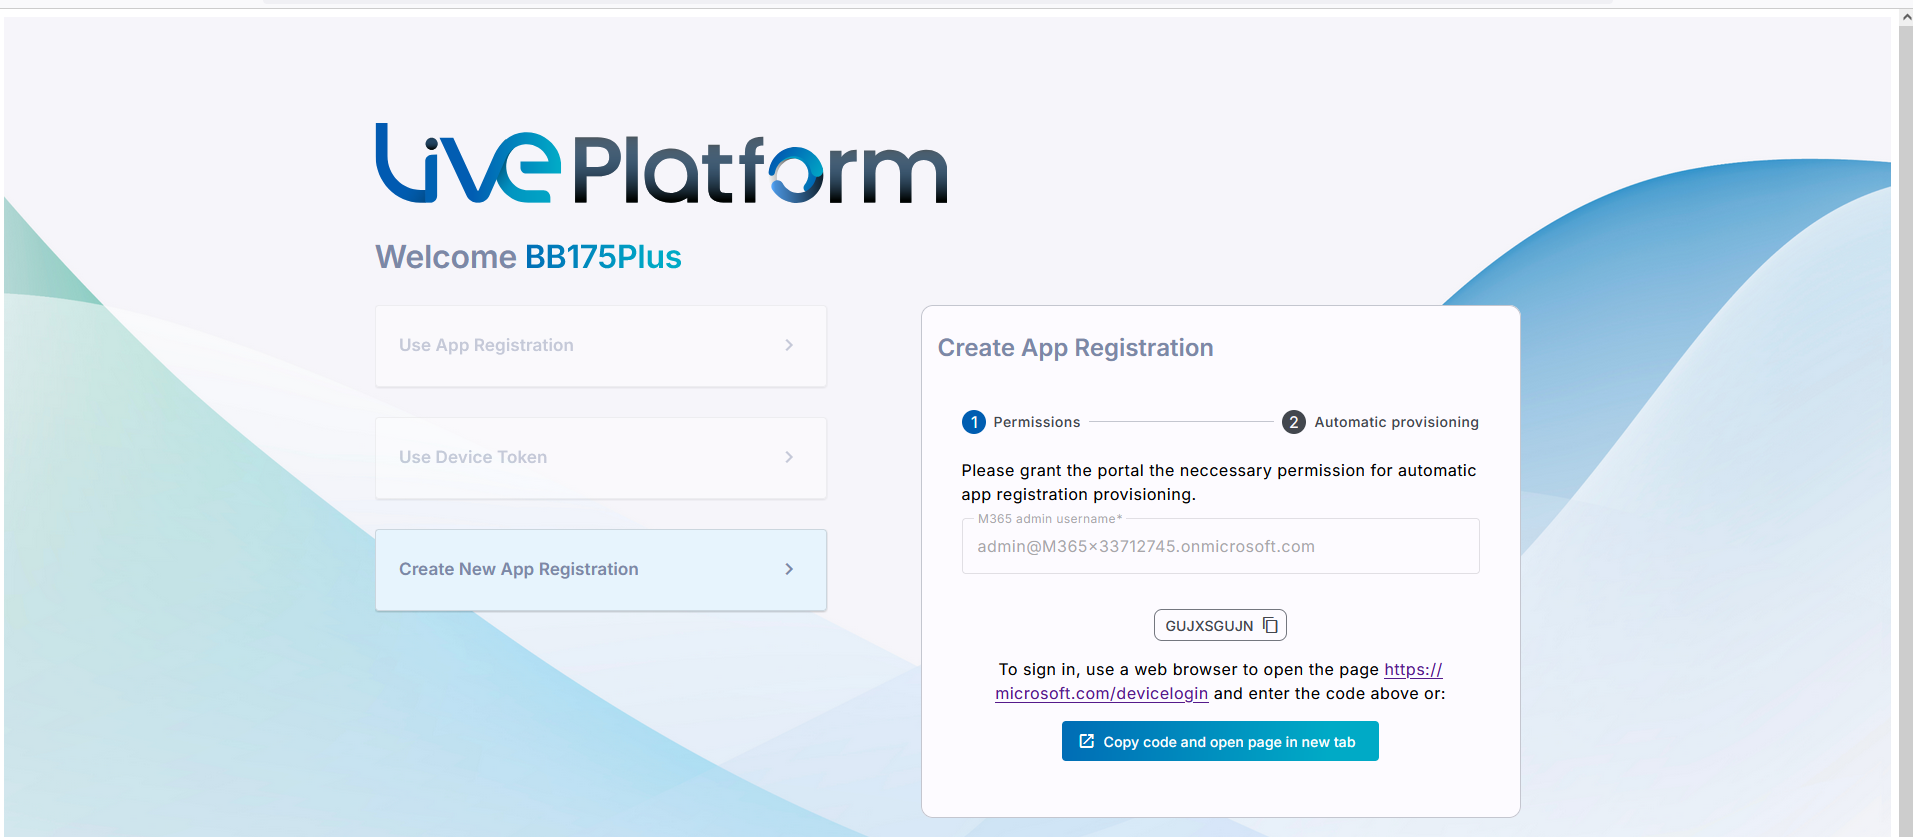
Click Click here to activate your tenant.The Invitation wizard is displayed. |

|
3.
|
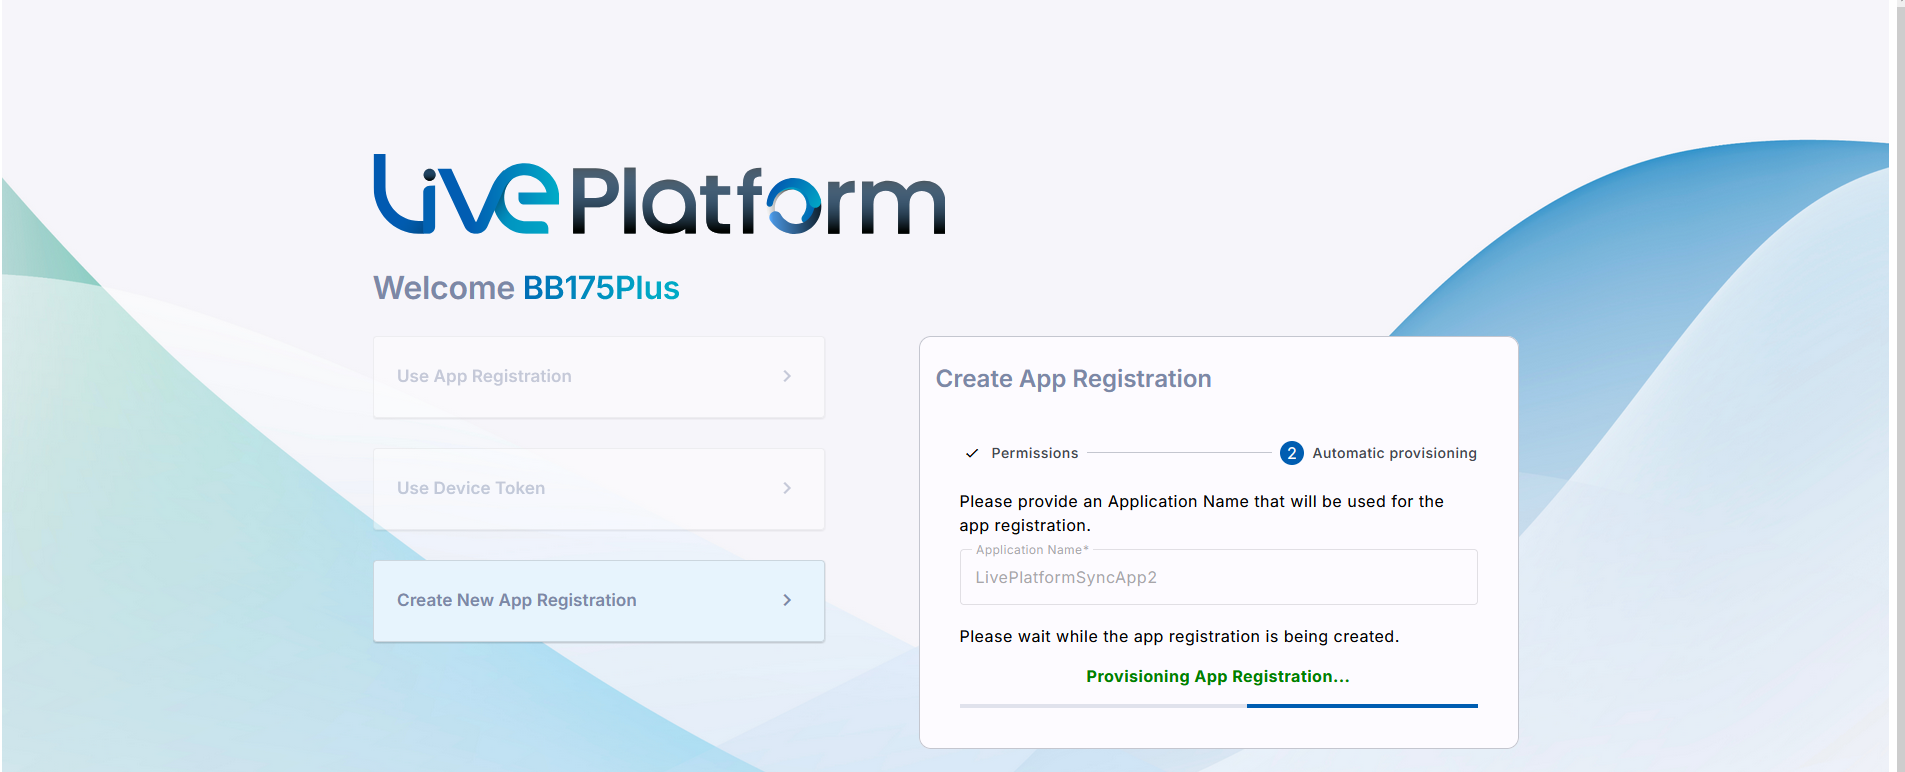
Click Create New App Registration. |
|
4.
|
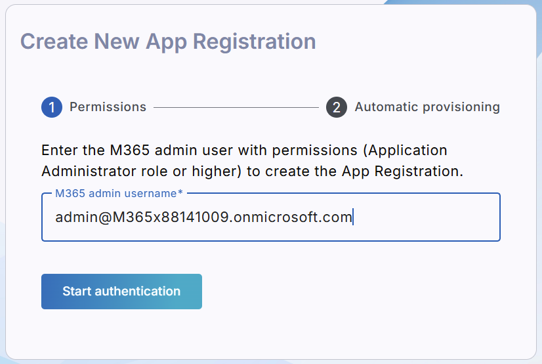
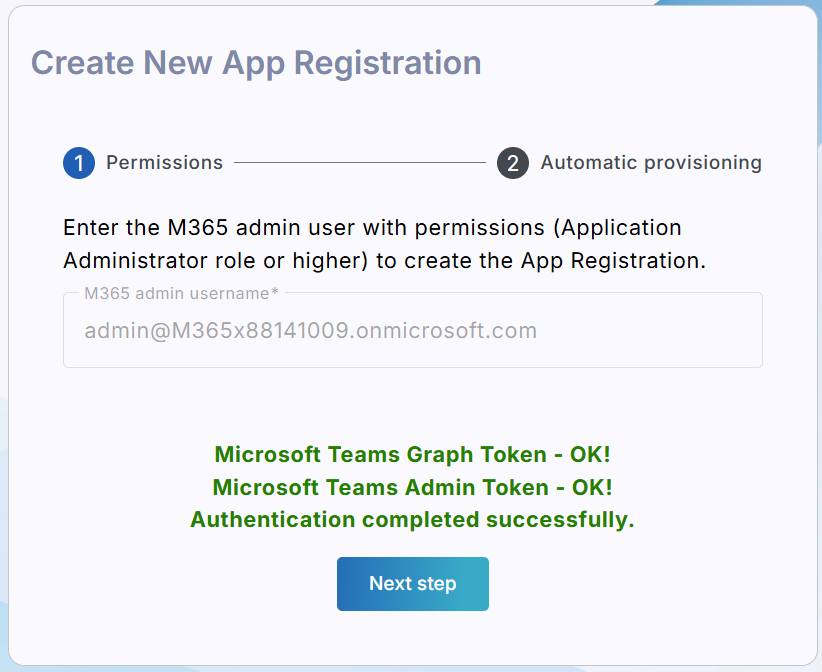
Enter your M365 admin (User Principal Name-UPN) with Application Administrator permissions and then click Start Authentication. |
|
5.
|
Do one of the following: |
|
●
|
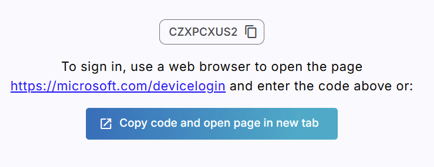
Copy the code and then click the URL link below it. |
|
●
|
Click Copy code and open page in new tab. |
|
6.
|
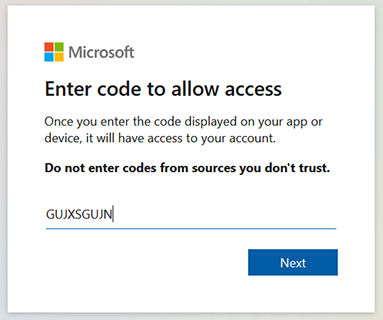
Click Next or enter code if you clicked the ....device/login link above. |

|
7.
|
Enter credentials of the customer M365 admin (User Principal Name-UPN) and then click Continue. |
|
8.
|
A confirmation message is displayed; close the dialog. Another confirmation message is displayed that the Token connection has been successfully established. Click Next Step. |
|
9.
|
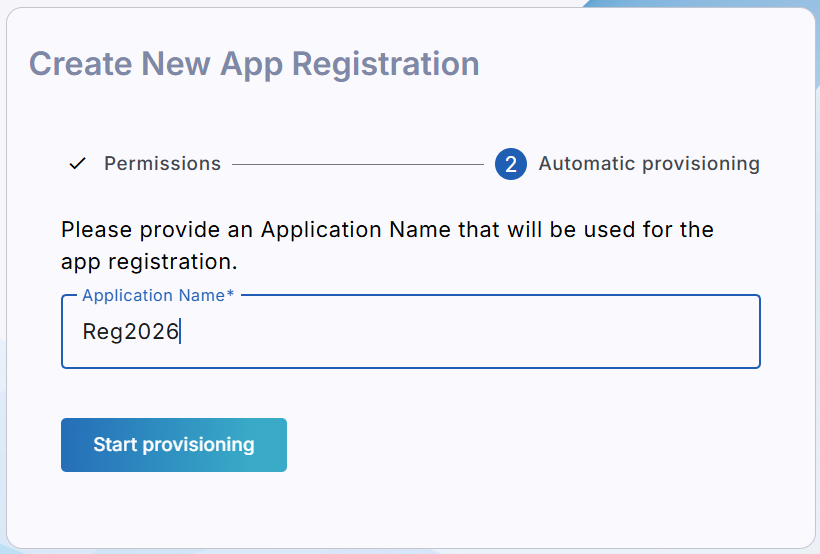
Enter the name of the App registration complying with the following rules, and then click Start Provisioning: |
|
●
|
The string should be 3-15 characters long |
|
●
|
The following characters cannot be used: \ / : * ? " < > |audit |
|
●
|
The string can contain letters (lower/UPPER case), numbers and special characters are allowed, however cannot contain the dot (.) or blank spaces. |
|
●
|
Define a unique name per service |
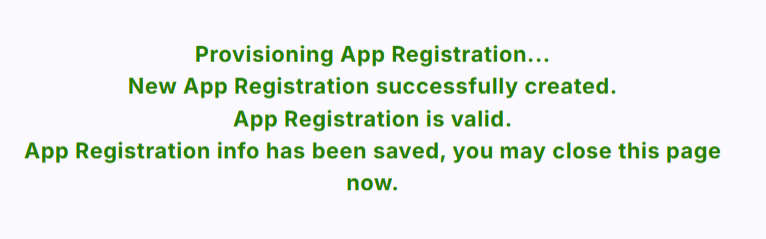
At the end of the process, the following confirmation message is displayed; close the page.
Your provider or reseller completes the Onboarding process to create the new Direct Routing service.
|
11.
|
Verify that the service has been successfully deployed and status is OK. |
|
12.
|
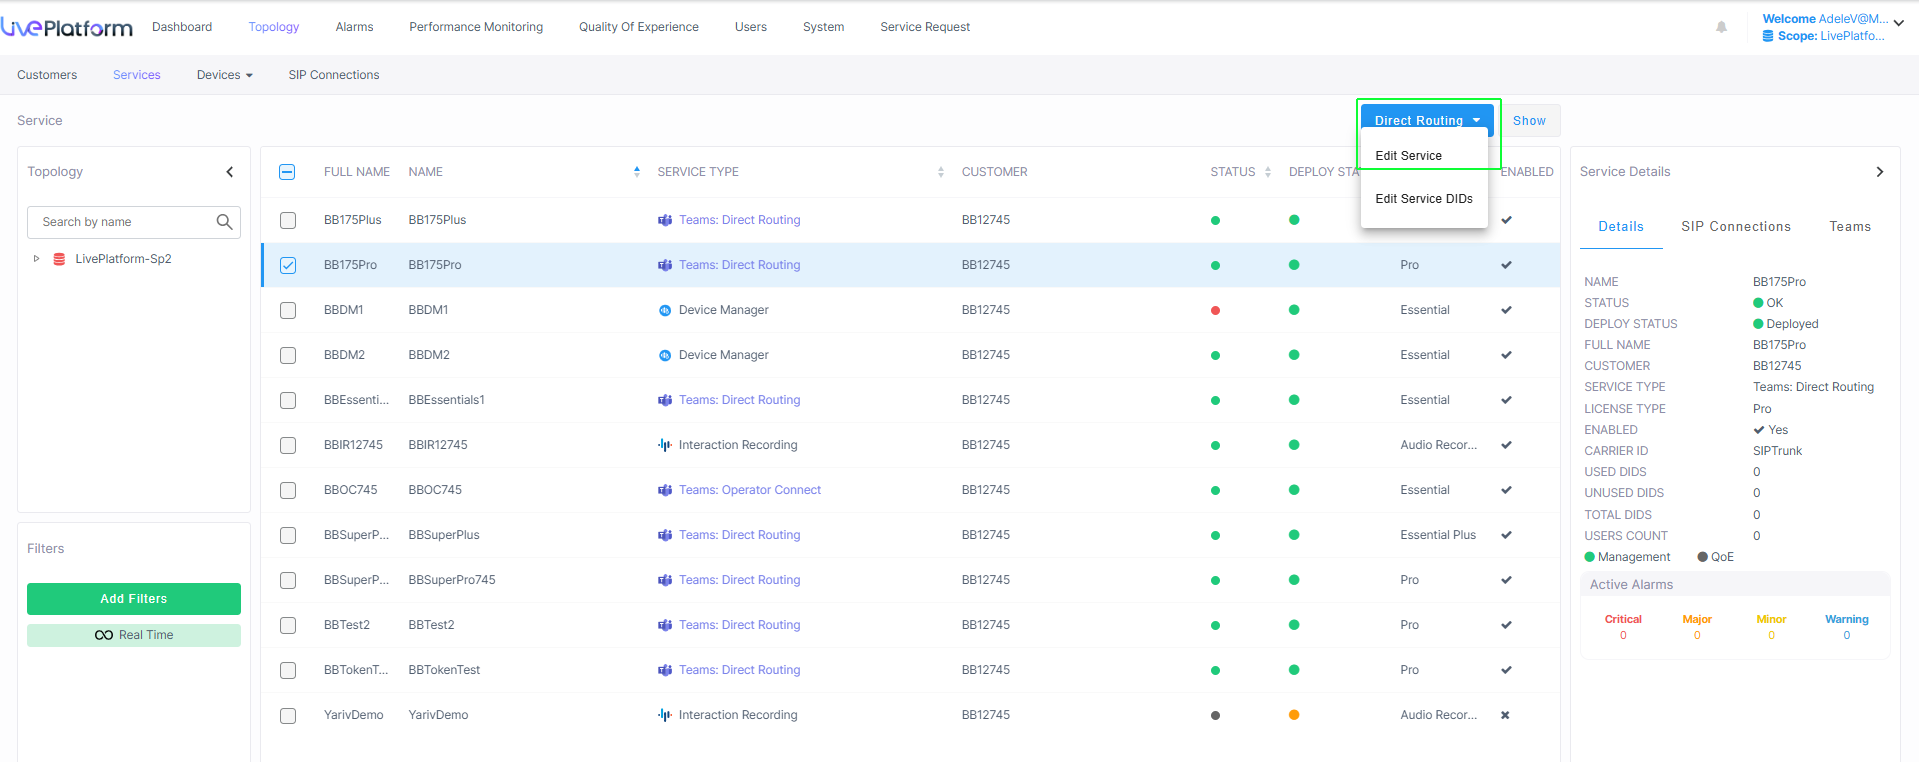
Open the Service portal for the new service (Direct Routing > Edit Service). |
|
13.
|
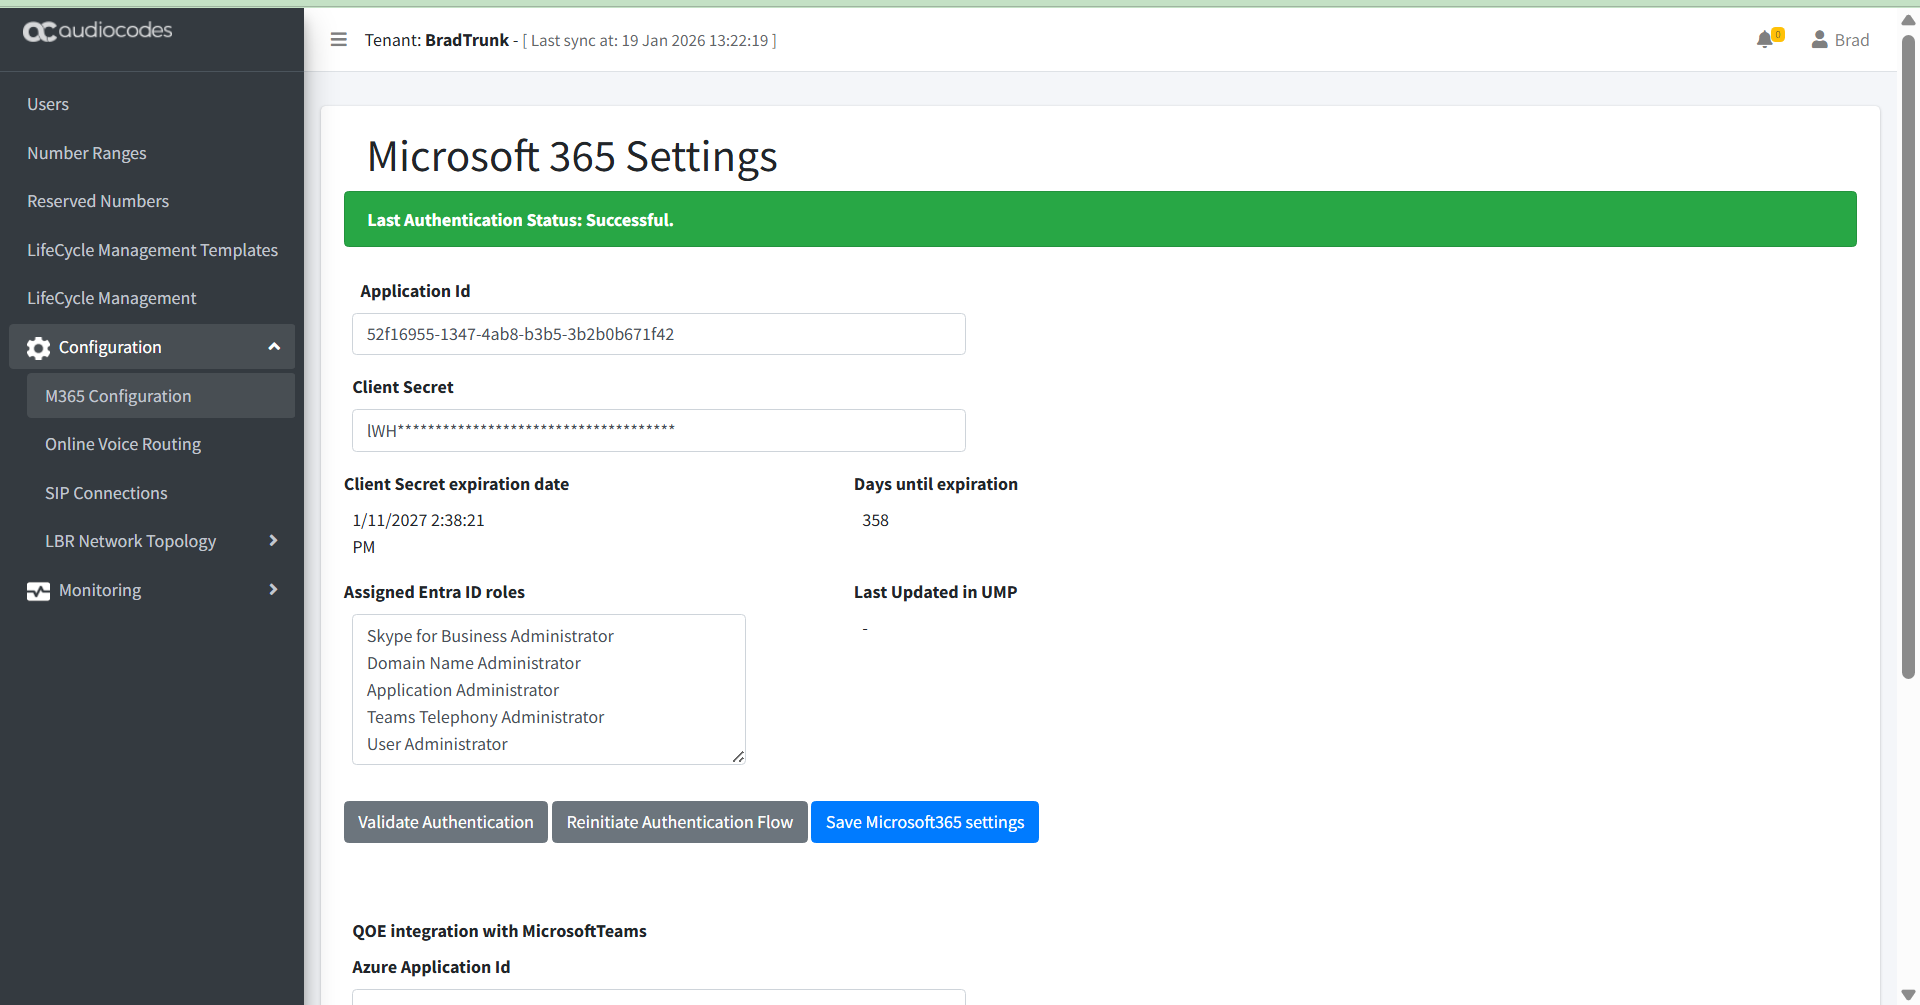
Navigate to the Microsoft 365 Settings page (Configuration > M365 Configuration). |
|
14.
|
Verify that the tenant has successfully authenticated with the M365 platform. Click Validate Authentication to perform manual authentication. |
|
16.
|
Open the Azure portal and in the Navigation pane, select App Registrations and then search for your registration. |
|
17.
|
In the Navigation pane, select Manage > Certificates & Secrets. |

|
18.
|
Copy the secret value to notepad. |
|
●
|
Copy the value immediately to notepad as it hashed after a short time. If you do not see the secret value then create a new one and copy it. |
|
●
|
If you use the Application registration to create additional services, a new secret should be created for each new service. |
|
19.
|
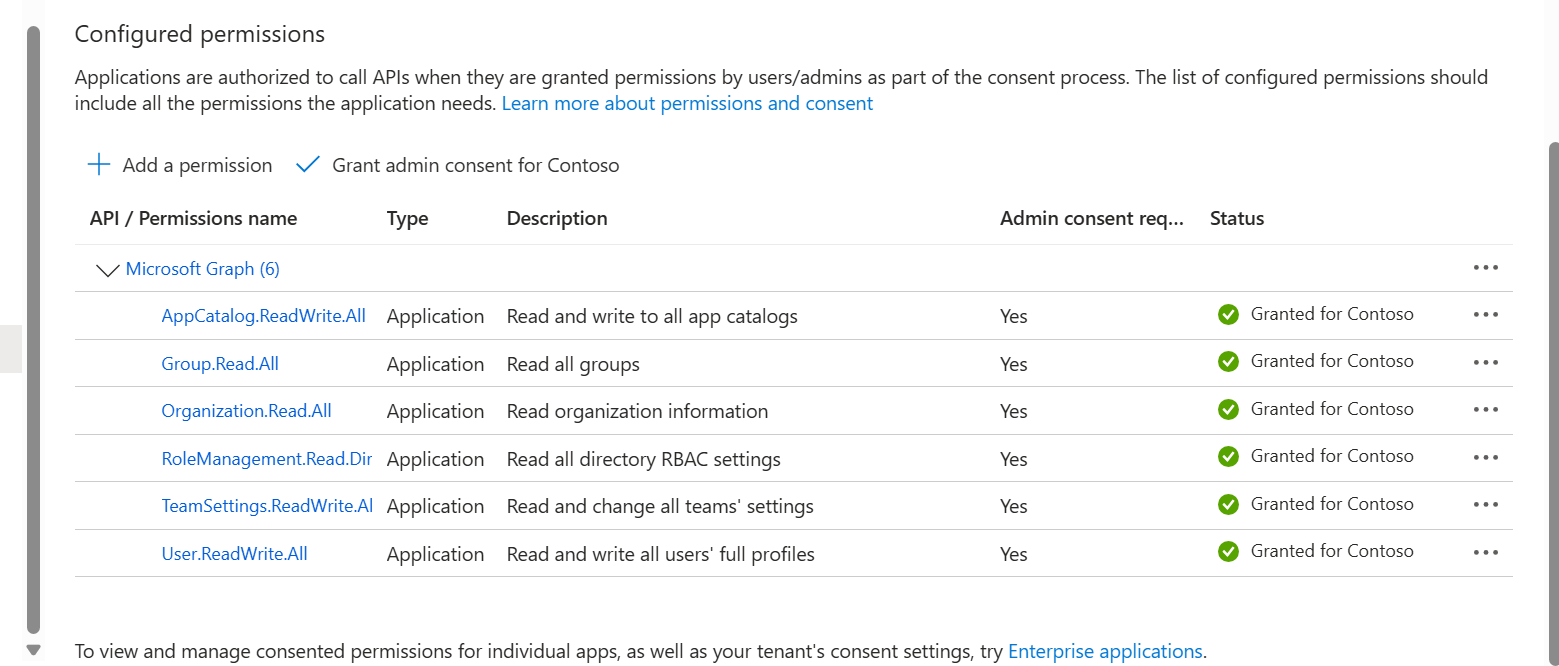
In the Navigation pane, select Manage > API permissions. View the new permissions created by the automatic script. |
|
20.
|
Verify with your Provider or Channel partner that the service has been successfully added to Live Platform. |
|
21.
|
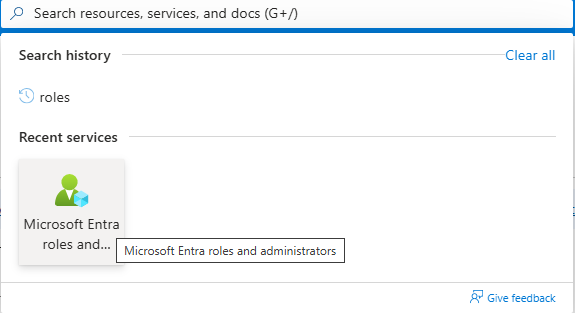
In the search box in the Menu bar, type Microsoft Entra Roles and administrators. |
Do not remove roles until you have verified that the service has been successfully added to Live Platform.
|
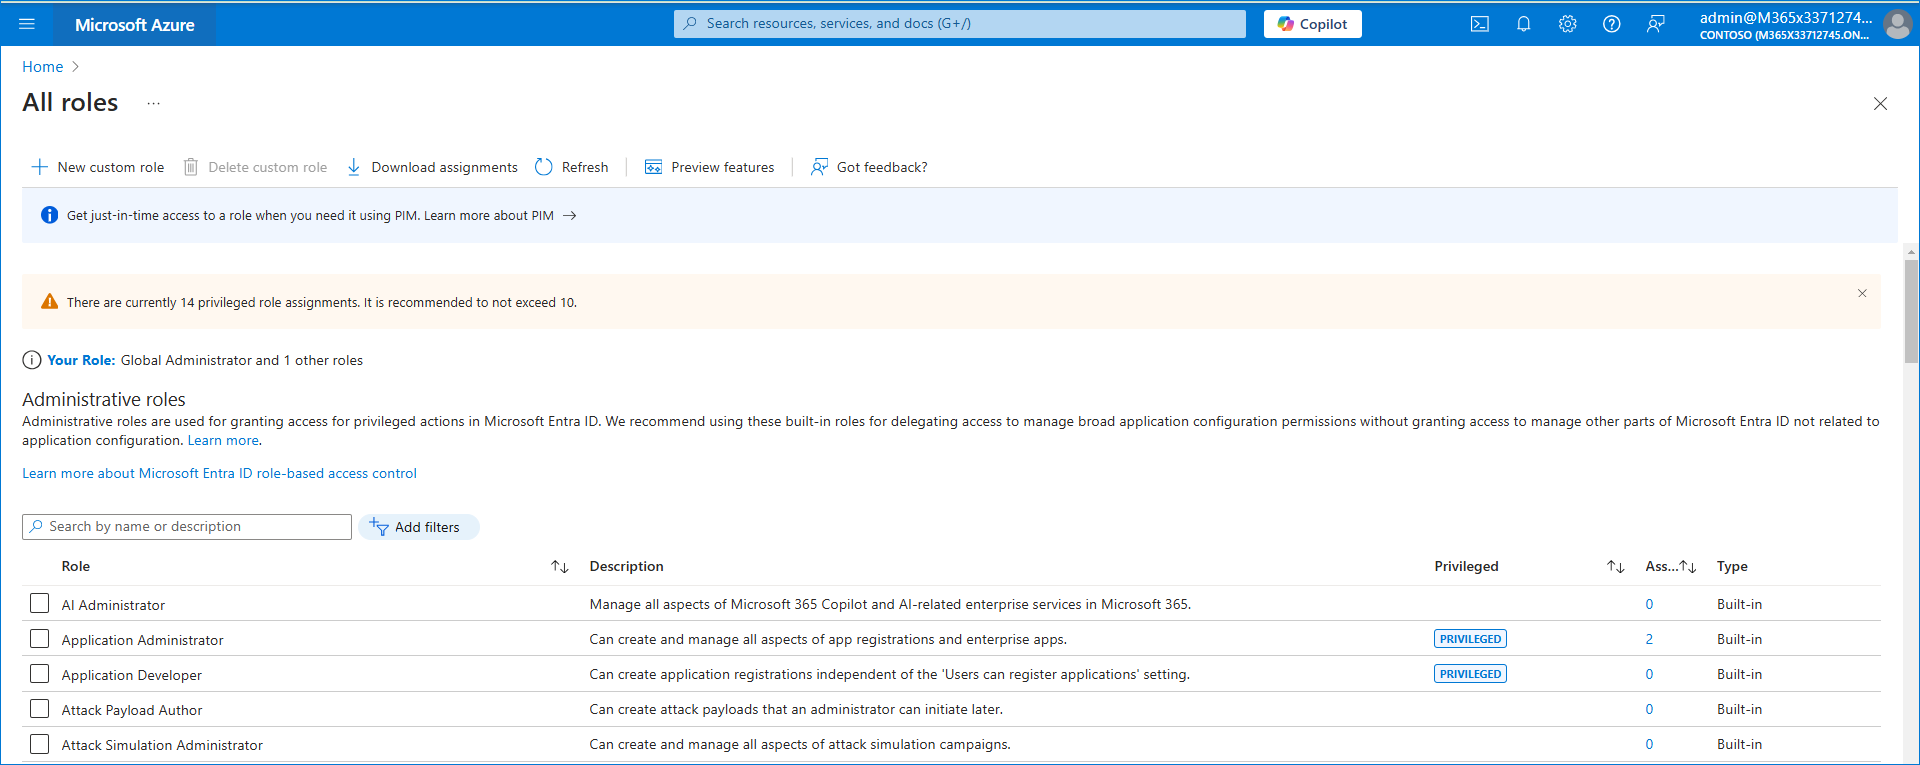
22.
|
Search for the specific roles to add or remove according to the table in Create Application Registration Automatically using Invitation Wizard. |