Logging into Live Platform portal with Microsoft MFA
Logging into the Live Platform Operation Center portal interface is secured using Azure Authentication with Multi-Factor Authentication (MFA). Accessing the Operation Center portal using your Azure tenant credentials initially requires you to login with the Global admin credentials of your Microsoft Entra ID tenant. This action establishes a connection with Microsoft Entra ID and creates an Enterprise application. During this process, the Global admin must authorize access for Live Platform to your tenant resources in Microsoft Entra ID. Once the Enterprise application is created, you can assign Live Platform Security roles to Live Platform Operation Center portal users.
| ● | Perform this procedure with "Global Admin" permissions for the consenting tenant. |
| ● | The Live Platform user does not require the assignment of any Microsoft Entra ID roles. |
| ● | Access to the Operation Center portal supports Multi-Factor Authentication if your M365 tenant is configured for MFA. |
| ➢ | To login using Azure authentication: |
| 1. | In your Web browser enter the Live Platform Operation Center portal URL. |

| 2. | Click Sign In; if IAM token-based authentication is setup on Live Platform, this process starts and the following screen appears or this screen appears directly (if not enabled): |

| 3. | Click Login with Microsoft. |
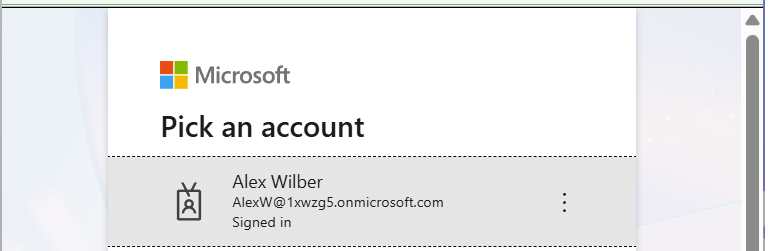
| 4. | Select the Global Admin account of the Channel tenant. |
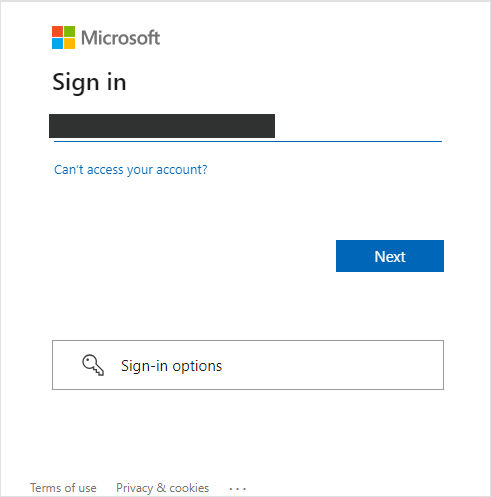
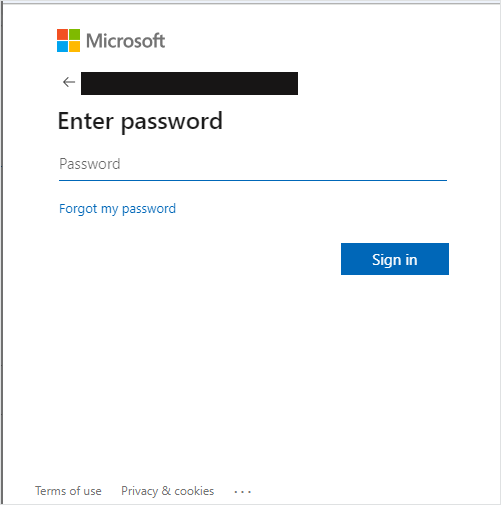
| 5. | Enter Username and Password and then click Sign In. |
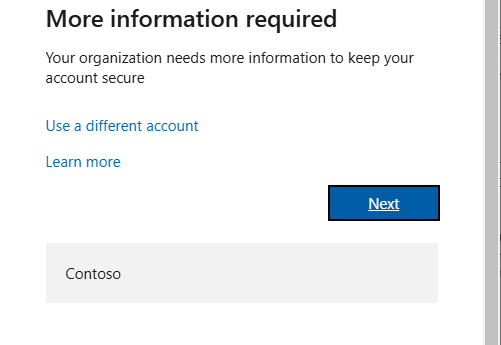
| 6. | You are prompted to authenticate your account using Microsoft Authenticator. Follow instructions to add the Global Admin user to the Microsoft Authenticator. |
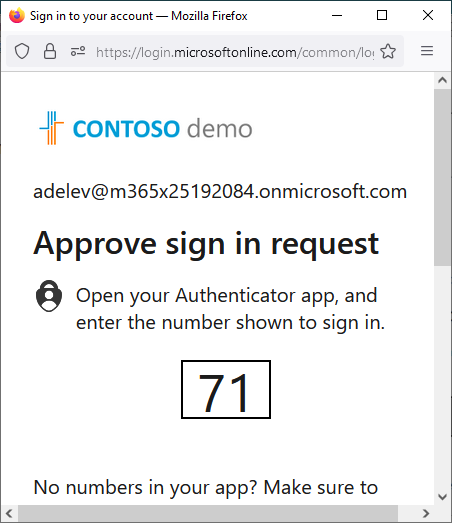
| 7. | Once setup, you are prompted to enter code on the Authenticator app on your mobile device, a screen similar to the following is displayed; complete the authentication process. |

| 8. | Enter the credentials of the Global Admin user. The Azure authentication and Permissions request dialog is displayed: |
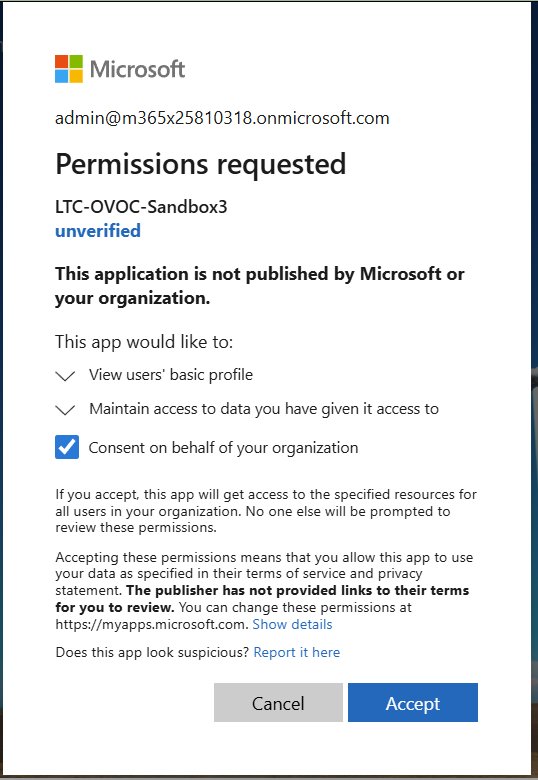
| 9. | Select the Consent on Behalf of your organization check box and then click Accept. |
The Live Platform Operation Center portal login screen is displayed with "Login Failed" message.
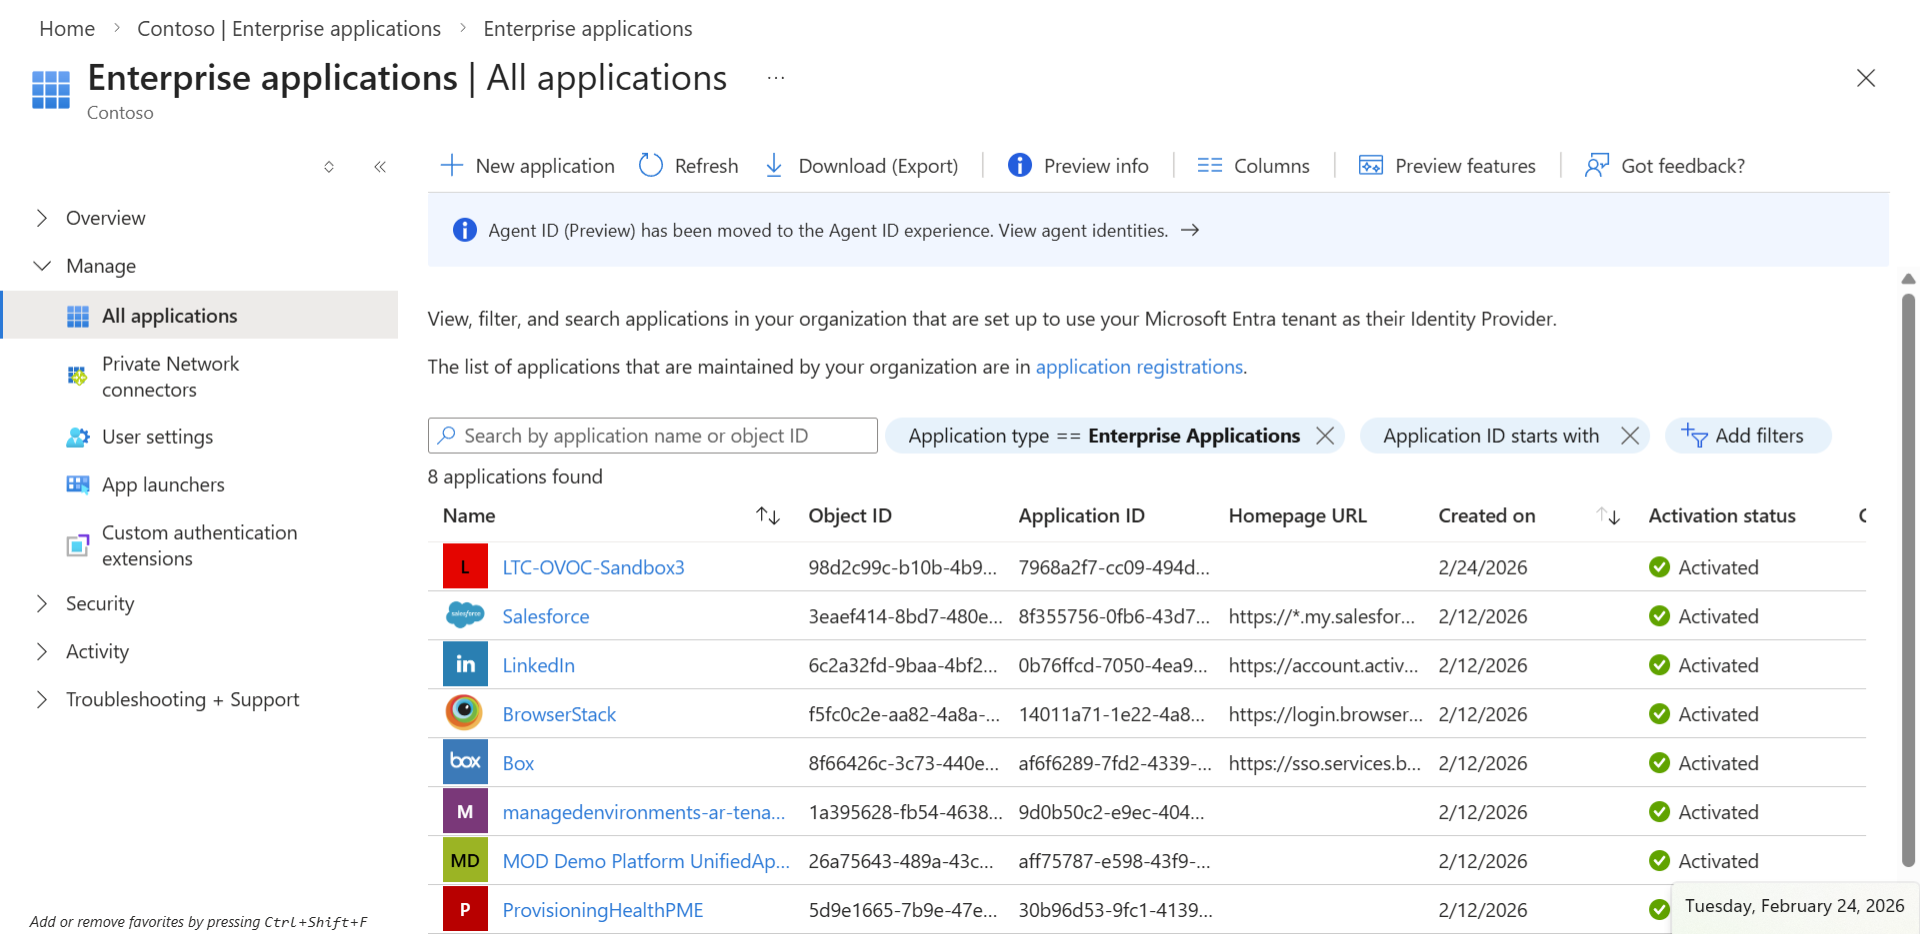
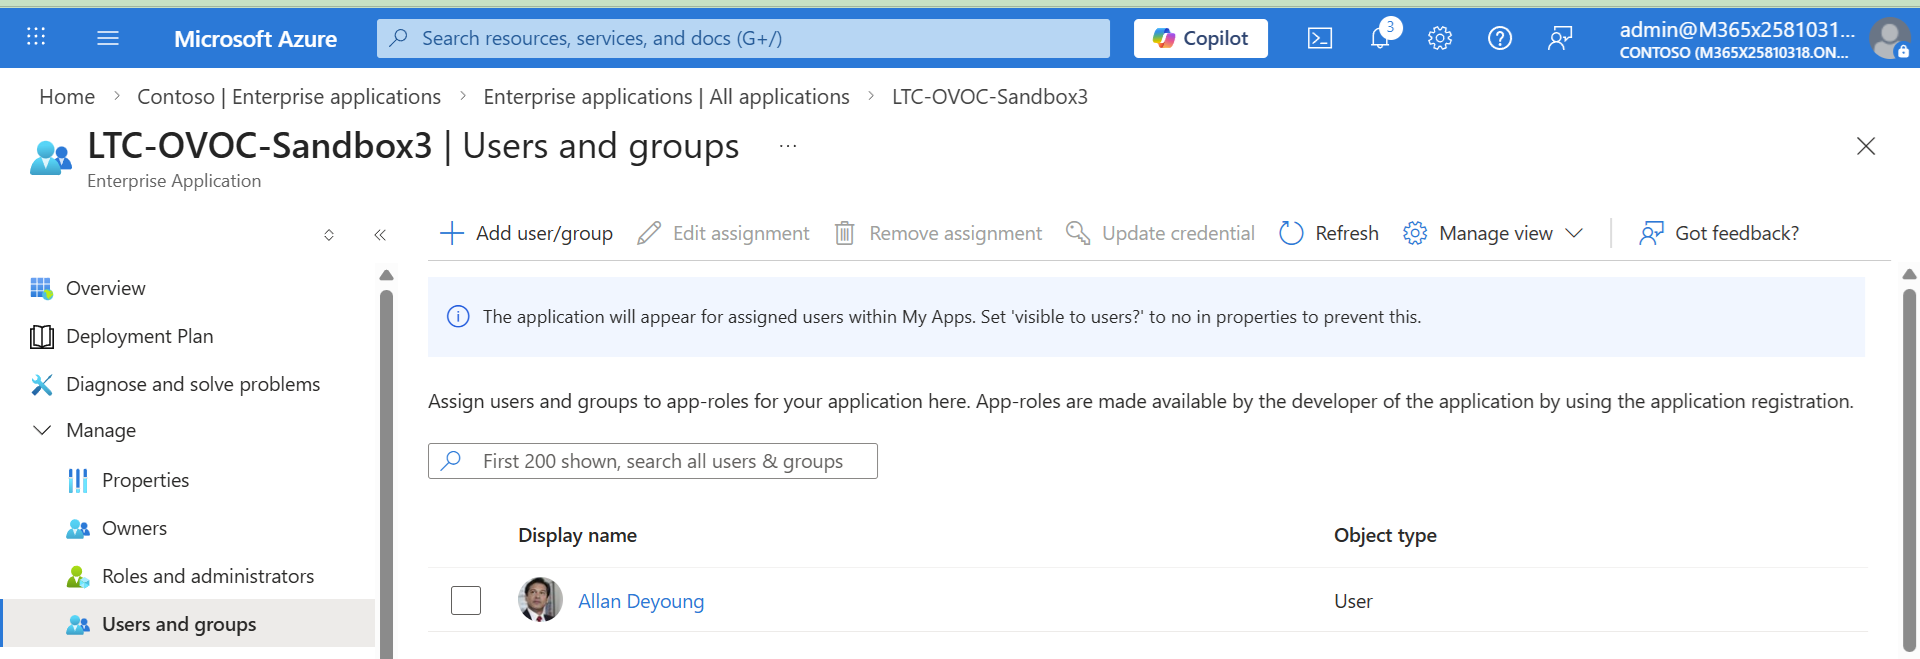
| 10. | Login to Microsoft Entra ID with your Global Admin user and navigate to the newly created Enterprise application. |
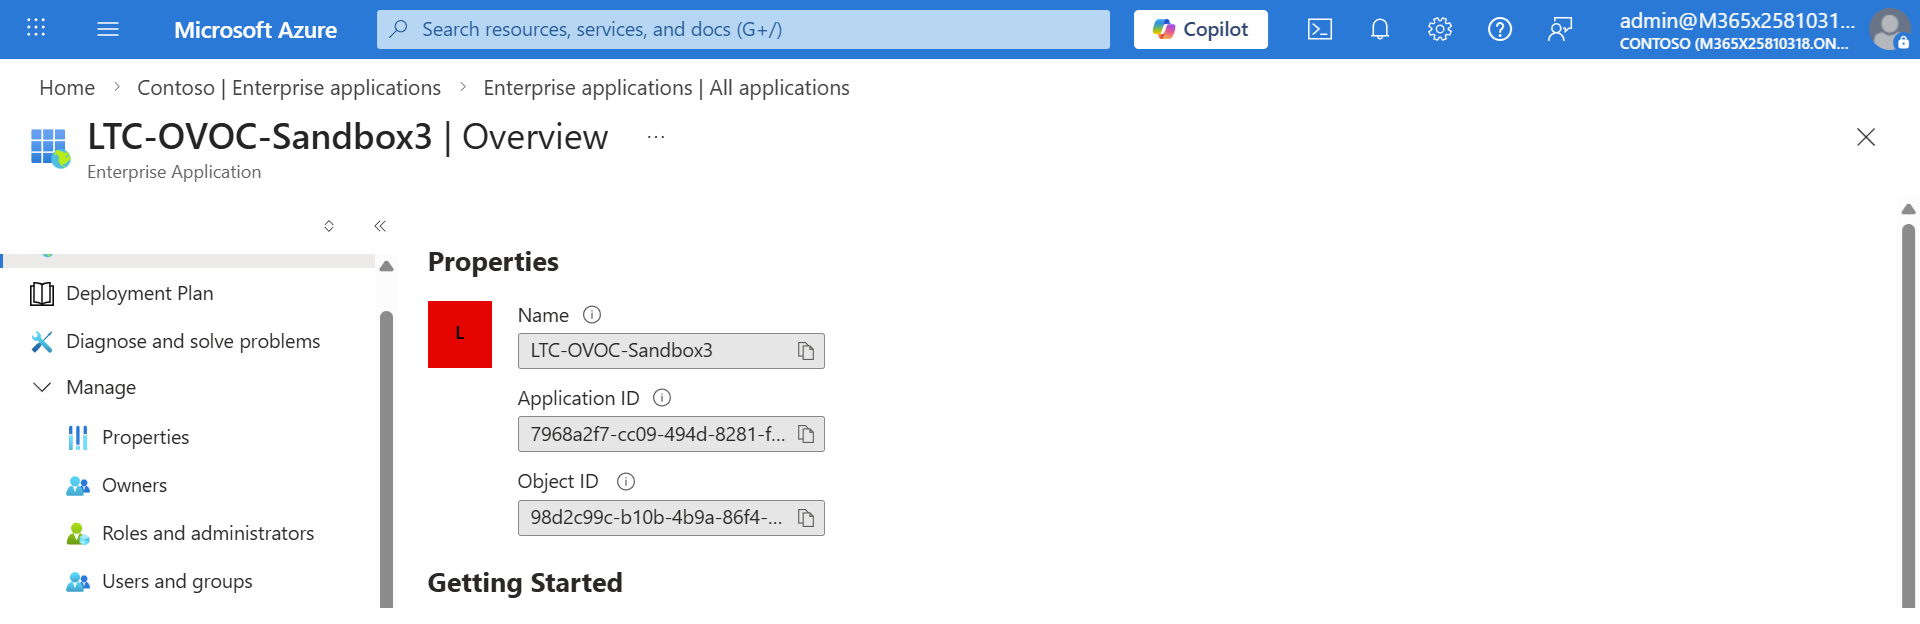
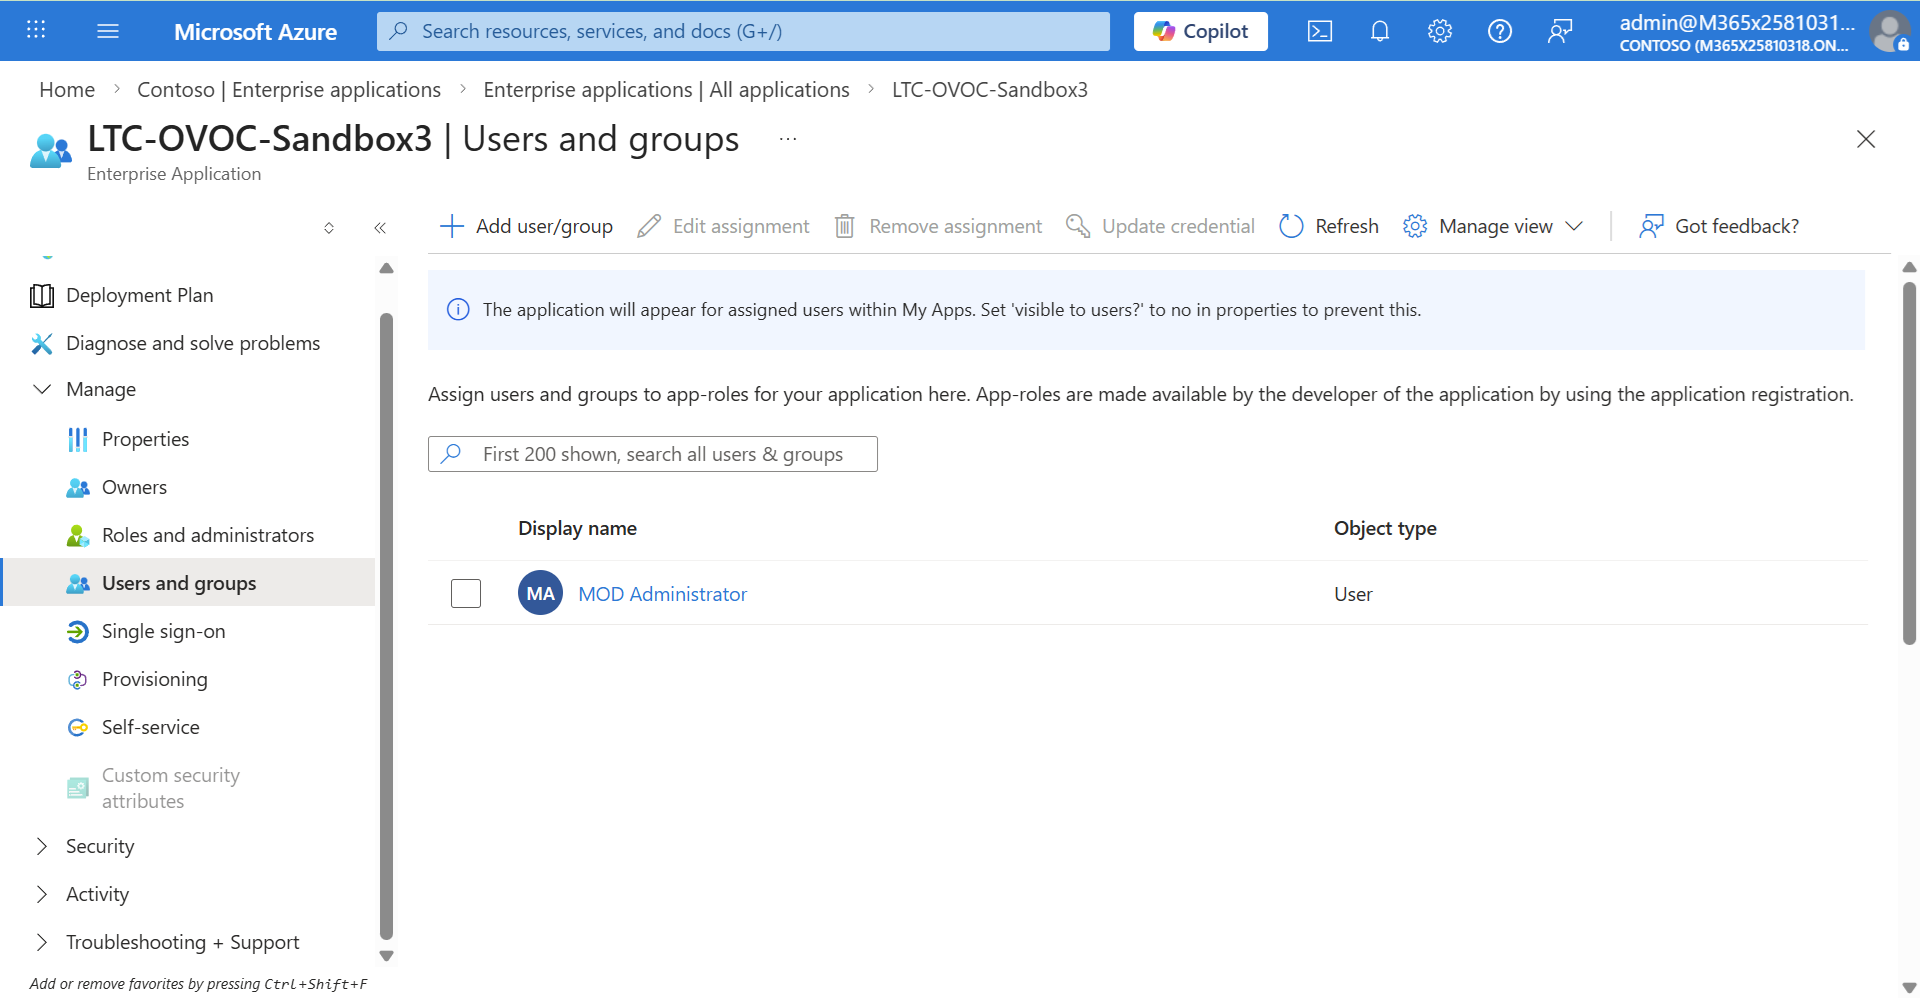
| 11. | Click to open the new Enterprise application and then in the Navigation pane, select Manage > Users and groups. |
| 12. | Click Add user/group. |
| 13. | In the left pane, select the None Selected link under Users and groups, in the Users and groups dialog, select the user for which you wish to add an assignment, and then click Select. |
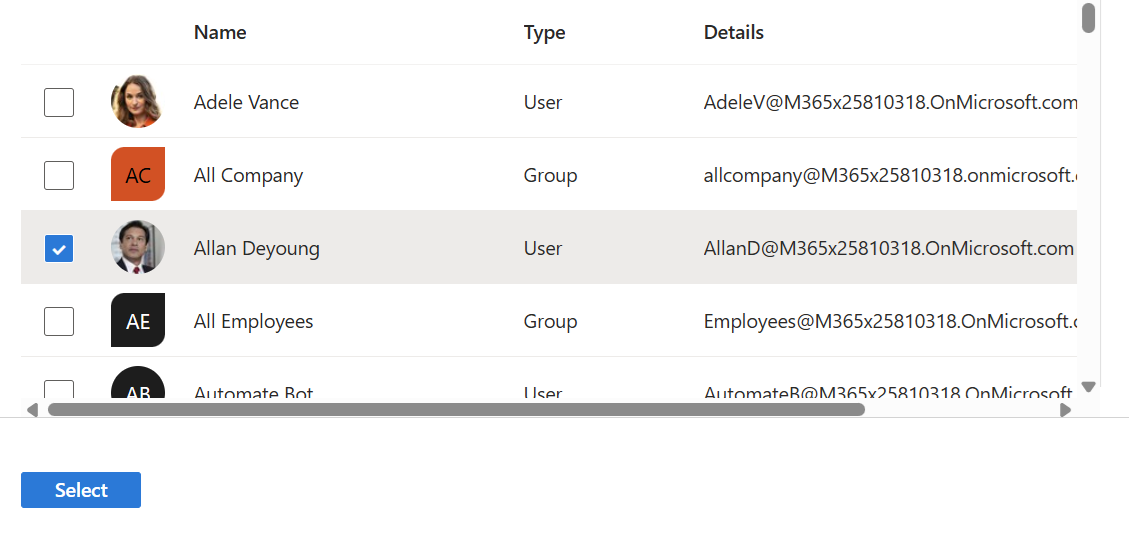
The user is selected, see "1 user selected" below.

| 14. | Under the Select a role link, click the None Selected link. |

| 15. | In the right pane, select the relevant role (Admin, Monitor or Operator) for the user and then click Select: |
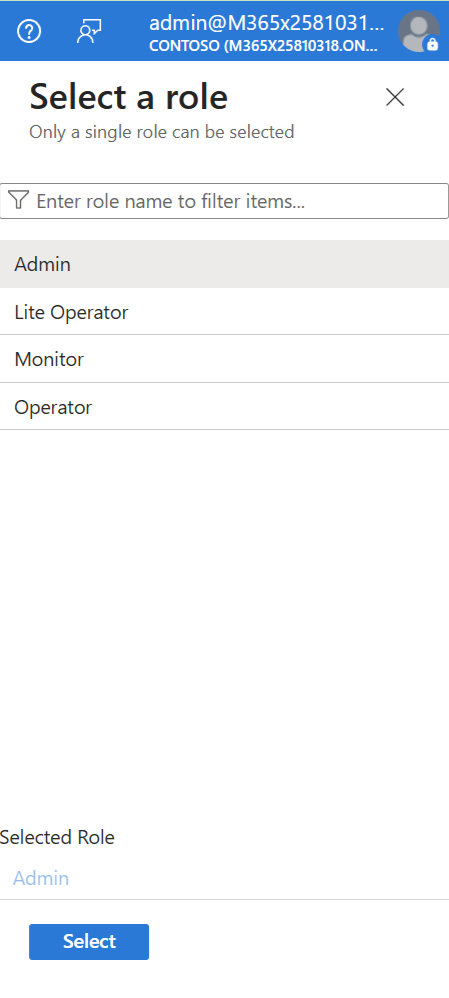
| 16. | Click Select to confirm selection. |
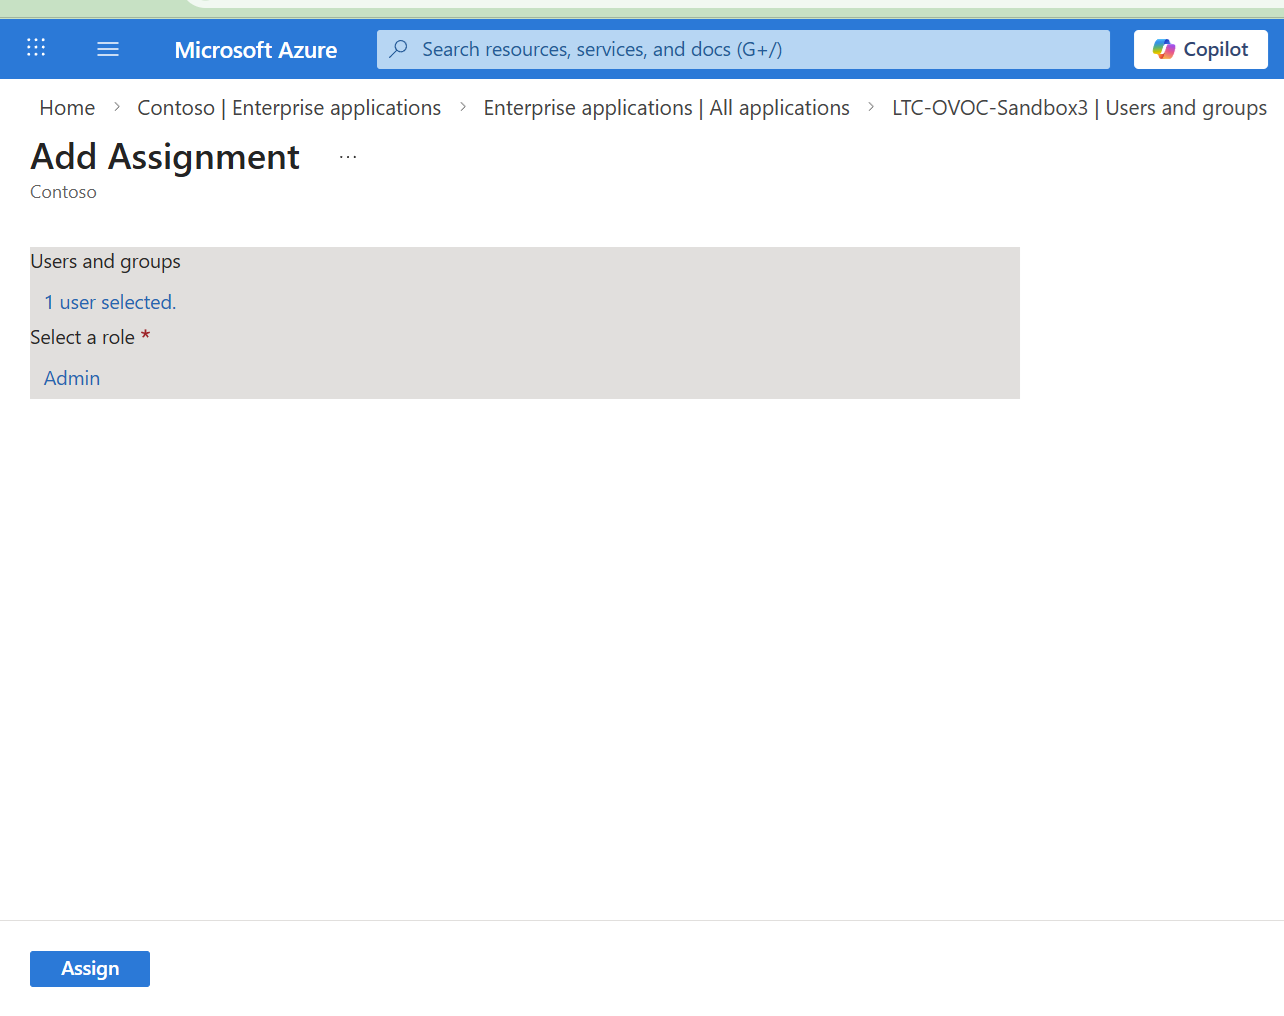
| 17. | Click Assign. The assigned user is displayed in the screen below. |
| 18. | Access the Live Platform Operation Center portal URL. |
| 19. | Click Sign In. |

| 20. | Click Login with Microsoft. |
| 21. | Enter the Username and Password of the user that you added to the Enterprise application above and then click Sign in. |
| 22. | You will be prompted to authenticate your account using Microsoft Authenticator. A screen similar to the following is displayed. Follow the steps to configure the user account in the Microsoft Authenticator. |
Once successfully logged in, the Live Platform dashboard is displayed.
|
|
Element |
Description |
||||||||||||||||||||||||
|---|---|---|---|---|---|---|---|---|---|---|---|---|---|---|---|---|---|---|---|---|---|---|---|---|---|---|
|
|
Service Provider Logo |
The Service Provider logo (uploaded by SysAdmin in Service Provider Tenant settings). |
||||||||||||||||||||||||
|
|
Menu Bar |
Menu bar options:
|
||||||||||||||||||||||||
|
|
Message Notifications |
Banner displaying Live Platform maintenance messages to keep you informed about system updates and scheduled maintenance. To configure the URL to the message file, see the Dashboard Message URL' field in Global Configuration. |
||||||||||||||||||||||||
|
Network Summary |
||||||||||||||||||||||||||
|
|
Link to Devices page |
Link to Network Devices page listing all connected devices. |
||||||||||||||||||||||||
|
|
Links to Links page |
Link to the Links page showing the IP Group and Tenant links to Customer Site Locations. |
||||||||||||||||||||||||
|
|
Link to Network Sites page |
Link to Network Sites page listed all connected customer sites. |
||||||||||||||||||||||||
|
|
Link to Endpoints page |
Link to Endpoints page listing all connected phones. |
||||||||||||||||||||||||
|
|
Link to UMP-365 page |
Link to page listing all connected UMP devices. |
||||||||||||||||||||||||
|
|
Link to Microsoft Teams Devices page |
Link to page listing all connected Microsoft Teams devices. |
||||||||||||||||||||||||
|
|
Link to Voice.AI Solution & VAIC Page |
Link to page listing all connected Voice.AI gateway devices. |
||||||||||||||||||||||||
|
|
Link to Generic Applications page |
Link to page listing all connected Generic applications. |
||||||||||||||||||||||||
|
|
Link to External Applications page |
Link to page listing OVOC External applications links:
|
||||||||||||||||||||||||
|
|
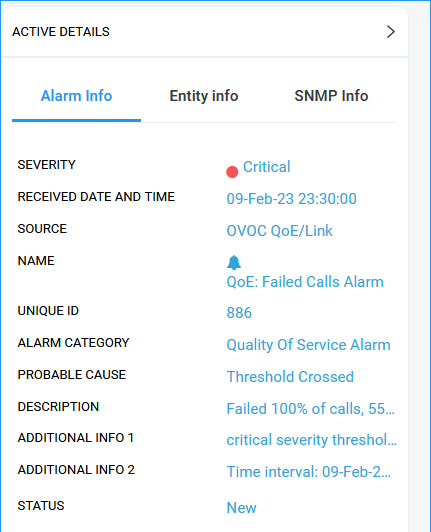
Notifications |
A list of notifications for alarms raised on the Microsoft 365 platform and for system tasks statuses. |
||||||||||||||||||||||||
|
|
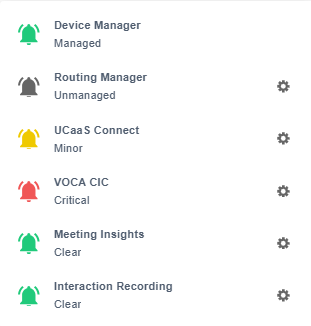
External Applications Status |
Displays the status of OVOC External applications.
|
||||||||||||||||||||||||
|
|
Active Alarms Summary |
Summary of Critical, Major, Minor and Warning alarms. |
||||||||||||||||||||||||
|
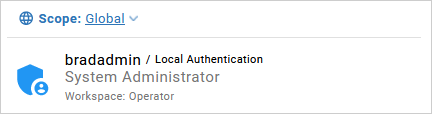
Operators Actions menu: Displays the logged in operator credentials and when clicked opens additional menu options. |
||||||||||||||||||||||||||
|
|
Global Scope |
Global scope for SysAdmin. |
||||||||||||||||||||||||
|
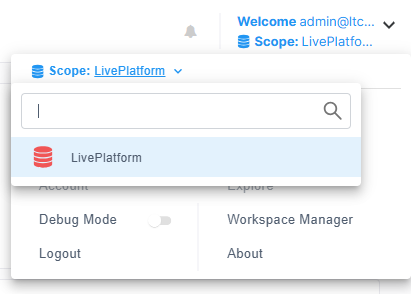
Tenant Scope |
Indicates the Service Provider Tenant Scope. In the example figure, the Service Provider tenant is 'Live Platform'. |
||||||||||||||||||||||||
|
|
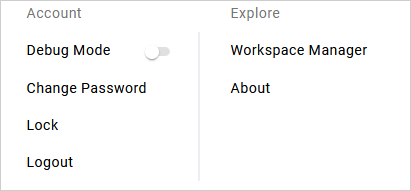
Additional options |
|
||||||||||||||||||||||||