Upload Zoom Provider Exchange numbers directly from Live Platform
This procedure describes how to upload numbers to the Zoom service directly from the Live Platform Management portal.
| ➢ | To upload numbers to a service: |
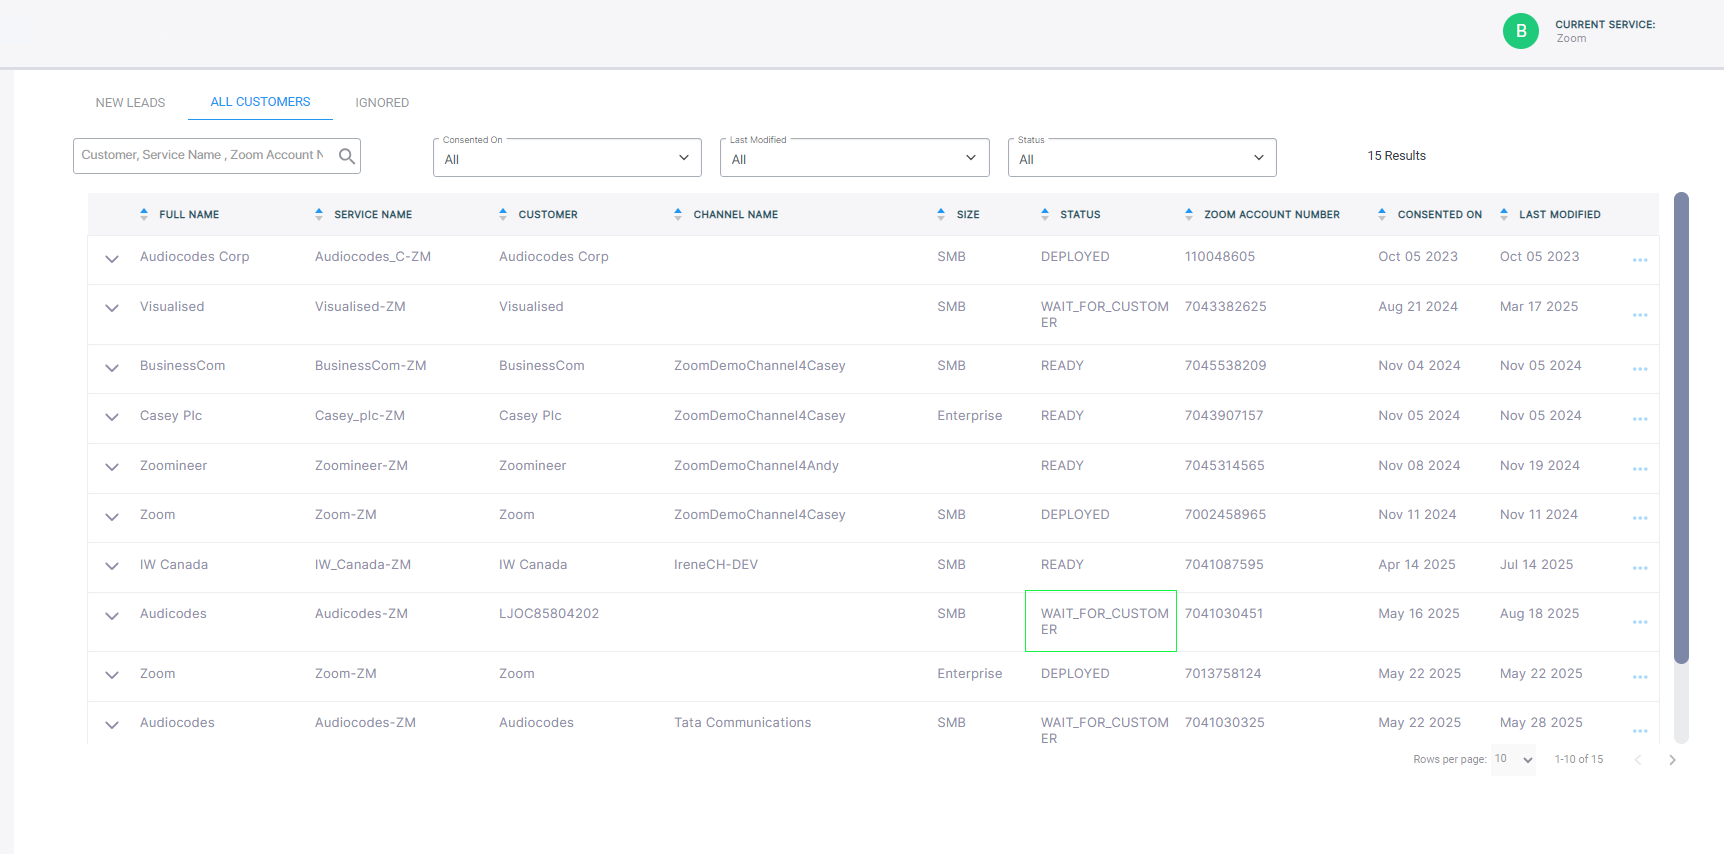
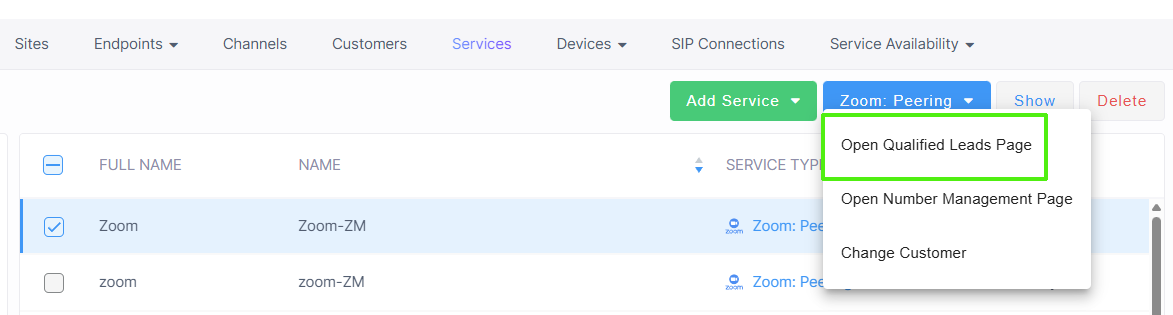
| 1. | Open the Qualified Leads page (in the Services page from the Zoom Peering drop-down, choose Open Qualified Leads page). |
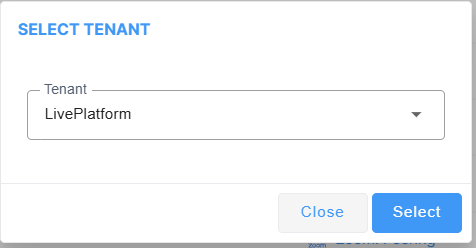
| 2. | Select the relevant tenant and then click Select. |
| 3. | Click the All Customers tab. |
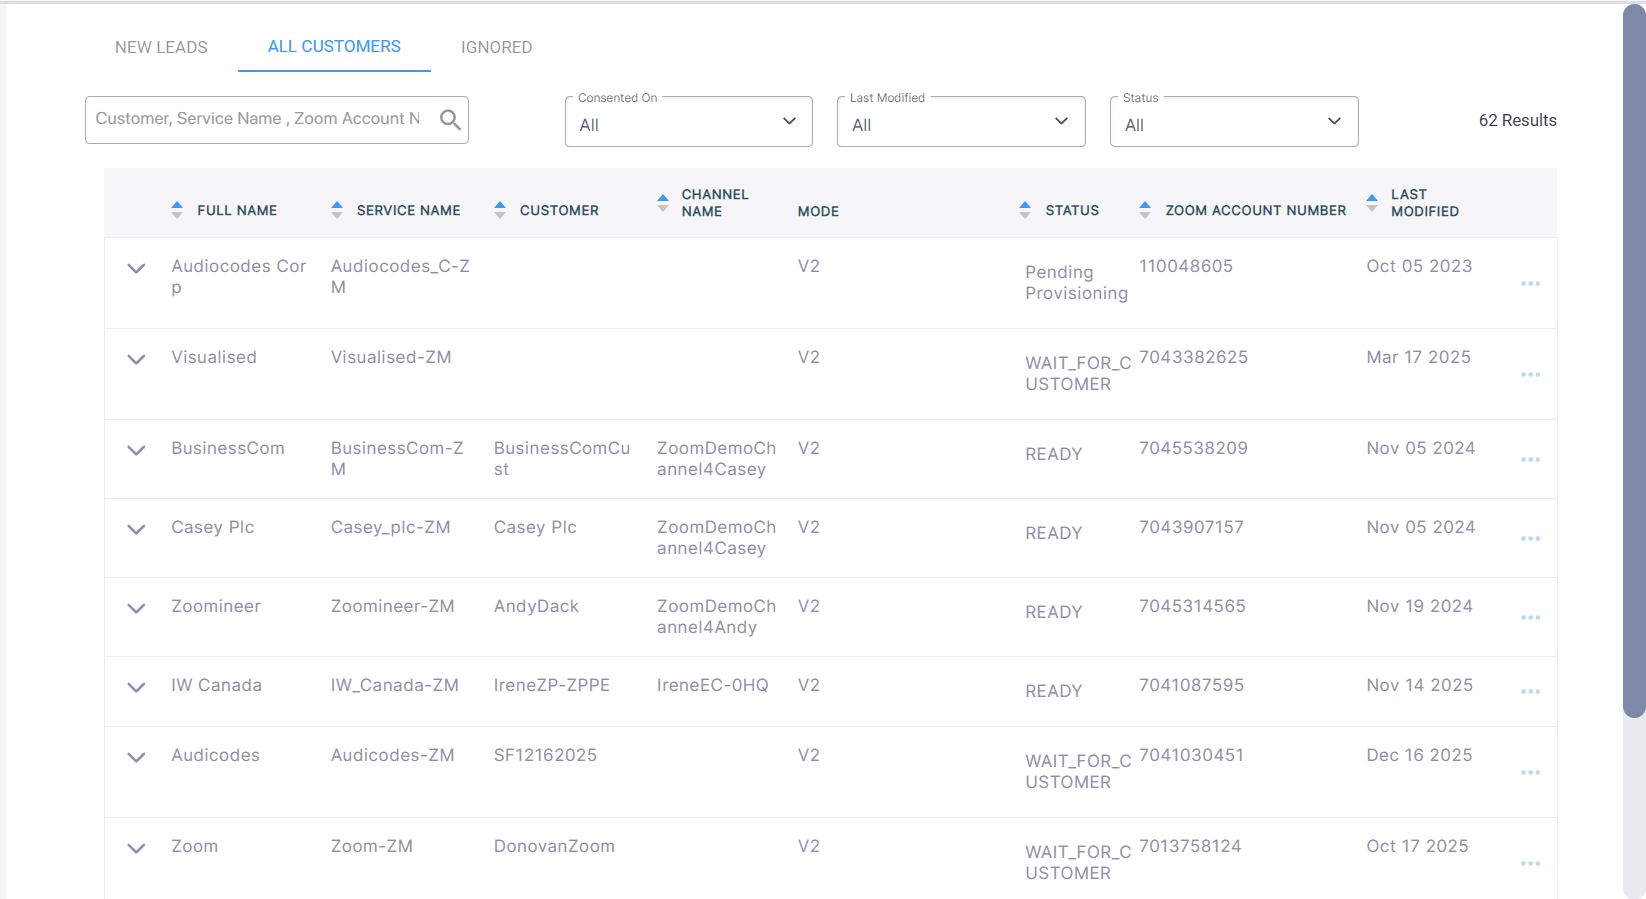
The table below describes the parameters in this page.
|
Parameter |
Description |
|||||||||
|---|---|---|---|---|---|---|---|---|---|---|
|
Full Name |
The Full name of the service. |
|||||||||
|
Service Name |
The name of the service created. |
|||||||||
|
Customer |
The name of the customer attached to the service. |
|||||||||
|
Channel Name |
The name of the channel attached to the service. |
|||||||||
|
Mode |
The Zoom API mode. |
|||||||||
|
Status |
The status of the deployment of the service:
|
|||||||||
|
Zoom Account Number |
The number of the Zoom customer account |
|||||||||
|
Last Modified |
The date of the last modification of the customer entry. |
| 4. | Select a service, right-click...and then choose Upload Numbers. |
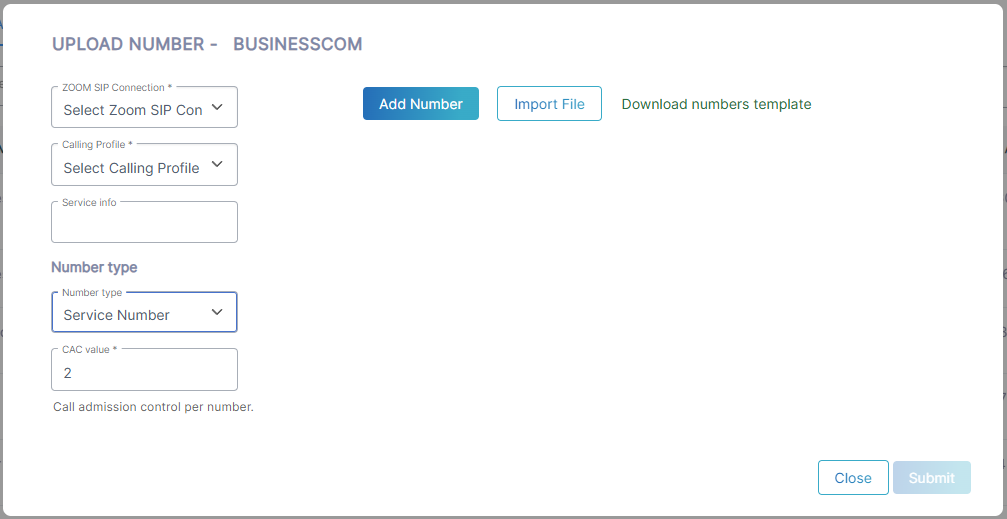
Upload Number-V2 Mode
Upload Number-V3 Mode
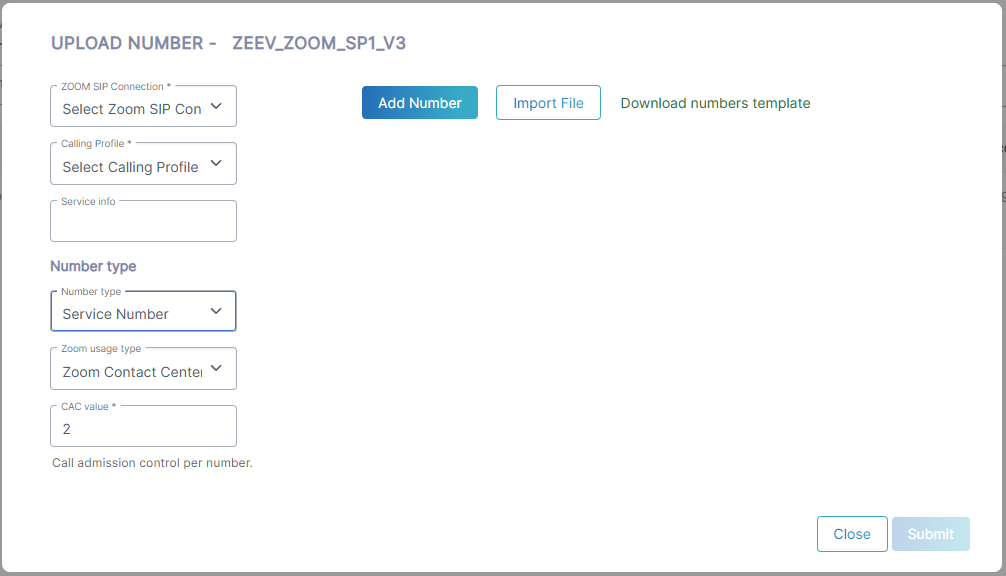
| 5. | Configure parameters according to the table below and then click Submit. |
|
Parameter |
Description |
||||||||||||||||||
|---|---|---|---|---|---|---|---|---|---|---|---|---|---|---|---|---|---|---|---|
|
Zoom SIP Connection |
From the ZOOM SIP Connection field, select the relevant Zoom region:
|
||||||||||||||||||
| Calling Profile |
From the Calling Profile drop-down list, select a configured Calling Profile (see Configure Calling Profiles). |
||||||||||||||||||
| Service Info |
In the Service info field, enter the name of the service or related information. This information is used by the Metering service. |
||||||||||||||||||
|
Number type |
From the Number type drop-down, select one of the following:
|
||||||||||||||||||
|
Zoom Usage Type |
If you select 'Service' or 'Contact Center' for the Number type then the Zoom Usage Type drop-down is displayed:
This parameter is only displayed when the customer is configured in Zoom V3 mode. |
||||||||||||||||||
|
CAC Value |
Enter the maximum number of concurrent sessions to apply to the number. This value is configurable for Contact Center and Service numbers. The Number type 'User', this parameter value is configured (range 2-10) |
| 6. | Click Add Number to add individual numbers. |
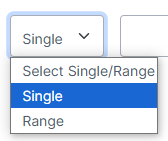
| 7. | From the drop-down list, choose Single number or Range. |
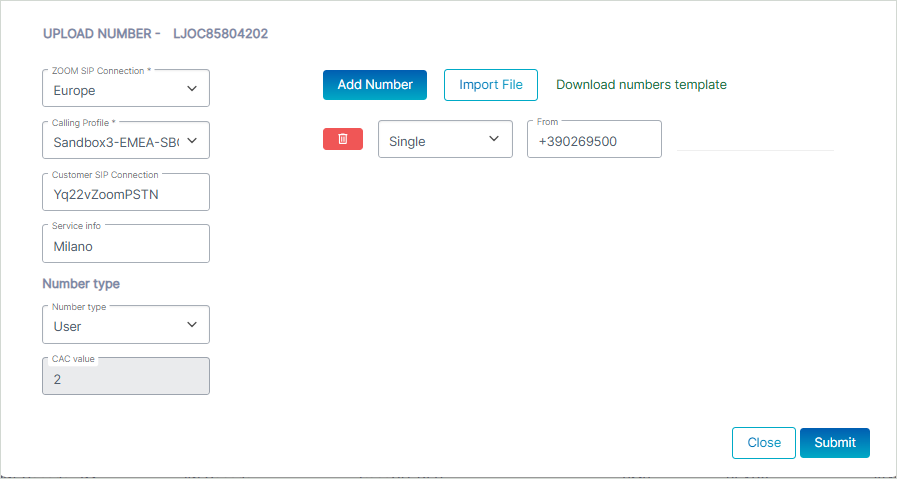
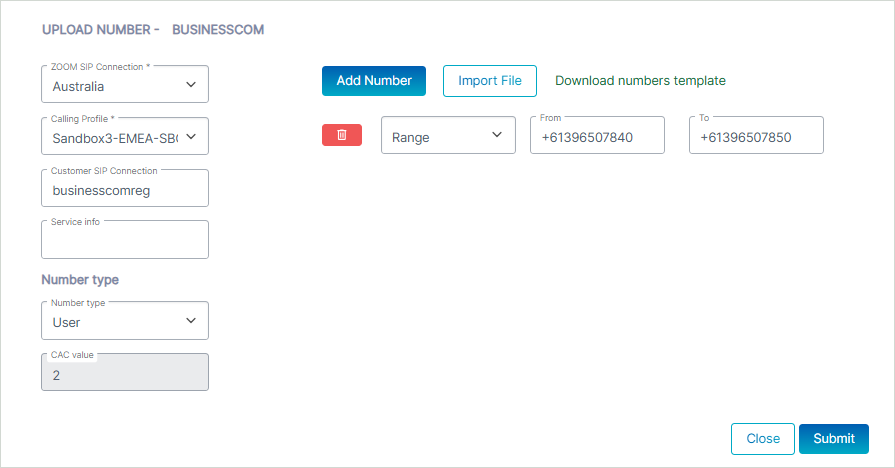
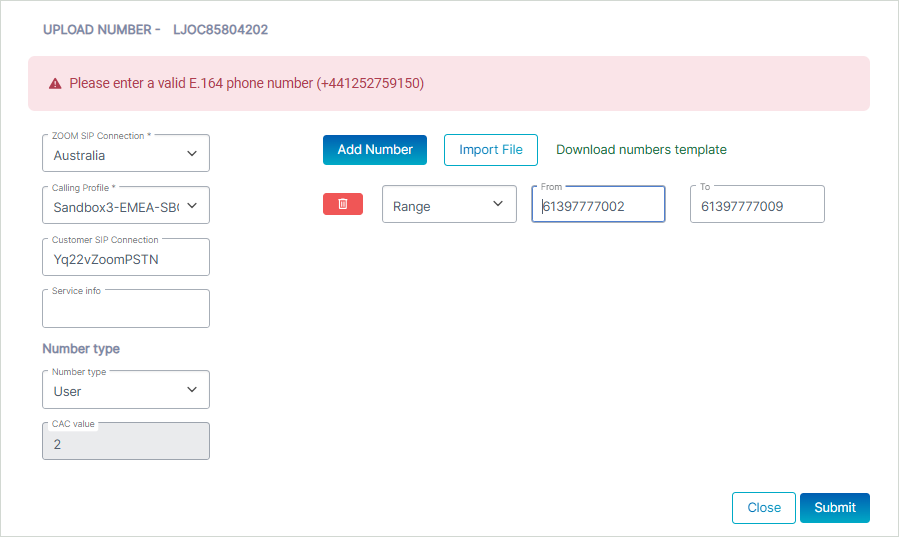
All numbers should be configured in E.164 format with a maximum of 15 digits, and with the following validation rules:
| ● | A + sign. |
| ● | Country calling code (international). |
| ● | Local area code. |
| ● | Local telephone number or subscriber number. |
The number has the following structure: [+][country code][area code][subscriber number].
Example United States Telephone number: +12127881500
| ● | Country code: 1 |
| ● | Area code: 212 |
| ● | Subscriber number: 7881500 |
| 8. | Enter the numbers to upload in the relevant field and then click Submit. A confirmation message is displayed. |

| 9. | Click Download numbers template to open a CSV file including example phone numbers. |
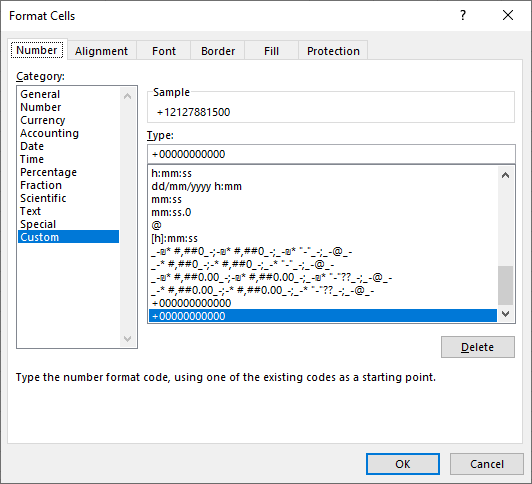
| 10. | Configure the file including the list of numbers that you wish to import. All numbers should be in E.164 format as described above. |
The figure below shows how to configure the cells with the '+' value before the country code prefix.
You cannot configure the Number Type in the CSV file, only single DID numbers or ranges.
| 11. | Click Import File. |

| a. | Browse to the location of the file. |
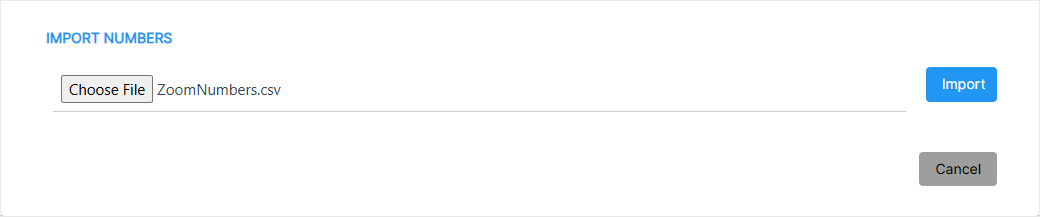
| b. | Click Import. The number import is validated. Close the dialog. |

The successfully imported range is displayed.
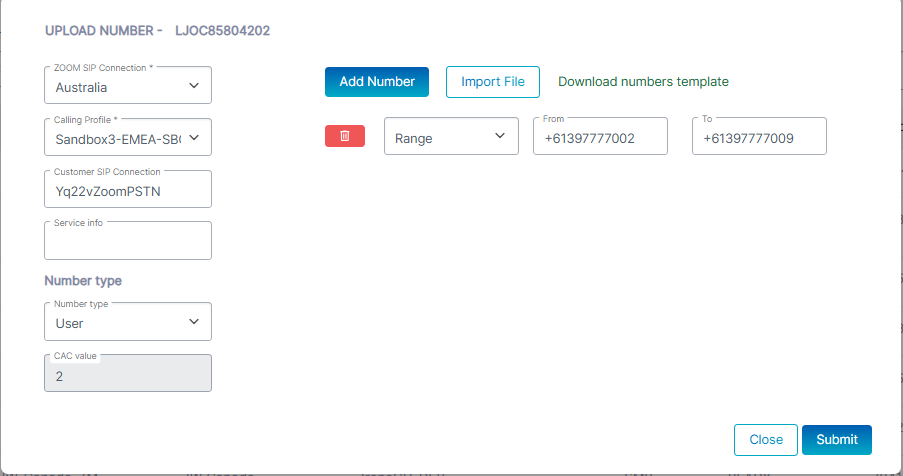
The figure below displays an example of an invalid range (missing + sign).
| 12. | Click Submit. The following confirmation is displayed. |

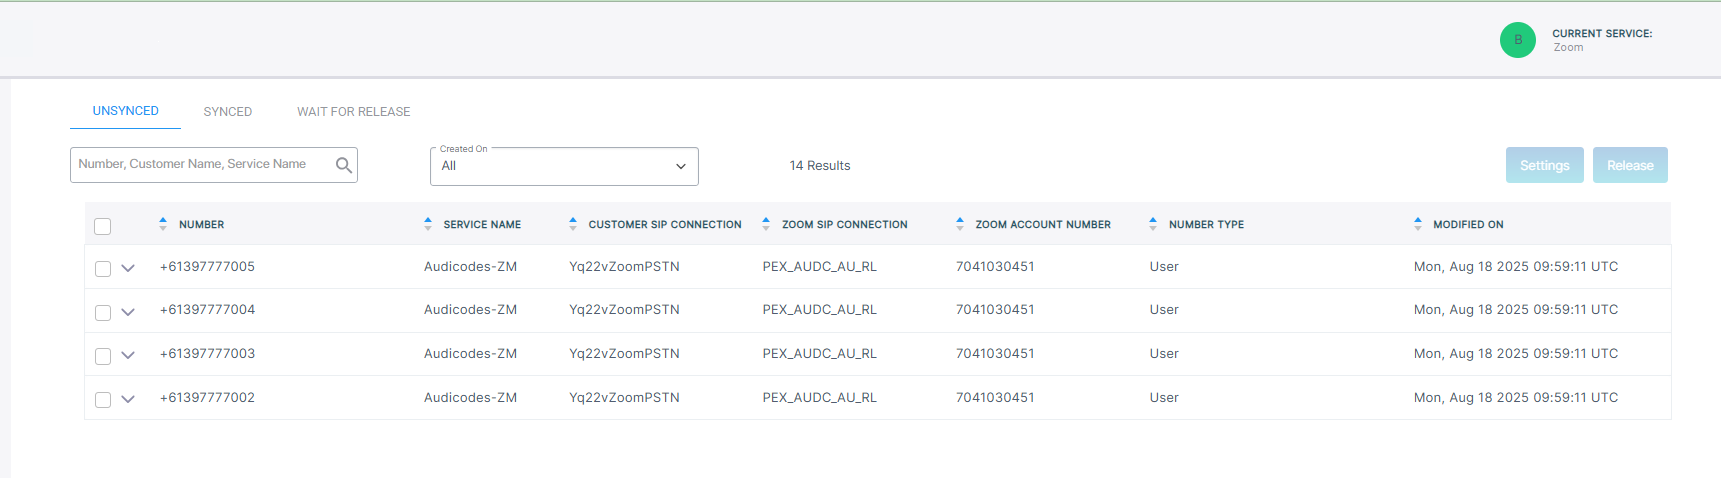
| 13. | In the Navigation pane, click Number Management to view the uploaded numbers. |
| 14. | Return to the Customer Leads page. Note that Status Wait for Customer is displayed. |