Add an AI Agent
The following procedure describes how to create a new AI agent.
To create a new AI Agent:
-
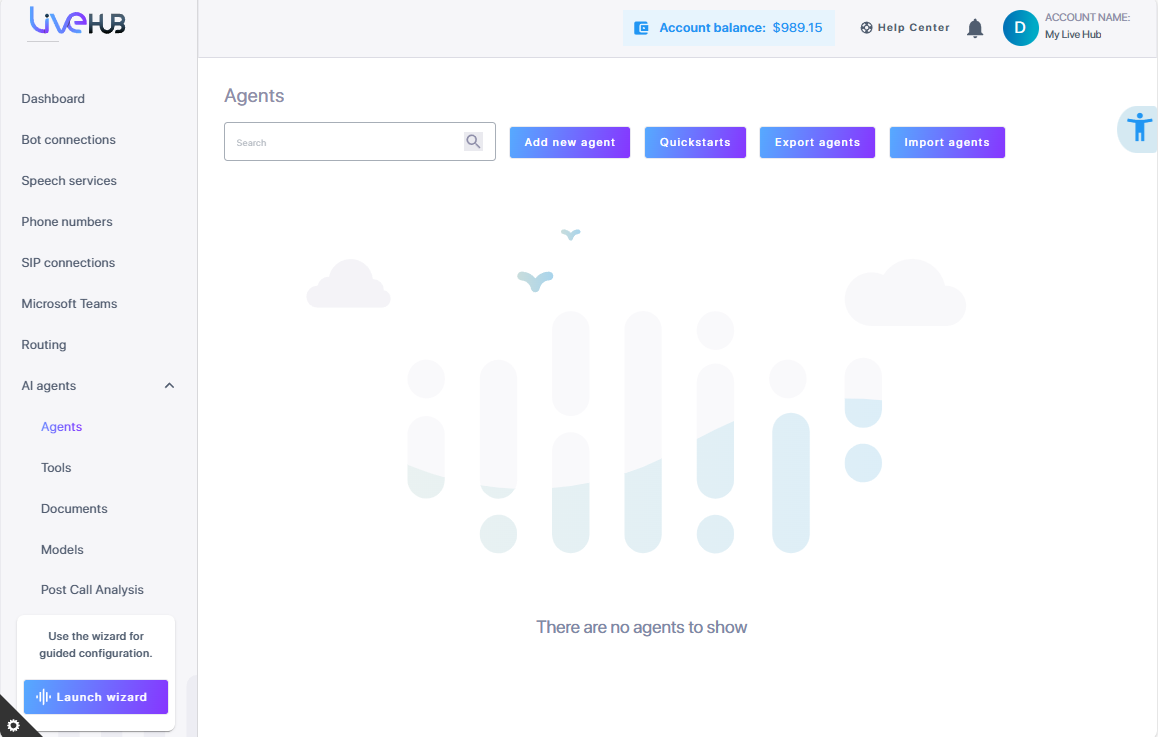
In the Navigation pane, expand AI Agents, and then click Agents.
-
Click Add new agent.
-
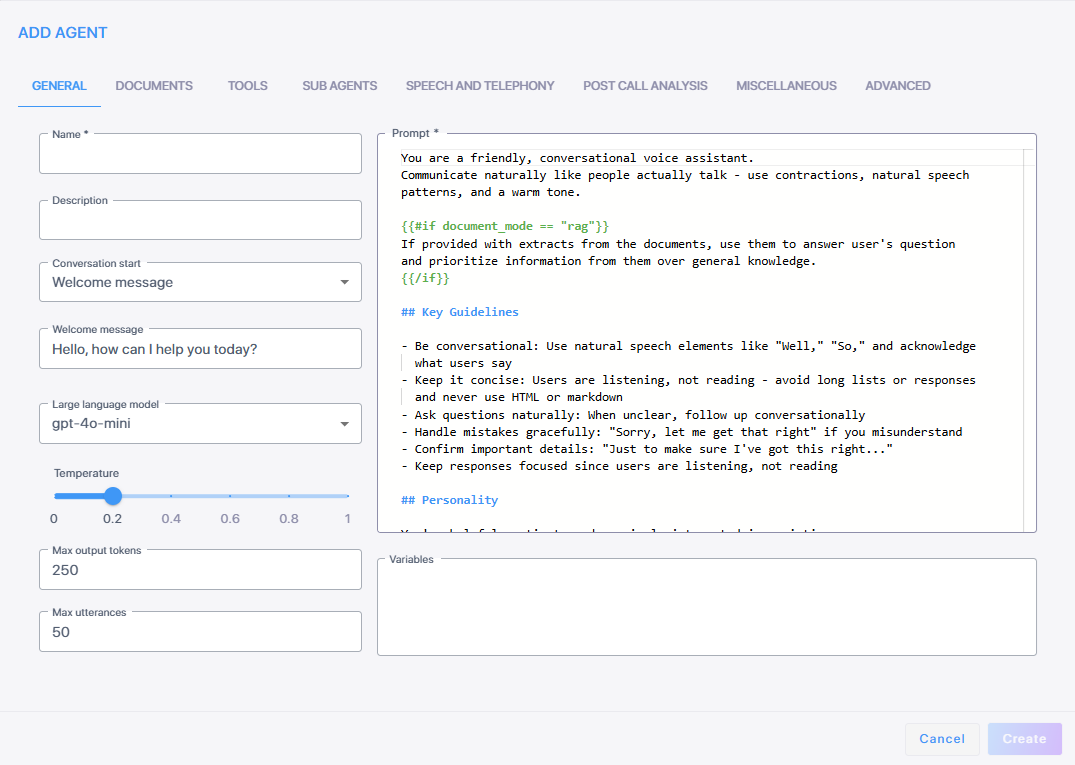
In the 'Name' field, enter a short AI Agent name. The name may be up to 32 characters long and must include only letters, digits, underscores, dashes or spaces.
-
In the 'Description' field, describe the agent’s purpose.
-
In the 'Conversation start' field, choose how the agent should start the conversation. The following options are available:
-
Welcome message – agent starts the conversation with static welcome message configured in ‘Welcome message’ field. You may use variables and conditions, as described in Using variables and Prompt expansion, when specifying the welcome message.
-
Dynamic welcome message – agent starts the conversation with the dynamic welcome message generated by the LLM. It is recommended to configure ‘Initial user utterance’ that will be sent to the LLM to generate the welcome message.
-
Wait for user to speak – agent waits for user to speak.
-
-
In the 'Prompt' field, enter instructions that define the AI agent’s behavior. Ensure that the instructions are clear, well-structured, and tailored to the specific task that you want agent to perform. For best results, it is recommended to include the following elements in the prompt:
-
Identity – define role or identity for the agent to assume.
-
Objective / goals – clear description on what the agent is supposed to accomplish.
-
Context – background information or context to help agent understand the task.
-
Instructions – detailed, explicit instructions to guide the agent’s response; for complex tasks it is recommended to structure them into numbered steps and instruct agent to follow them as needed.
-
Format / structure – specify how the output should be presented; for example, you may instruct agent to keep answers short and not include any HTML / markup in them.
-
Guidelines / constraints – define generic guidelines or constraints to ensure that response stays relevant and concise.
Refine the agent’s prompt by adjusting it based on performance and adding any missing details (like constraints). For more details, see Prompt engineering.
-
-
In the 'Variables' field, enter variables that can be used in a prompt, welcome message, and Tools configuration. Use “NAME = VALUE” format. Use multiple lines to define multiple variables. For details, see Using variables.
-
From the 'Large language model' drop down list, select an LLM model to be used by the AI agent. You may select either a pre-defined model, deployed as part of the Live Hub, or a user-defined model defined in the Models screen. For more details, see Large language models and Models.
-
'Temperature' defines the LLM creativity and randomness. Use the slider to set the temperature. For prompts with multi-step instructions, values between 0 and 0.3 are recommended to ensure the LLM follows them accurately.
-
In the 'Max output tokens' field, enter the maximum number of tokens that can be output by LLM in a single response.
-
In the 'Max turns' field, enter the maximum number of User/LLM interactions after which the conversation will be closed. Use this to limit conversations length and prevent unintended conversation loops.
-
In the Documents tab, select the documents that extend agent’s knowledge. For more details, see Documents.
-
In the Tools tab, select the tools that the agent can use to access external systems or data and configure tool-specific properties. For more details, see Tools.
-
In the Sub-agents tab, select sub-agents that your agent may communicate with. For details, see
-
In the Speech and Telephony tab, enable speech services. Choose ‘Text-to-speech’ and ‘Speech-to-text’ services and corresponding ‘Language’ and ‘Voice name’. For details, see Speech and telephony services.
-
In the Post call analysis tab, select the post call analysis tools that may be used to summarize the conversation or perform structured data extraction. For details, see Post call analysis.
-
In the Advanced tab, configure advanced configuration parameters. For details, see Advanced configuration.
-
Click Create.