Configure Live UC Settings
The Settings page lets you configure Live UC settings for the Provider, Channel and System entities. You can trigger an email to the customer CRM each time a new customer lead is generated.
| ➢ | To configure global settings: |
| 1. | In the Navigation pane, choose Settings: |
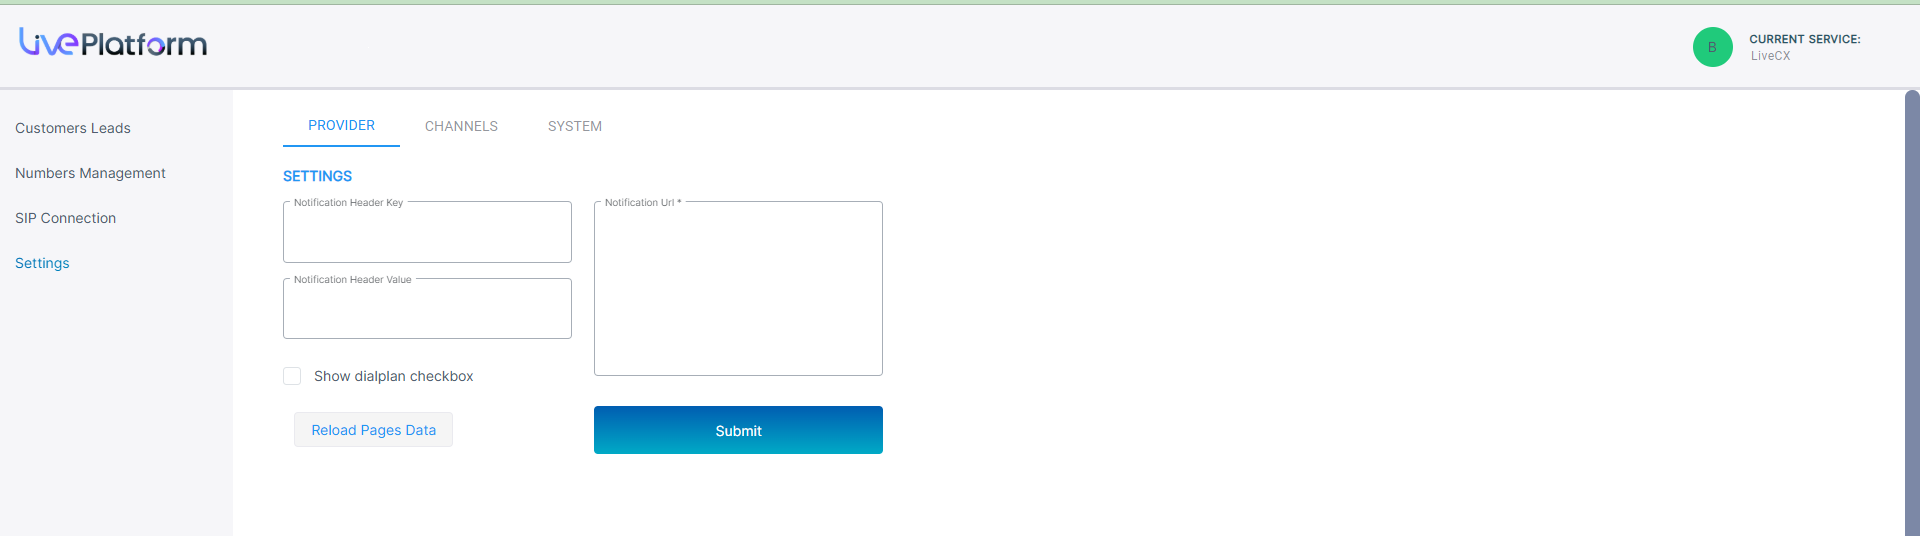
| 2. | Configure the parameters according to the table below and then click Submit. |
|
Parameter |
Description |
|---|---|
|
Notification Header Key |
Header authentication key (header key: runkey) to connect to the destination address. |
|
Notification Header Value |
The passkey in the Header Value. |
|
Show Dialplan Check box |
Shows or hides the Use SBC Dialplan check box in the Upload Number dialog box. |
|
Notification URL |
The destination URL for the HTTP POST. |
|
Reload Pages Data button |
Click to refresh the page. |
| 3. | Select the Channels tab; a list of service names and their corresponding Notification URLs are displayed. Enter text in the search field to search for a specific service. |
| a. | To add a new channel, click Add; the New Channel Settings dialog box is displayed: |
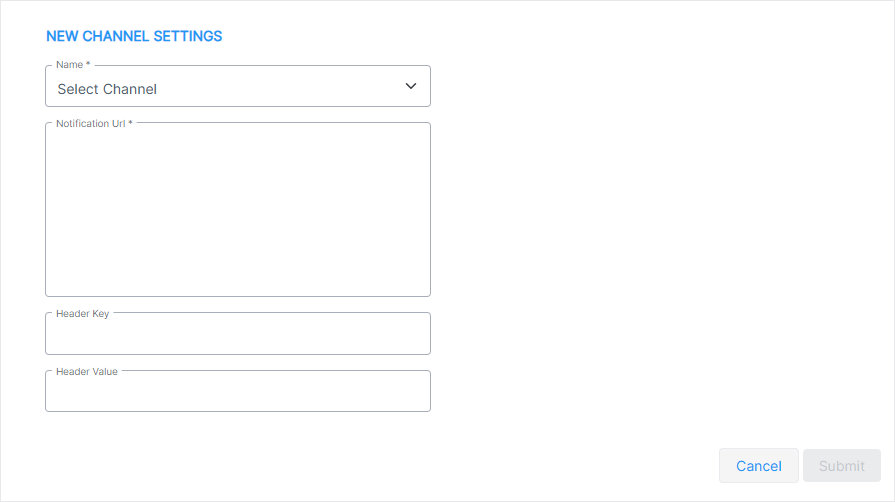
| b. | Configure the new channel according to the parameters in the following table: |
|
Parameter |
Description |
|---|---|
|
Name |
Select the channel name. |
| Notification URL |
The destination URL for the HTTP POST |
| Header Key |
Header authentication key (header key: runkey) to connect to the destination address. |
| Header Value |
The passkey in the Header Value. |
| c. | Click Submit. |
| 4. | Select the System tab: |

| 5. | Click Reload to reload the list of Global sites. |