Create UCaaS Service Provider Tenant
Before you can onboard Zoom Provider Exchange services, you must add a UCaaS Service provider entity to Live Platform under the Service Provider Live Platform tenant. This process includes the configuration of the Provider Exchange on Microsoft Azure. Once this entity is added, you can add additional Webex Cloud Connect services and other service types (Live CX, Live UC and Webex Cloud Connect) under the same UCaaS Service provider. In the process, you are directed to the Provider Settings in the Service portal where you configure the following:
| ■ | Webhooks for alerting customers and resellers when a new service is created or when numbers are uploaded and released. |
| ■ | Supported Live Platform services |
| ■ | Mapping regions to Zoom trunks |
| ■ | Default CAC value for Number type "User" |
| ■ | Security credentials for both the Management App and the Access Token App (configured in the Zoom Marketplace) separately for each region. |
| ➢ | Do the following: |
| 1. | In the Services page, from the Add Service drop-down, choose Add Service > Zoom: Peering. |
The above page is only displayed when a UCaaS service provider has not yet been added under a specific Live Platform Operation Center portal service provider tenant.
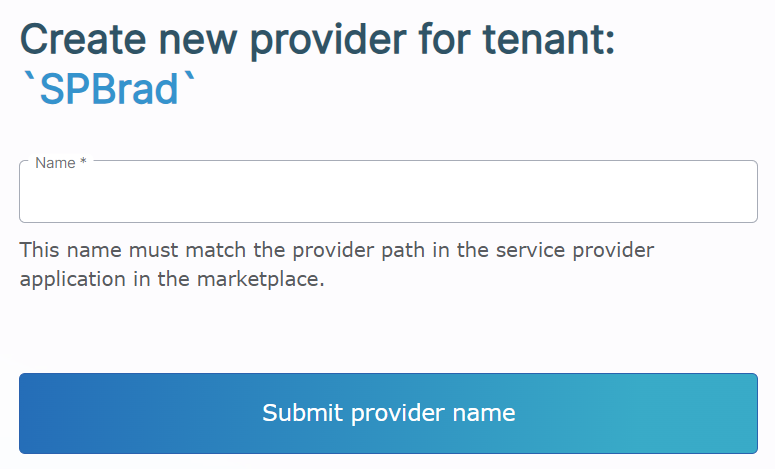
| 2. | Define a name for the UCaaS Service Provider; in the Zoom Market Place verify that the name you define matches the provider name that is defined in the provider URL path used to connect to the UCaaS server instance. The provider path is defined in the Basic Information of the Management App in the suffix of the 'OAuth Redirect URL' setting. |

Where <ucaasurl>/signin-zoom<serviceprovidername>:
| ◆ | <ucaasurl> is the URL of the UCaaS server instance |
| ◆ | <serviceprovidername> is the name of the service provider as defined in the suffix in the OAuth Redirect URL above |
| 3. | Click Submit provider name; the Service portal Settings page opens. |
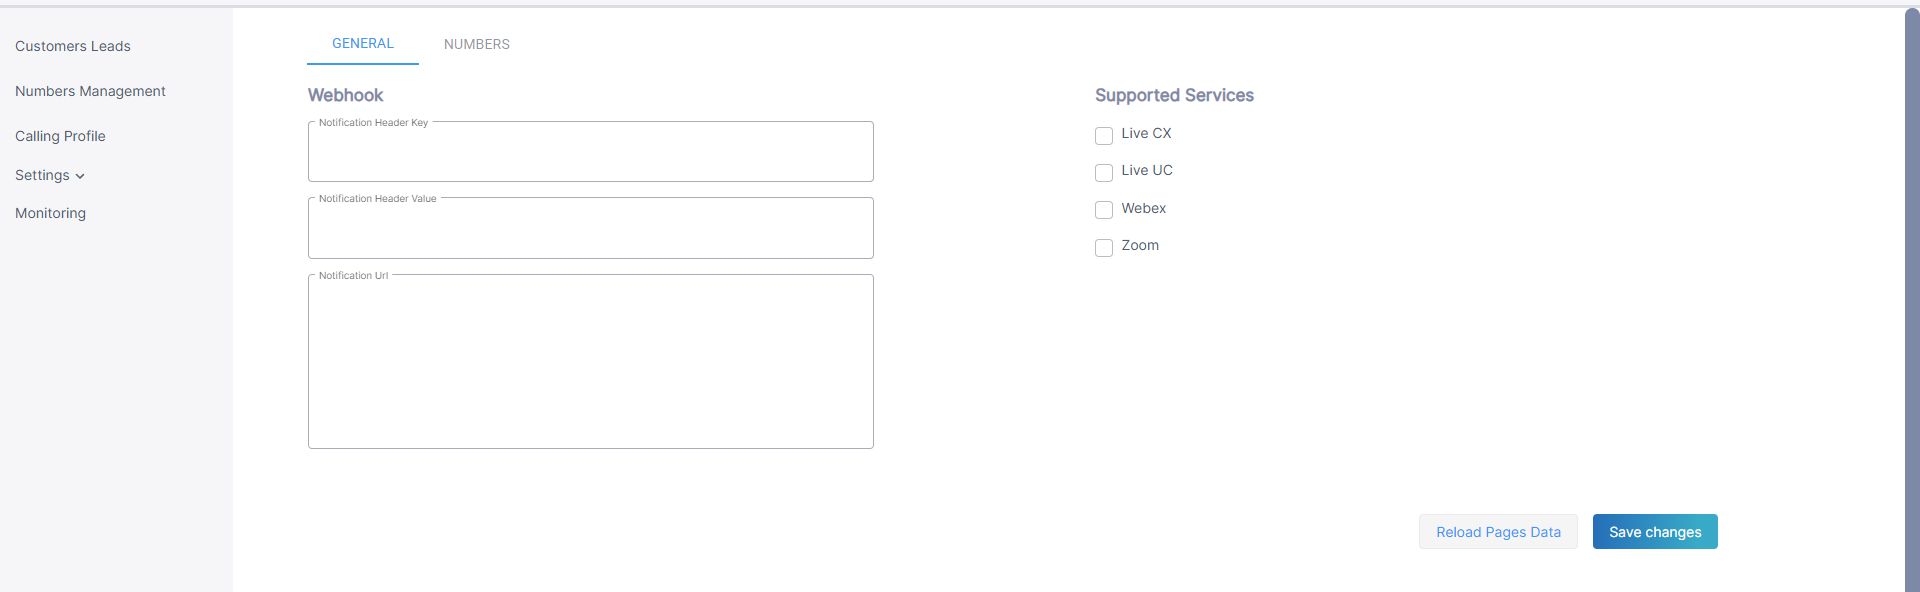
| 4. | Configure Webhook parameters for sending email notifications when customer leads are generated according to the table below and then click Save Changes. |
|
Parameter |
Description |
|---|---|
|
Notification Header Key |
Header authentication key (header key: runkey) to connect to the destination address. |
|
Notification Header Value |
The passkey in the Header Value. |
|
Show Dialplan Check box |
Shows or hides the Use SBC Dial plan check box in the Upload Number dialog box. |
|
Notification URL |
The Destination URL for the HTTP POST. |
|
Reload Pages Data button |
Click to refresh the page. |
|
Supported Services |
Zoom |
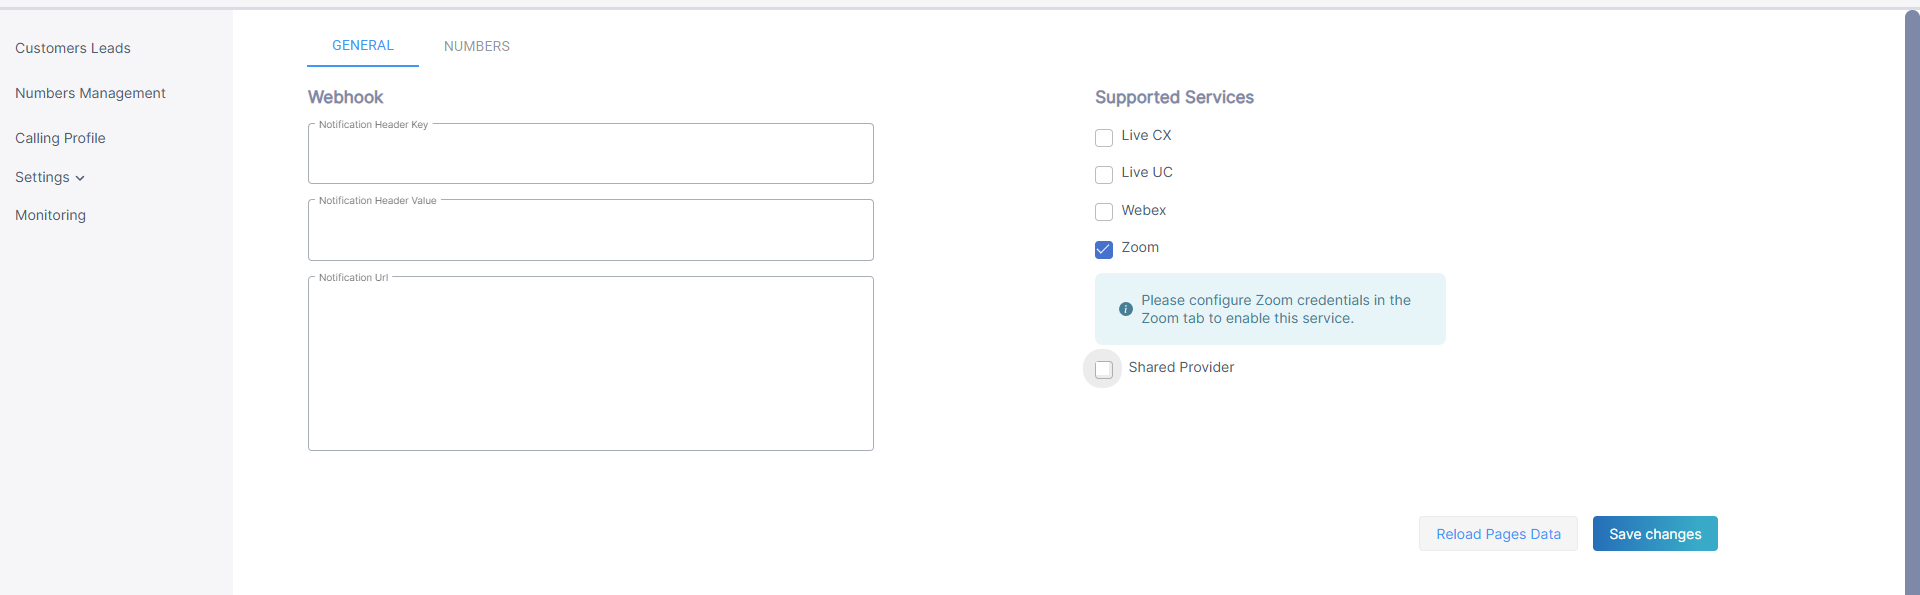
| 5. | Under Supported Services, select Zoom. |
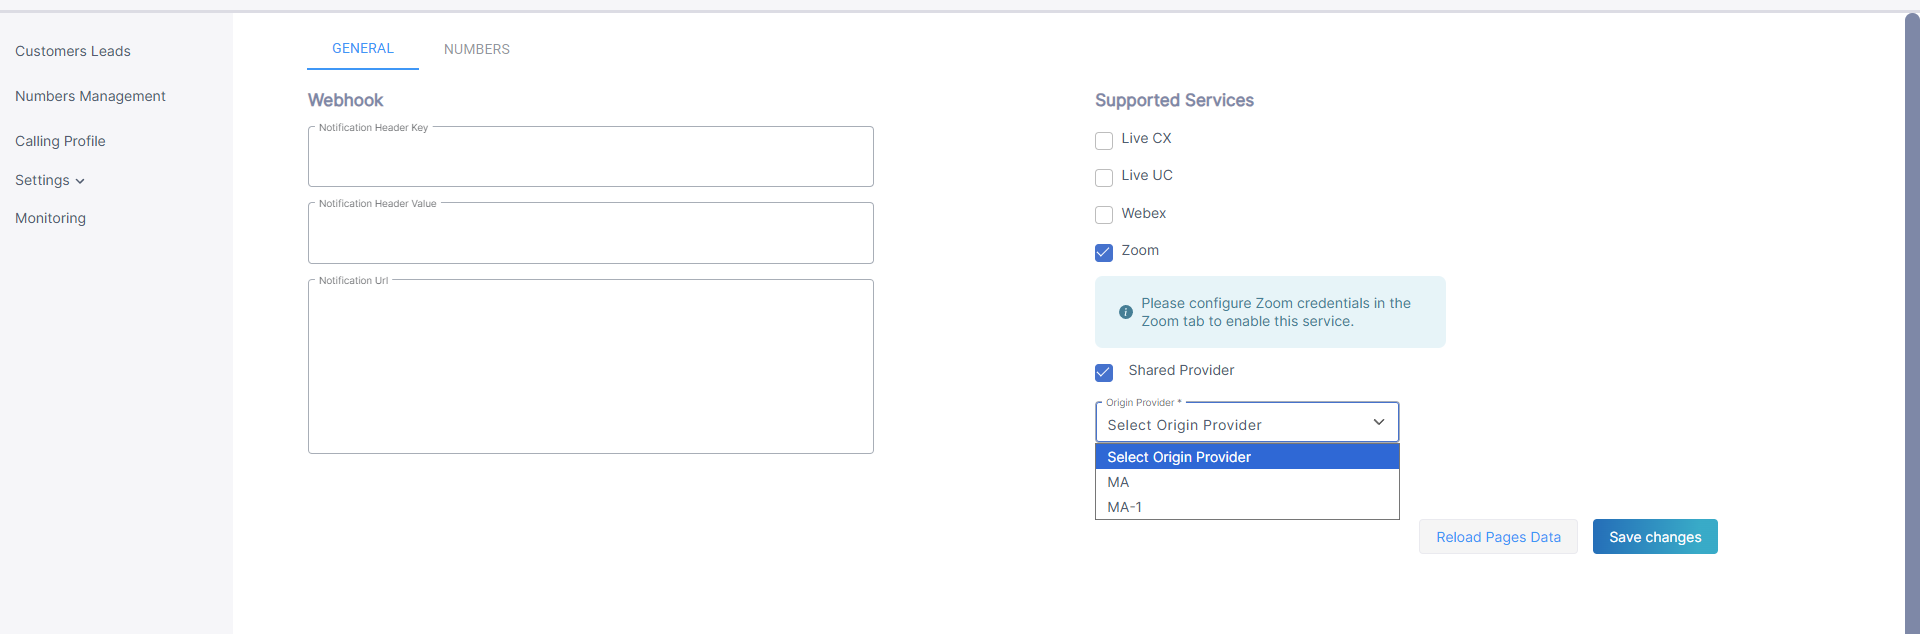
| 6. | If you are attaching services to Channel resellers, from the Origin Provider drop-down, choose the relevant Zoom Provider of the Channel reseller, and then click Save Changes. You can also click Reload Pages Data to refresh the page for the specific UCaaS service provider configuration. |
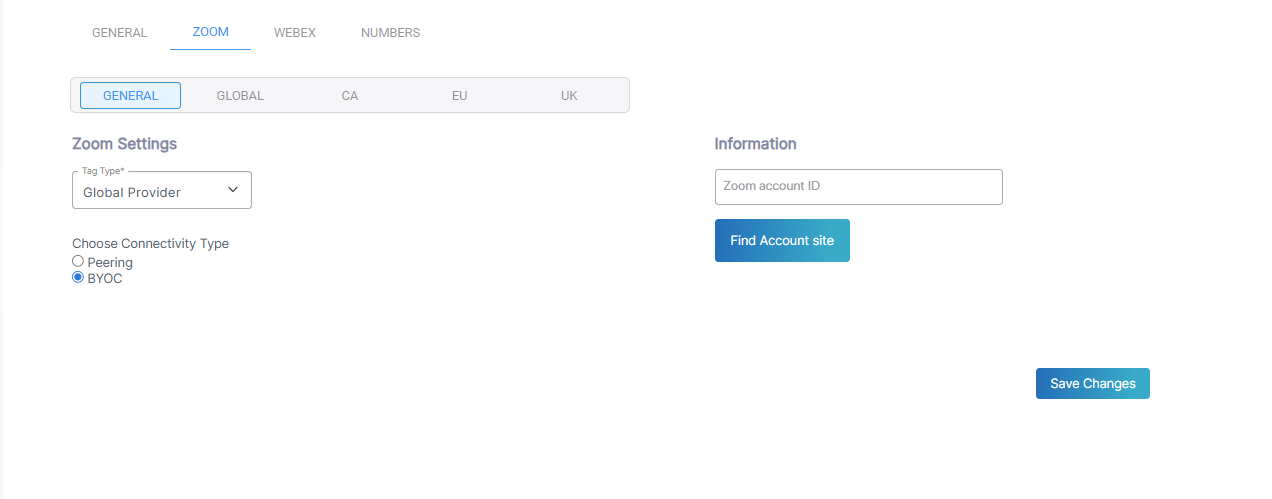
| 7. | The Zoom tab is displayed; configure parameters according to the table below and then click Save changes. |
The following page is displayed if you are configuring a Master provider.
The following page is displayed if you configured the 'Shared Provider' option above. In this case, all fields are read-only because the Shared Provider uses the configuration of the Master Provider.
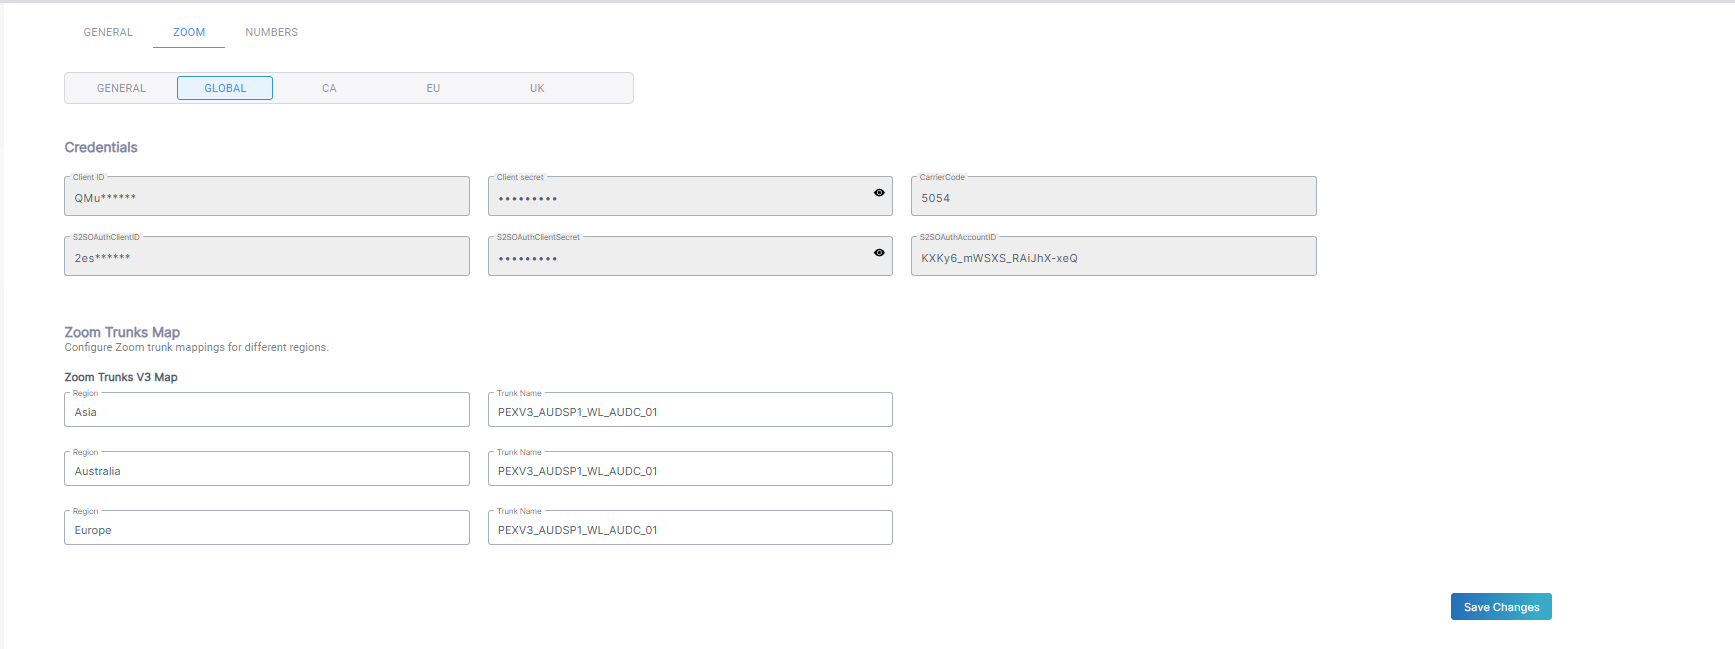
The table below describes the fields in the Zoom tab. If you configured the 'Shared Provider' option above then all fields are read-only except for the 'Connectivity Type' field and the option to search for Zoom Account Information.
|
Parameter |
Description |
|||||||||
|---|---|---|---|---|---|---|---|---|---|---|
| Tag Type |
From the Use Tag drop-down, choose one of the following:
During the onboarding of the Zoom Provider Exchange service, you are prompted with the appropriate Tag dialog according to this configuration. |
|||||||||
| Connectivity Type |
From the Connectivity Type drop-down, choose one of the following:
After applying confirmation, the following confirmation message is displayed:
|
|||||||||
|
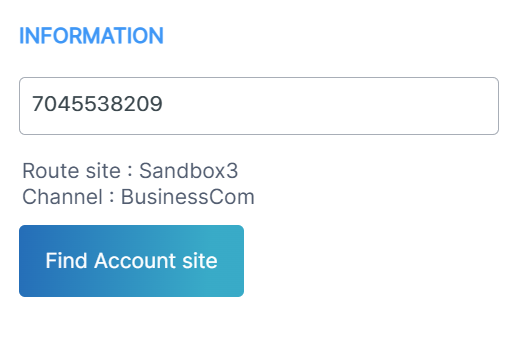
Zoom Account Information |
Enter a Zoom account number to search and then click Find Account site. The route and channel associated with the Zoom account are displayed.
|
|||||||||
|
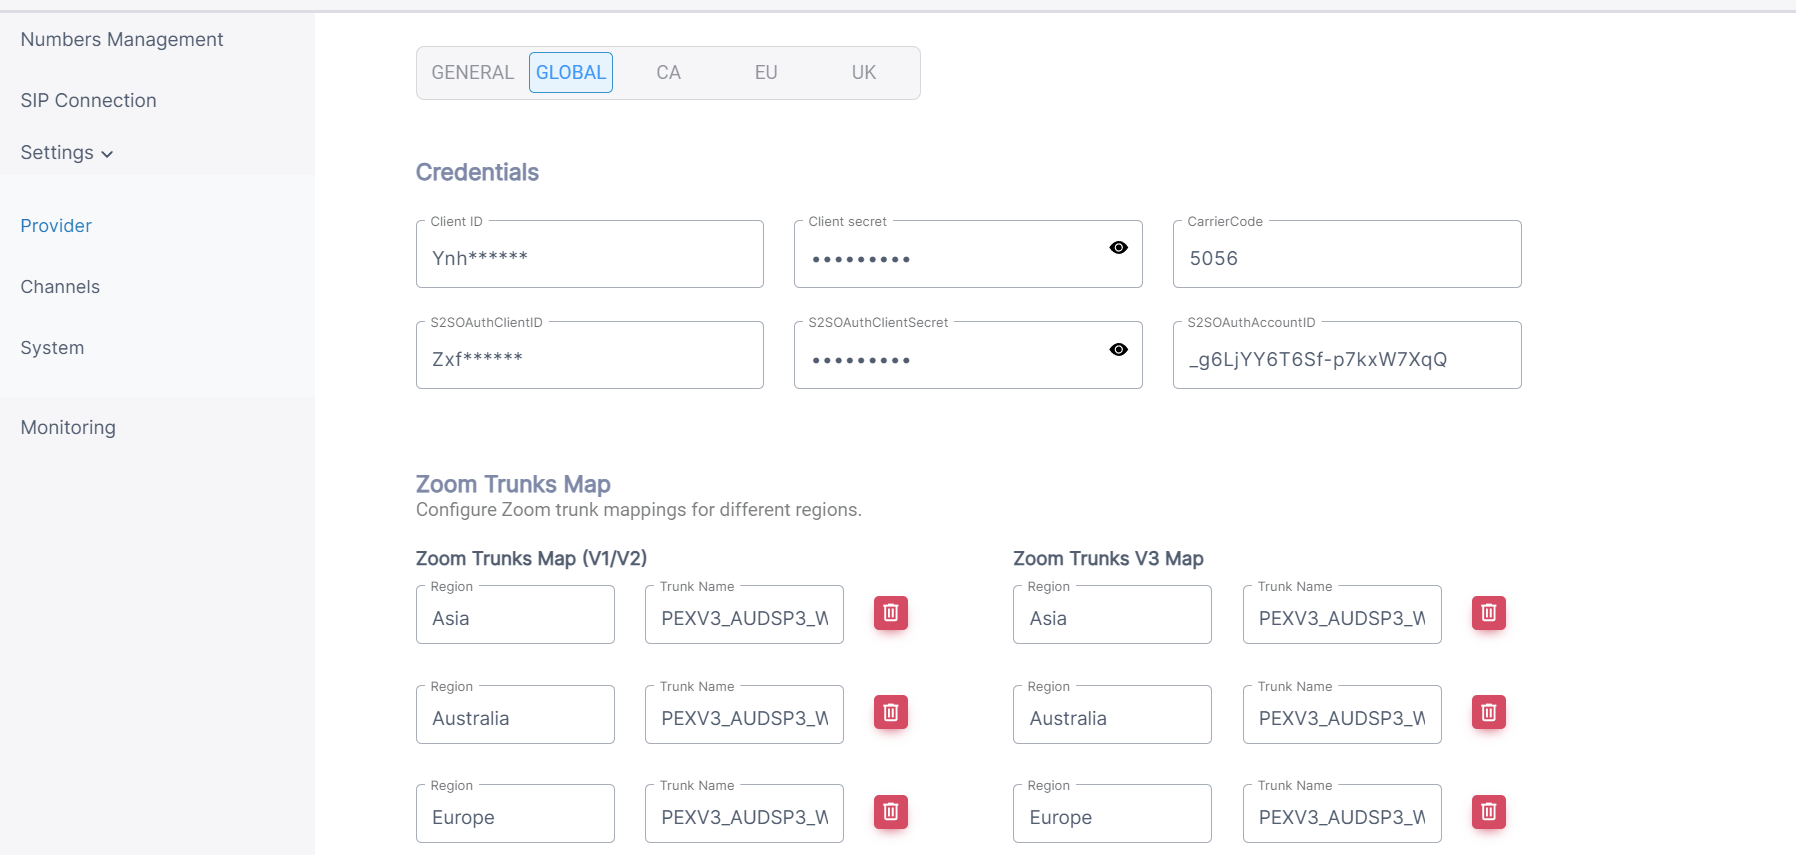
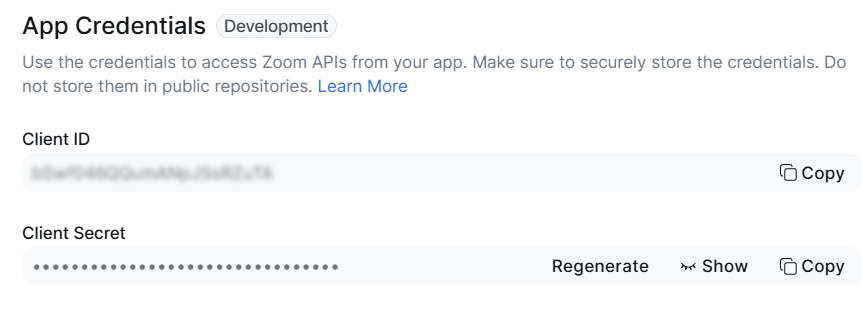
Credentials of the Service Provider App installed on the Zoom Marketplace used for customer and number management. These credentials are configured per region.
|
||||||||||
|
Client ID |
Client ID of the Service Provider App |
|||||||||
|
Client Secret |
Client Secret of the Service Provider App |
|||||||||
|
Carrier Code |
Service Provider Carrier Code according to AudioCodes validated list. |
|||||||||
|
|
|
|||||||||
|
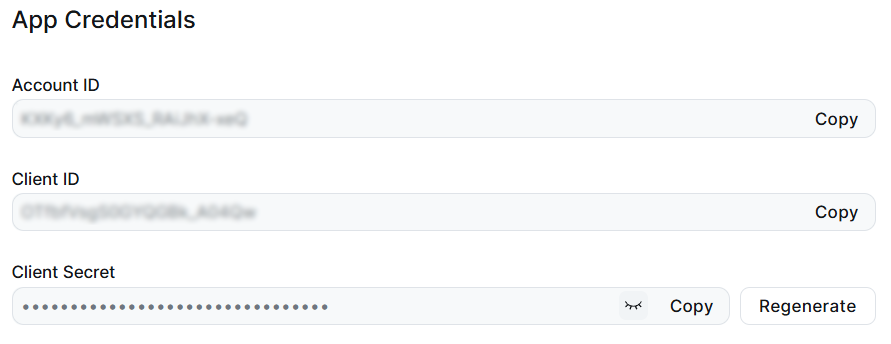
The Server-to-Server OAuth App registration credentials are used by Live Platform for retrieving data on assigned users for metering. These credentials are configured per region.
|
||||||||||
|
S2SOAuthAccountID |
Account ID configured in the Access Token app shown above. |
|||||||||
|
S2SOAuthClientID |
Client ID configured in the Access Token app shown above. |
|||||||||
|
S2SOAuthSecret |
Client Secret configured in the Access Token app shown above. |
|||||||||
|
Zoom Trunks Map |
Region and Trunk Name Mapping . |
|||||||||
| 8. | Click the Numbers tab, configure parameters according to the table below and then click Save Changes. |
|
Parameter |
Description |
|---|---|
|
Numbers |
|
|
Default CAC Value |
Enter the Default CAC value for the Number type 'User'. Each number uploaded to Live Platform with Number type 'User' inherits this value (read-only). |
|
Show Dialplan Check box |
Shows or hides the 'Use SBC Dialplan' check box in the Upload Number dialog box. |