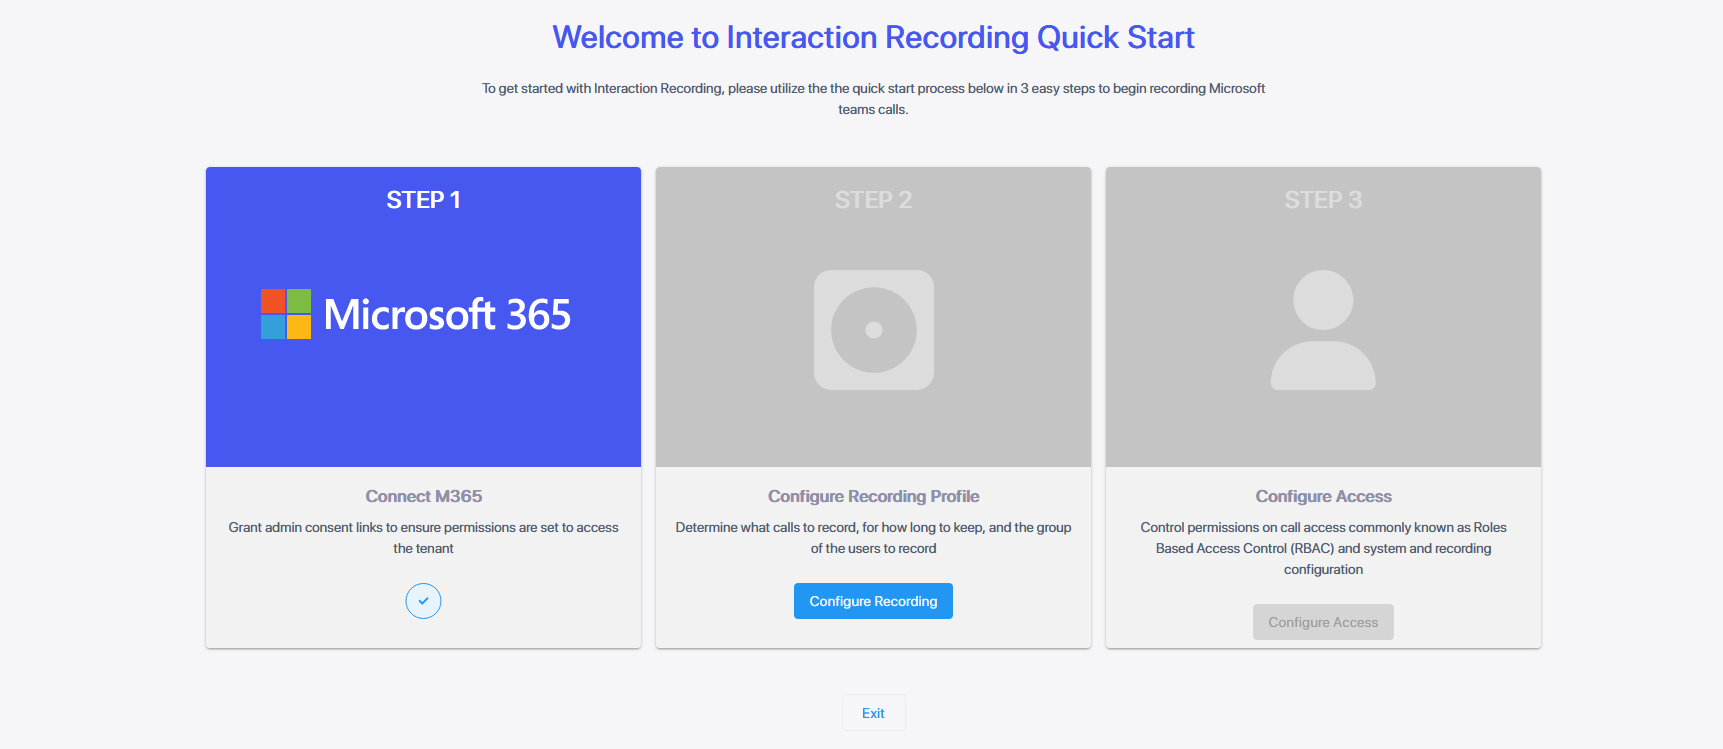
Onboarding Step 2 – Configure Recording Profile
The Quick Start onboarding wizard is only for systems with enabled Teams recording. It is not relevant for SIPREC only systems.
After completing Onboarding Step 1 – Grant MS365 Admin Consents, configure recording profiles, which define which calls are recorded and how the recordings are handled. On the onboarding wizard page, click Configure Recording Profile.
| ➢ | To set up a Recording Profile: |
| 1. | Configure the profile according to the tables below. |
|
Field |
Description |
|||||||||||||||||||||||||||
|---|---|---|---|---|---|---|---|---|---|---|---|---|---|---|---|---|---|---|---|---|---|---|---|---|---|---|---|---|
|
Profile Name |
Enter a name for the new recording profile. |
|||||||||||||||||||||||||||
|
Profile Description |
Enter a description of the new recording profile. |
|||||||||||||||||||||||||||
|
All |
Record all calls that the recording profile user participates in as calling party. This option is enabled by default or when a new recording profile is created. |
|||||||||||||||||||||||||||
|
Call Types (it's Mandatory to select at least one Call type) |
||||||||||||||||||||||||||||
|
Record All Call Types |
Select this check box to record all call types. |
|||||||||||||||||||||||||||
|
Enable On Demand Settings |
Slide roller to display the On Demand Settings including Save On Demand, Record On Demand and Pause and Resume Functionality (see below). |
|||||||||||||||||||||||||||
|
People Video |
Enables video between people participants. |
|||||||||||||||||||||||||||
|
Screen Sharing |
Enables screen sharing. |
|||||||||||||||||||||||||||
|
User Peer-to-Peer Calls When Call Types 'PSTN', 'Internal' or 'External' are enabled, and then the call is escalated to a Conference call (when additional parties are added to the call), the escalated Conference part of the call will be recorded as part of the original peer-to-peer call recording leg. |
||||||||||||||||||||||||||||
|
Internal |
Peer-to-Peer calls between the targeted recording profile user and other users within the same domain.
|
|||||||||||||||||||||||||||
|
PSTN |
Peer-to-Peer calls between the Targeted recording profile user and parties outside of the organization's network on PSTN.
|
|||||||||||||||||||||||||||
|
External |
Peer-to-Peer calls between the Targeted recording profile user and parties with Federated domain or any public Microsoft Teams domain.
|
|||||||||||||||||||||||||||
|
User Calls with Meetings When multiple participants join a recorded meeting, the system records the meeting media once for all participants, except for the organizer who receives a separate recording. Recording Meta data is maintained individually for each participant. The media is retained until the longest call retention policy of one of the participants expires. When recordings are accessed by the users, the meeting Media playback is limited to those segments in the meeting when the users were present. |
||||||||||||||||||||||||||||
|
External Meetings |
Targeted user calls with meetings that are scheduled by External users and belong to an External organization. This option is supported by Microsoft Teams Integration and with 'Full Time' Recording Type only. |
|||||||||||||||||||||||||||
|
Internal Meetings |
Targeted user calls with meetings that are scheduled by Internal users from the same domain as the Targeted user. This option records Teams calls with an Internal conference bridge in the Enterprise domain. An Internal Conference is a scheduled, ad-hoc meeting that occurs on a bridge belonging to the targeted user organization. When enabled, all user calls with internal meetings are recorded according to the below options. When disabled, none of the user calls with internal conferences are recorded. One of the following options:
This option is supported by Microsoft Teams Integration and with 'Full Time' Recording Type only. |
|||||||||||||||||||||||||||
|
On Demand Settings The following settings are displayed for each Call Type when the 'Enable On Demand' option is enabled (see above).
|
||||||||||||||||||||||||||||
|
Internal |
|
|||||||||||||||||||||||||||
|
PSTN |
|
|||||||||||||||||||||||||||
|
External |
|
|||||||||||||||||||||||||||
|
User Queue Calls |
||||||||||||||||||||||||||||
|
Call Queues Instance ids |
Comma separated list of the call queue instance ids which should be recorded (see Retrieve a Recording Queue Instance). Relevant when Teams Queue Calls is configured and "All" is not selected. When “All” is selected, all user calls will be recording including calls from any call queue. The maximum length of the field is 2048 characters. |
|||||||||||||||||||||||||||
|
Teams Queue Calls |
Record Microsoft Teams calls that have been retrieved from a queue by a call agent. The recording is triggered as soon as the call is connected to an agent. Note: If you want to record only queued calls, you must provide the instance ID (see Retrieve a Recording Queue Instance). |
|||||||||||||||||||||||||||
|
Save on Demand After Call Timer |
Elapsed time available to record call after the call has been terminated. This feature enables the recording of a Save on Demand call after the call is no longer active. Such a call can be recorded after an elapsed time of up to 1800 seconds (30 minutes) . Default-0 (a Save on Demand call cannot be recorded after it is no longer active). This feature is designed to prevent hoax callers from compromising the security and integrity of the Enterprise or Call Center. |
|||||||||||||||||||||||||||
|
Storage Configuration |
||||||||||||||||||||||||||||
|
Retention Period - Audio (Days) |
Call retention is the number of days to keep recordings in storage. Use the default with caution since eventually the storage location will be completely consumed. To meet business requirements, it's highly recommended to set the retention value to a positive number. Live Platform deletes calls that exceed the retention period once a day. A network administrator with appropriate security profile credentials has the option to add / modify retention policies. The default storage retention period is 12 months. The maximum storage period is 24 months (two years), unless the Unlimited Retention parameter is configured for the service , in which case, the retention period in days is unlimited and you can customize the expiration date (see below). Configure one of the following Retention period time frames:
|
|||||||||||||||||||||||||||
|
Retention Period - Video and Screen Sharing (Days) |
This value must be less than the Retention Period - Audio (Days) value and should not exceed the specified maximum retention period. |
|||||||||||||||||||||||||||
|
Storage |
Azure Blob Storage account location according to geographical region where the instance is installed. |
|||||||||||||||||||||||||||
Advanced Settings
|
Field |
Description |
|||||||||||||||||||||
|---|---|---|---|---|---|---|---|---|---|---|---|---|---|---|---|---|---|---|---|---|---|---|
|
Instant Message Recording |
||||||||||||||||||||||
|
Enable Instant Message Recording |
Select to enable the recording of Microsoft Teams Instant Messages for the customer tenant. |
|||||||||||||||||||||
|
Type of Chat to Record |
|
|||||||||||||||||||||
|
Retention Period - Instant Messages (Days) |
Configure one of the following Retention period time frames:
|
|||||||||||||||||||||
|
Analytics Profile |
To allow transcription of recordings (and optionally generating AI-powered summaries of these transcriptions), select the applicable analytics profile. For details, see Analytics Profiles. |
|||||||||||||||||||||
|
Recording Notification |
Controls whether Microsoft Teams banner recording notifications are displayed:
This parameter is only displayed when enabled by the Service Provider in the Live Platform service. In addition, you must sign a waiver to enable this feature. |
|||||||||||||||||||||
| Filter Calls User Receives Filter Calls User Makes |
To filter calls that the user receives or makes, choose the type of the filter. To record the user calls with specific numbers, choose Allow in the List Type. To record calls of the user except with specific numbers, choose Block: in the List Type. The Filter is applied on the calls with the comma-separated phone numbers defined in the Numbers field. For example: “17326524689, 17326524690” regular expression can be entered when the phone number ranges need to be filtered. For example, to filter calls with phone numbers that starts with area code 732 or 609, enter the following in the regular expression field:^(1{1}|\1{1})?(732|609)\d*$. When both the numbers and regular expressions are provided, the system first checks against the regular expression and if a match is not found, continues with the numbers. The maximum length of the numbers and the regular expression field is 2048 characters. Filtering is applicable to Skype for Business integrations and to Microsoft Teams (PSTN calls only). The + sign should not be added in Numbers and Regular Expression fields as its not recognized by Live Platform. |
|||||||||||||||||||||
|
Time Range |
Specify a time range for call recording, which includes the option to choose specific days of the week and time ranges based on the location of the server for the (product name) region. |
|||||||||||||||||||||
|
Custom Recording Hours |
Custom Recording Hours (default 24/7):
|
|||||||||||||||||||||
| 1. | Click Next to assign one or more Azure groups to the profile: |
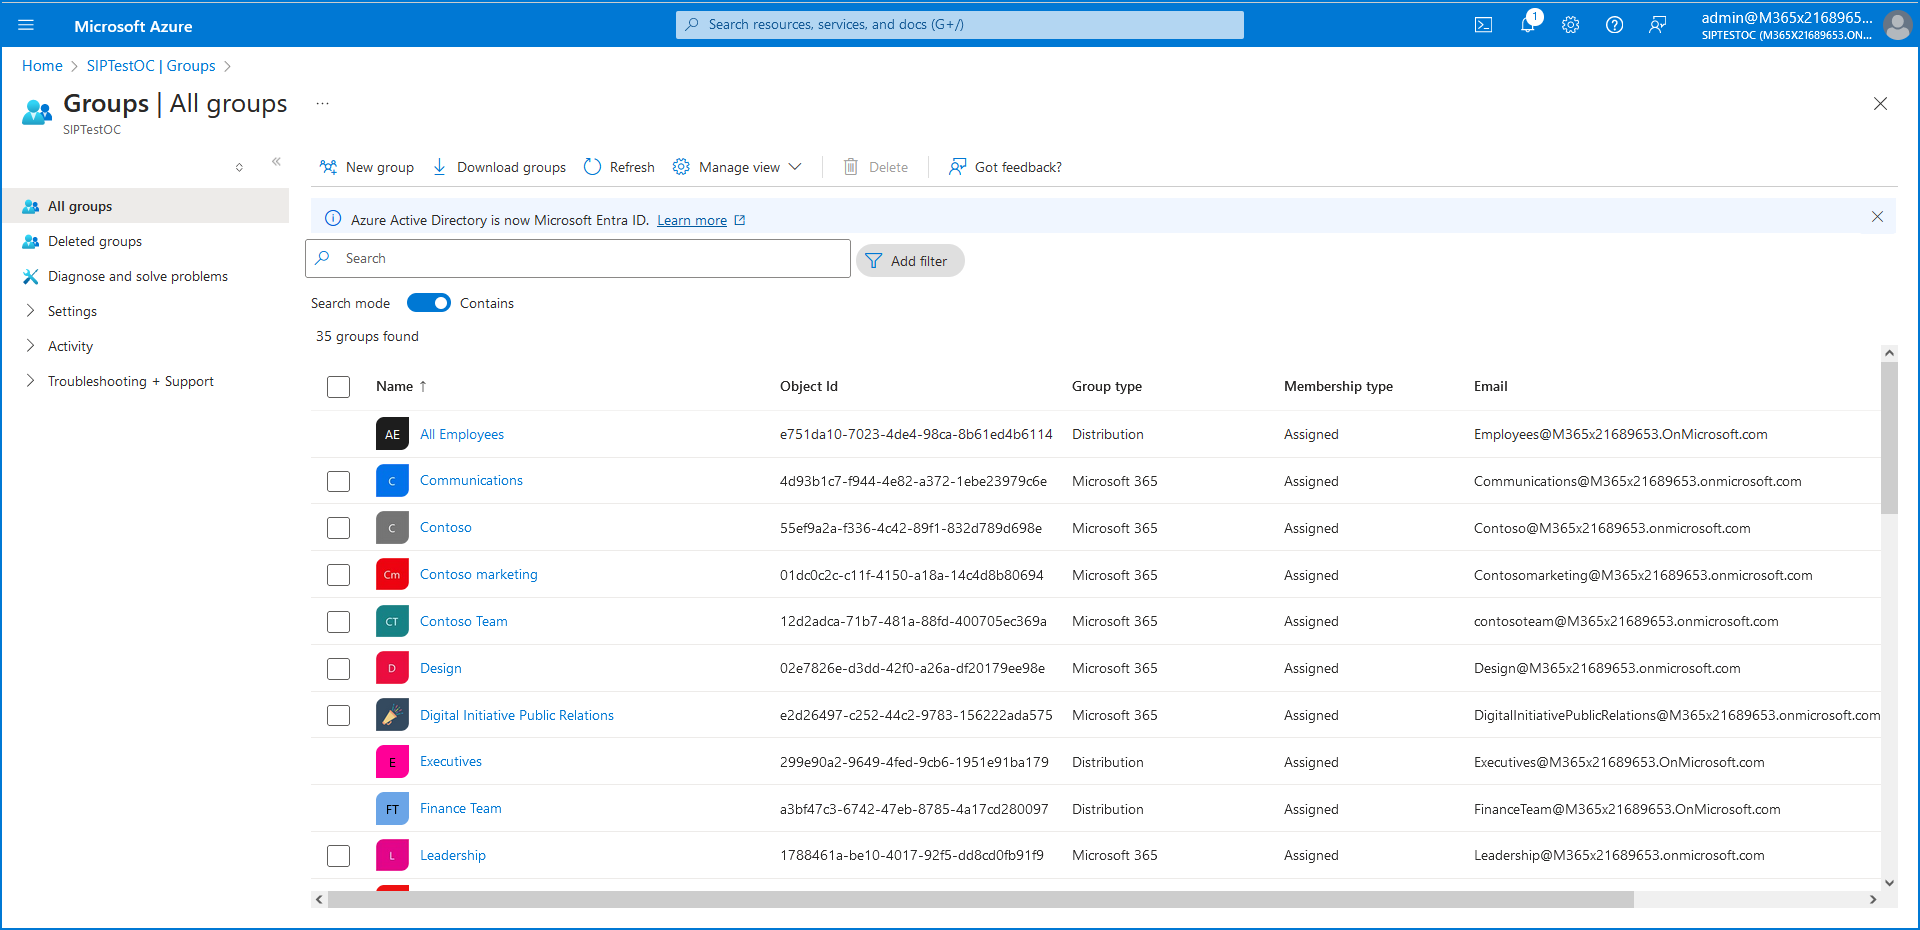
| a. | Log in to the Azure portal for your tenant to confirm which group you wish to associate with the profile. |
| b. | Return to the Recording Profile; start typing the name of the group, and then click Add Group. |
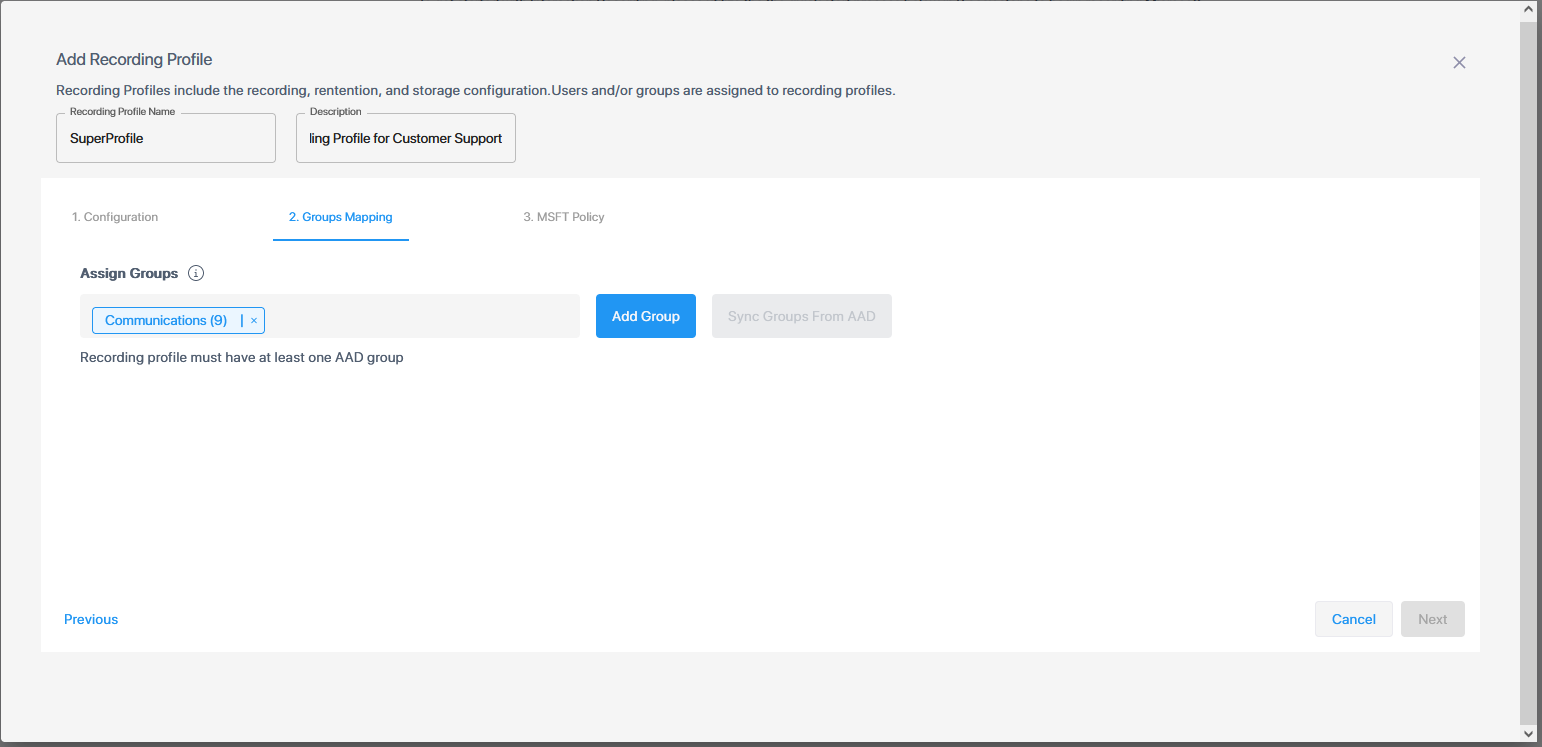
If you later add or remove group members, you must perform a synchronization operation (see Synchronize a Recording Profile).
Once assigned, the confirmation message below is displayed.

| c. | Click Next to continue. |
The MSTF Policy tab is only relevant for recording of calls (and optionally, instant messaging). For recording of instant messaging only (not calls), click Finish
| 2. | Configure the following Microsoft Teams Calling Policies: |
| ● | Disconnect Calls when Recorder Unavailable: Calls are disconnected when BOT recording functionality is not available. |
| ● | Disable Compliance Recording Audio Notifications: Disable Microsoft Teams Audio Recording notifications that are played to calls participants from PSTN or other UC platforms. |
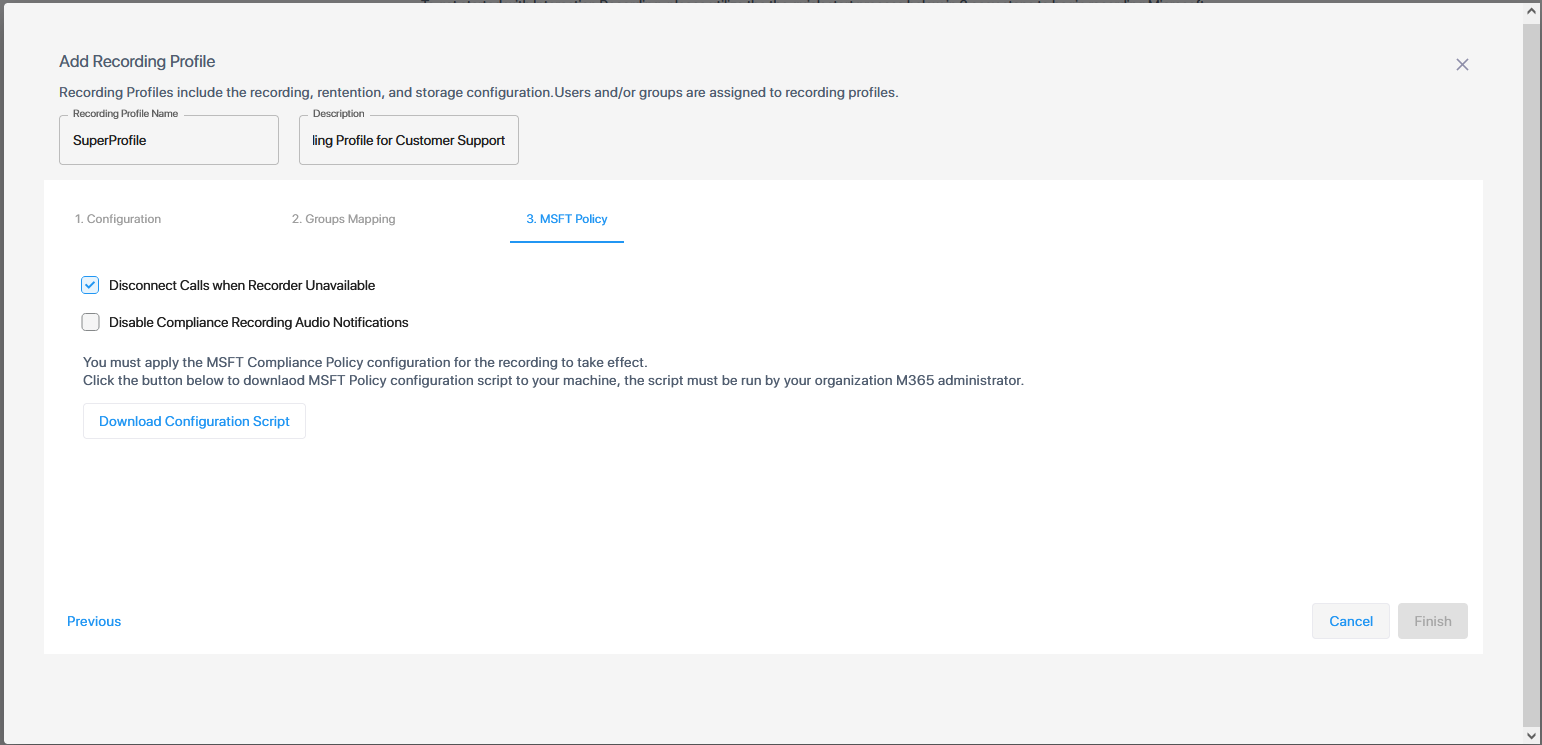
| 3. | Click the Download Configuration Script link to download the PowerShell script createProfileSuperProfile-dd-m-yyyy.ps1 to your PC. |
You can also download and run the script at a later time using the right-click menu option MSFT Scripts (see Download and Run Microsoft Script).
| 4. | Open PowerShell console and run the following policy before running the downloaded script: |
Set-ExecutionPolicy -ExecutionPolicy Bypass -Scope LocalMachineThe following message may appear in the console if the above command is not run.

| 5. | Run the script as Administrator. |
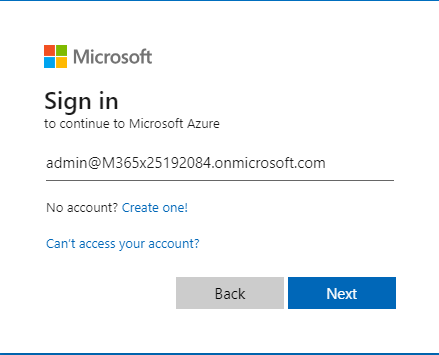
| 6. | Enter the credentials of the Azure customer tenant account and authenticate using the Microsoft Authenticator when prompted. |
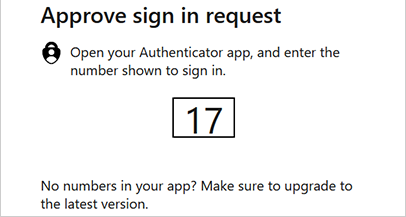
The script supports Multifactor authentication.
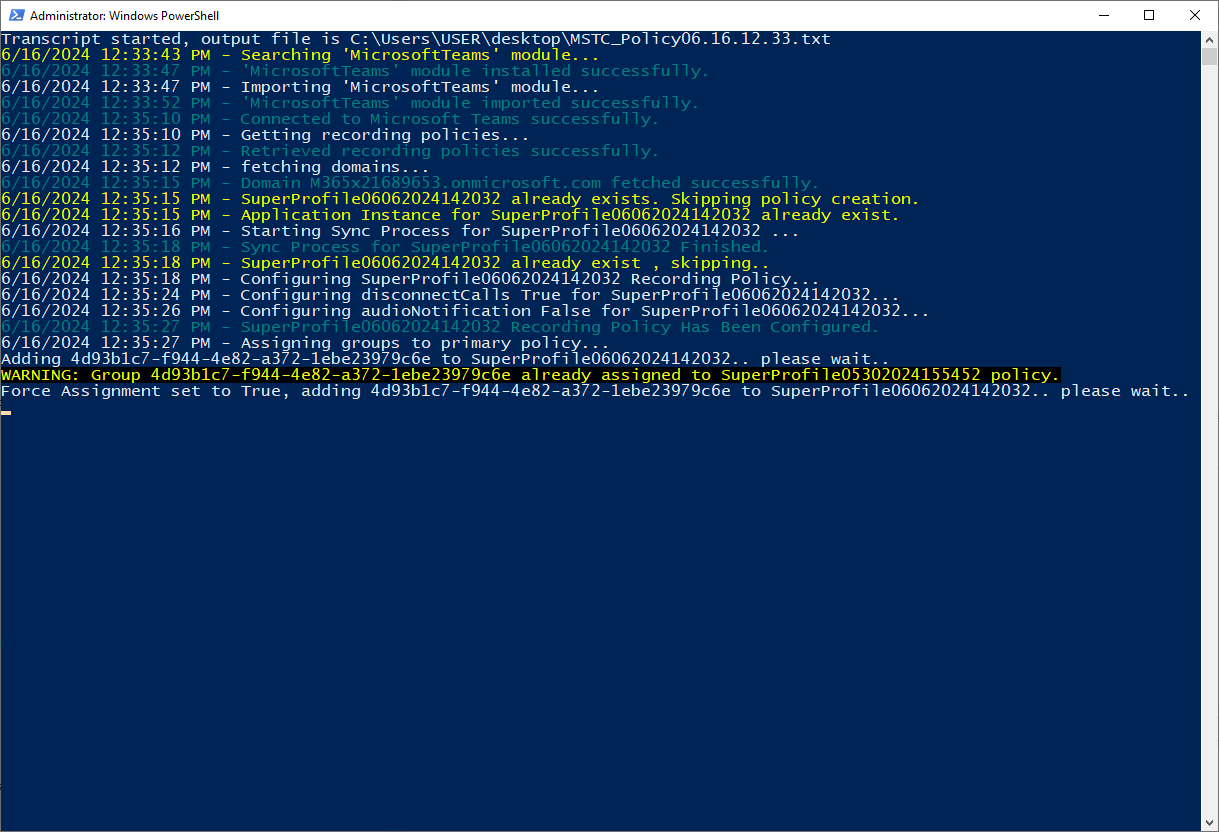
See example log file below (saved to Desktop on the PC where you run the script).
**********************
Windows PowerShell transcript start
Start time: 20240616123342
Username: LAPTOP-M8LNK8BQ\USER
RunAs User: LAPTOP-M8LNK8BQ\USER
Configuration Name:
Machine: LAPTOP-M8LNK8BQ (Microsoft Windows NT 10.0.19045.0)
Host Application: C:\WINDOWS\System32\WindowsPowerShell\v1.0\powershell.exe -NoProfile -ExecutionPolicy Bypass -File C:\Users\USER\Desktop\Powershell\editProfileSuperProfile-16-6-2024.ps1
Process ID: 19148
PSVersion: 5.1.19041.4522
PSEdition: Desktop
PSCompatibleVersions: 1.0, 2.0, 3.0, 4.0, 5.0, 5.1.19041.4522
BuildVersion: 10.0.19041.4522
CLRVersion: 4.0.30319.42000
WSManStackVersion: 3.0
PSRemotingProtocolVersion: 2.3
SerializationVersion: 1.1.0.1
**********************
Transcript started, output file is C:\Users\USER\desktop\MSTC_Policy06.16.12.33.txt
PS>TerminatingError(Invoke-RestMethod): "{"type":"https://tools.ietf.org/html/rfc7231#section-6.5.13","title":"Unsupported Media Type","status":415,"traceId":"00-1fa6a9561e39115c5b5258f162c5540d-a5c8015bfcd9c025-00"}"
6/16/2024 12:33:43 PM - Searching 'MicrosoftTeams' module...
6/16/2024 12:33:47 PM - 'MicrosoftTeams' module installed successfully.
6/16/2024 12:33:47 PM - Importing 'MicrosoftTeams' module...
INFO: Loaded Module 'Microsoft.Teams.ConfigAPI.Cmdlets'
6/16/2024 12:33:52 PM - 'MicrosoftTeams' module imported successfully.
6/16/2024 12:35:10 PM - Connected to Microsoft Teams successfully.
6/16/2024 12:35:10 PM - Getting recording policies...
6/16/2024 12:35:12 PM - Retrieved recording policies successfully.
6/16/2024 12:35:12 PM - fetching domains...
6/16/2024 12:35:15 PM - Domain M365x21689653.onmicrosoft.com fetched successfully.
6/16/2024 12:35:15 PM - SuperProfile06062024142032 already exists. Skipping policy creation.
6/16/2024 12:35:15 PM - Application Instance for SuperProfile06062024142032 already exist.
6/16/2024 12:35:16 PM - Starting Sync Process for SuperProfile06062024142032 ...
6/16/2024 12:35:18 PM - Sync Process for SuperProfile06062024142032 Finished.
6/16/2024 12:35:18 PM - SuperProfile06062024142032 already exist , skipping..
6/16/2024 12:35:18 PM - Configuring SuperProfile06062024142032 Recording Policy...
6/16/2024 12:35:24 PM - Configuring disconnectCalls True for SuperProfile06062024142032...
6/16/2024 12:35:26 PM - Configuring audioNotification False for SuperProfile06062024142032...
6/16/2024 12:35:27 PM - SuperProfile06062024142032 Recording Policy Has Been Configured.
6/16/2024 12:35:27 PM - Assigning groups to primary policy...
Adding 4d93b1c7-f944-4e82-a372-1ebe23979c6e to SuperProfile06062024142032.. please wait..
WARNING: Group 4d93b1c7-f944-4e82-a372-1ebe23979c6e already assigned to SuperProfile05302024155452 policy.
Force Assignment set to True, adding 4d93b1c7-f944-4e82-a372-1ebe23979c6e to SuperProfile06062024142032.. please wait..
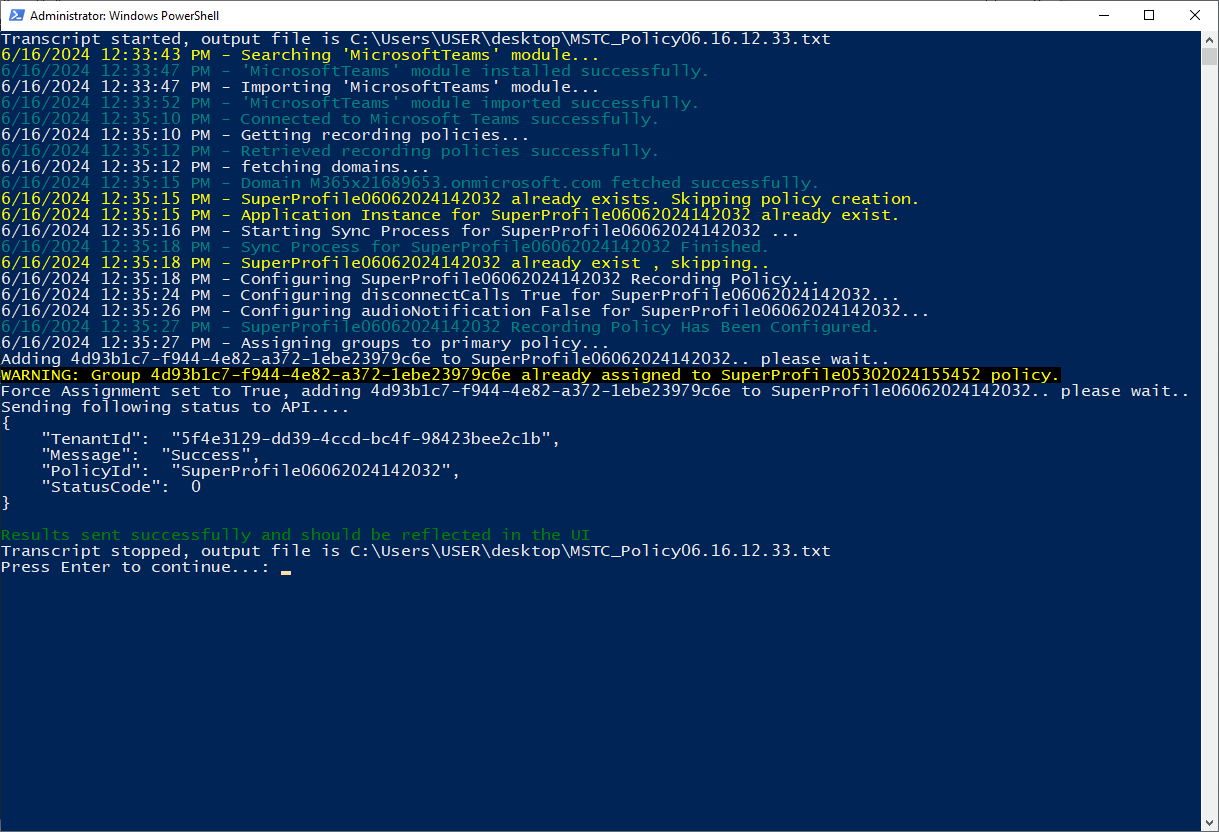
Sending following status to API....
{
"TenantId": "5f4e3129-dd39-4ccd-bc4f-98423bee2c1b",
"Message": "Success",
"PolicyId": "SuperProfile06062024142032",
"StatusCode": 0
}
Results sent successfully and should be reflected in the UI
**********************
Windows PowerShell transcript end
End time: 20240616123533
**********************
| 7. | Once you have successfully run the script, verify that the Recording Profile status is 'Successful'. |
