Bring-Your-Own-Storage
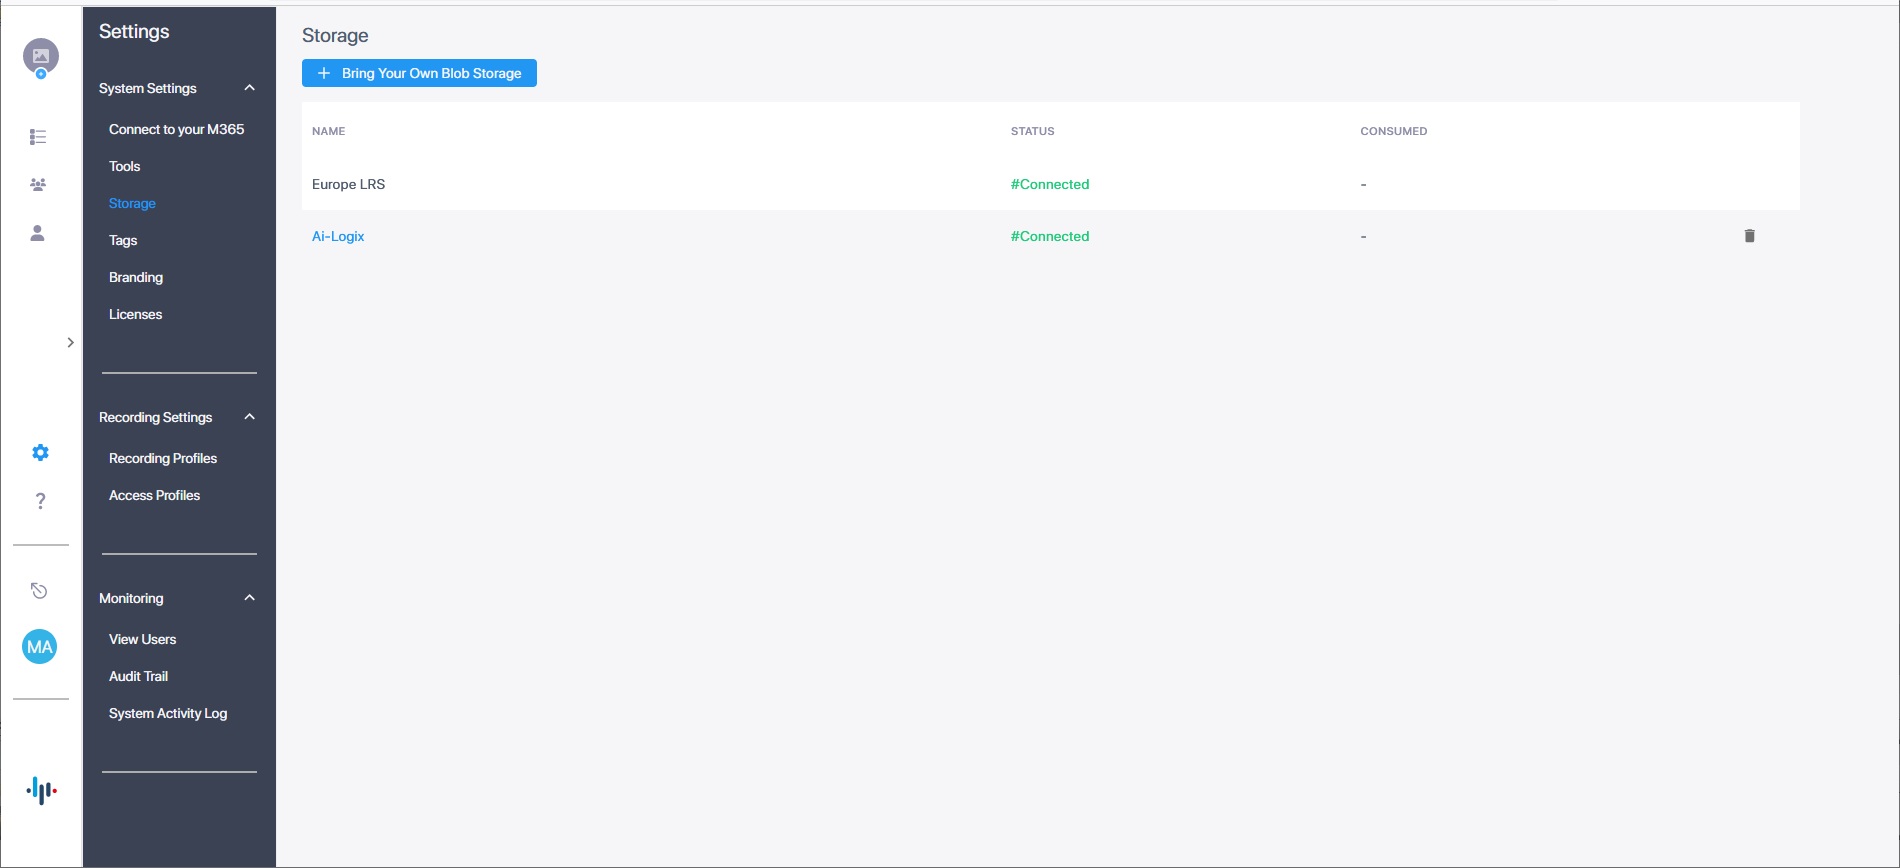
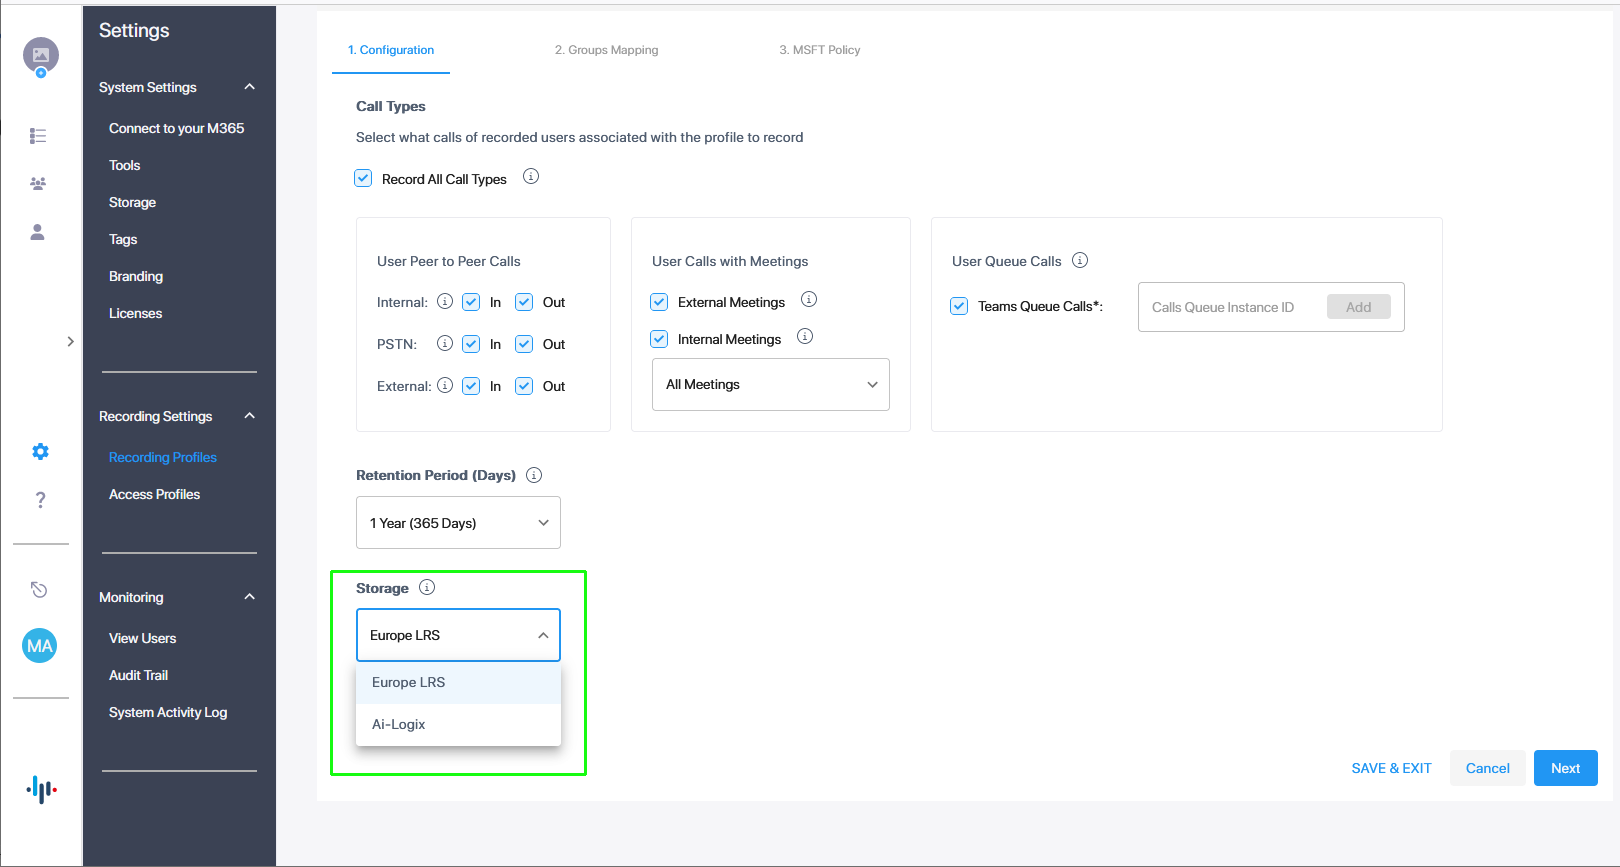
This option lets you manage your Blob Storage accounts. The Quick Start process added the Service Provider Azure Blob System Storage account for your region. You can add additional Azure Blob accounts for different locations when this feature is enabled by your Service Provider. For each location, you can monitor the status of the connection and Consumption in GB for the storage utilization. Once you add BYOS locations, they can be associated with Recording profiles.
|
●
|
The ability to add Blob storage accounts requires the BYOS feature key. Contact customer support for details. |
|
●
|
Ensure that you have added your BYOC accounts on your M365 tenant. |
|
●
|
Performance latency may be affected if the storage location is geographically remote to the Live Platform deployment instance. |
|
●
|
Data consumption is only displayed for GRS (Geo Recording Storage) storage accounts. |
|
1.
|
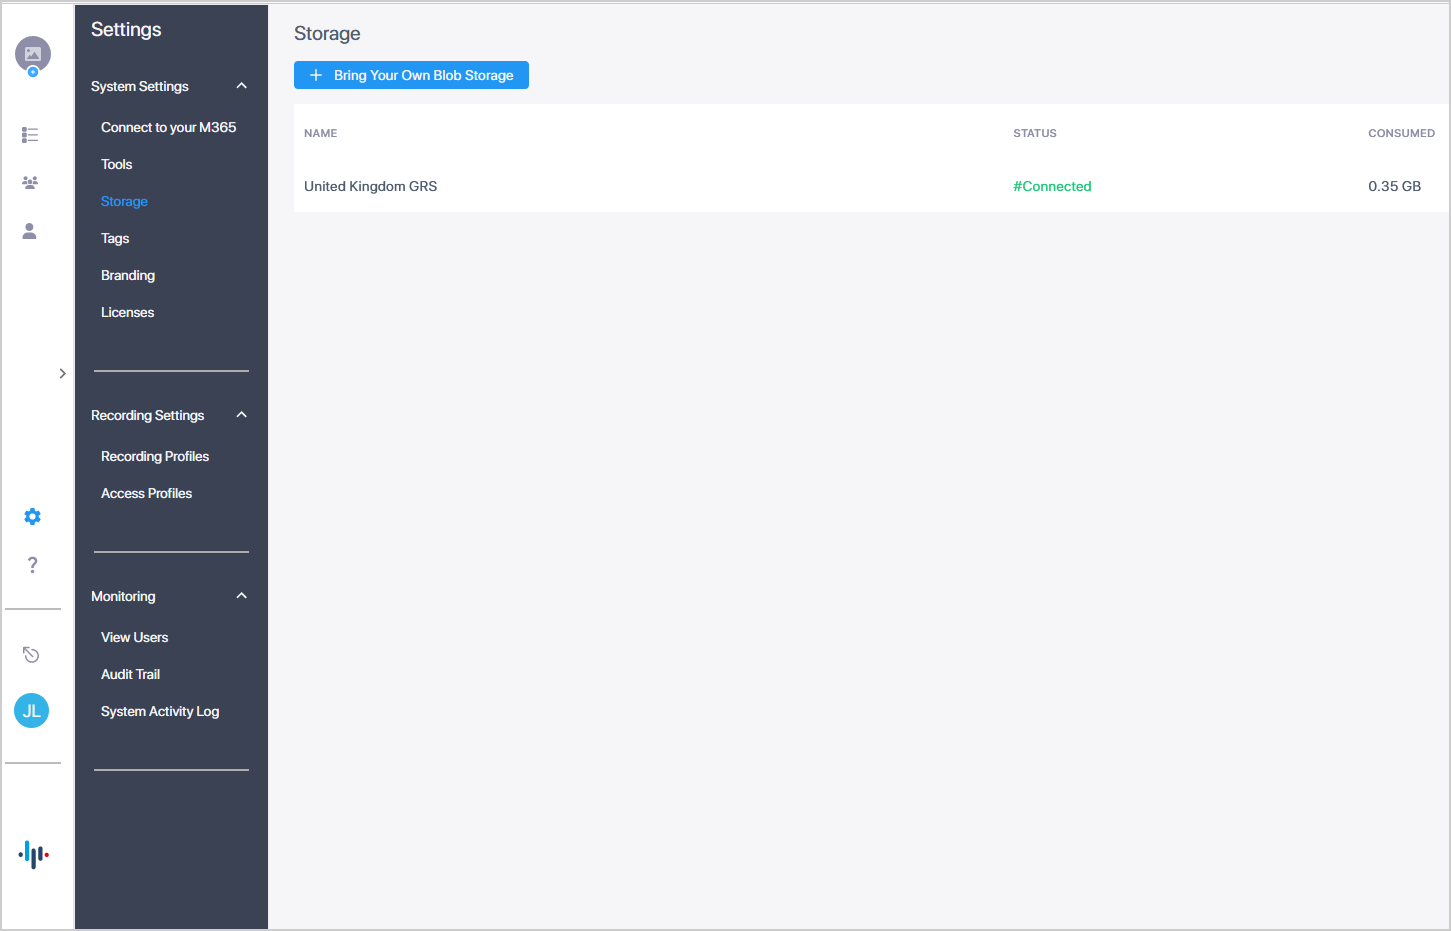
In the Icon pane, click  , and then in the Navigation pane, select System Settings > Storage. , and then in the Navigation pane, select System Settings > Storage. |
In the figure below, the default System storage account is 'United Kingdom GRS'. The storage utilization is 0.35 GB. If your service was onboarded with an Essentials user license with Single Recording server instance, then the default system storage location name is <RegionName> LRS (Local Recording Storage). If your service was onboarded with a Pro user license with Redundancy Recording server instance, then the name is <Region Nane> GRS (Geo Recording Storage).
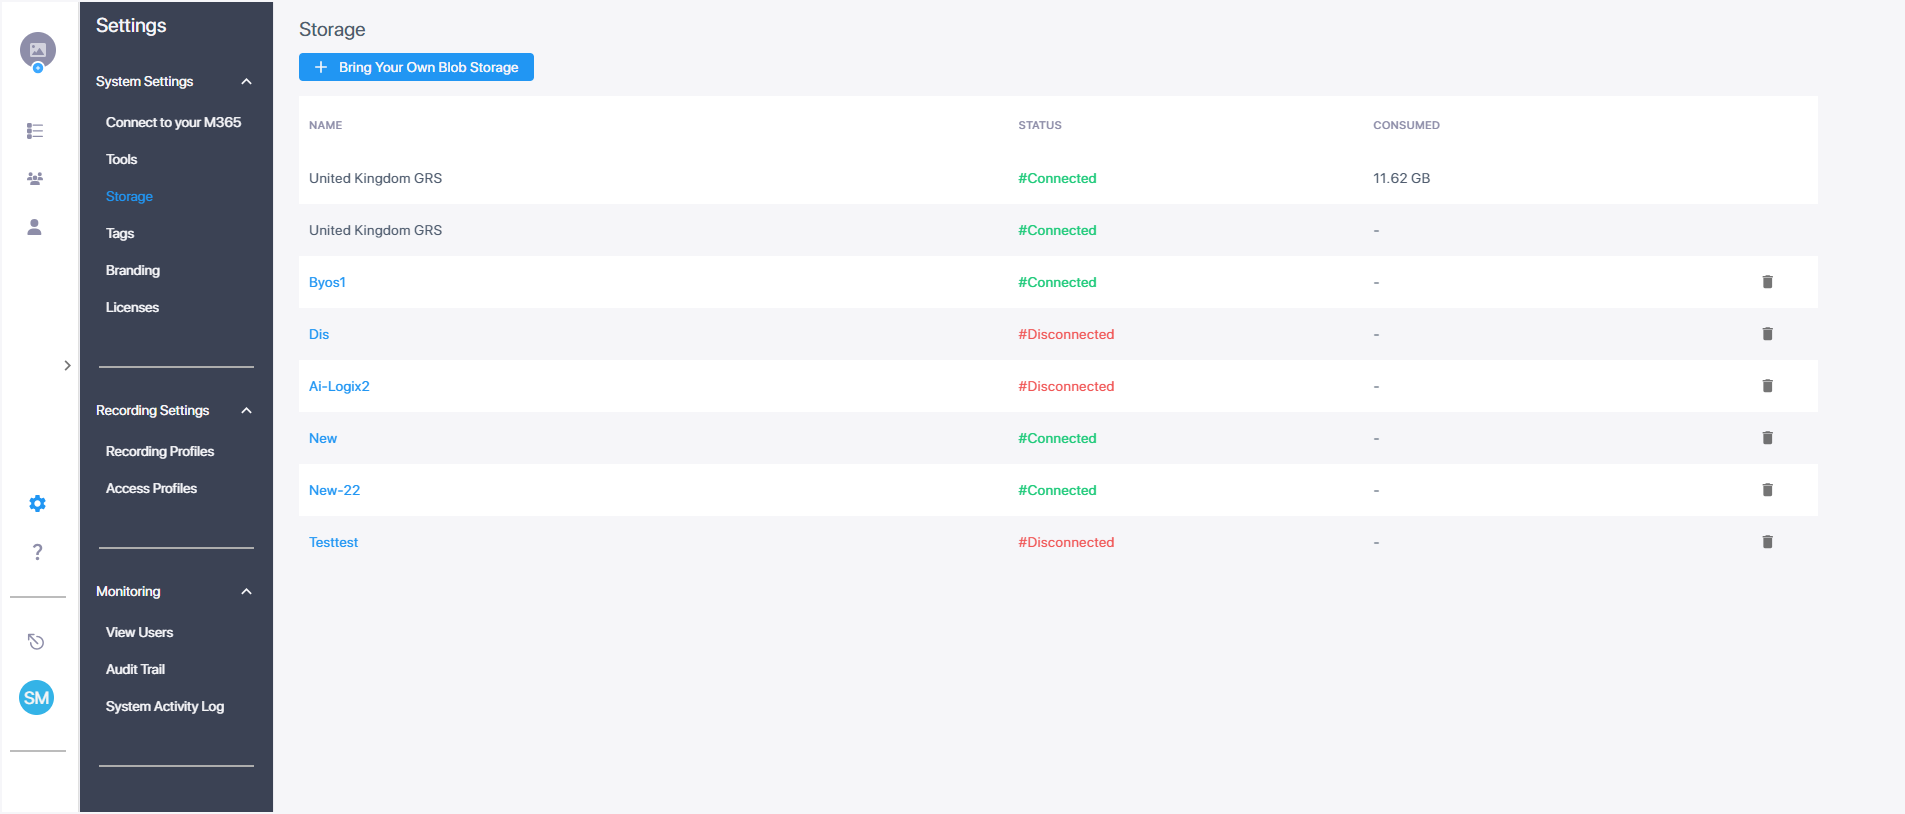
The figure below shows added BYOS storage accounts. Once added, accounts can be later removed.
|
2.
|
If you have a Pro User license supporting Double Recording with Paired Bot users (Geographical Redundancy Storage), configure the Connection String of the storage container for each region. |
|
3.
|
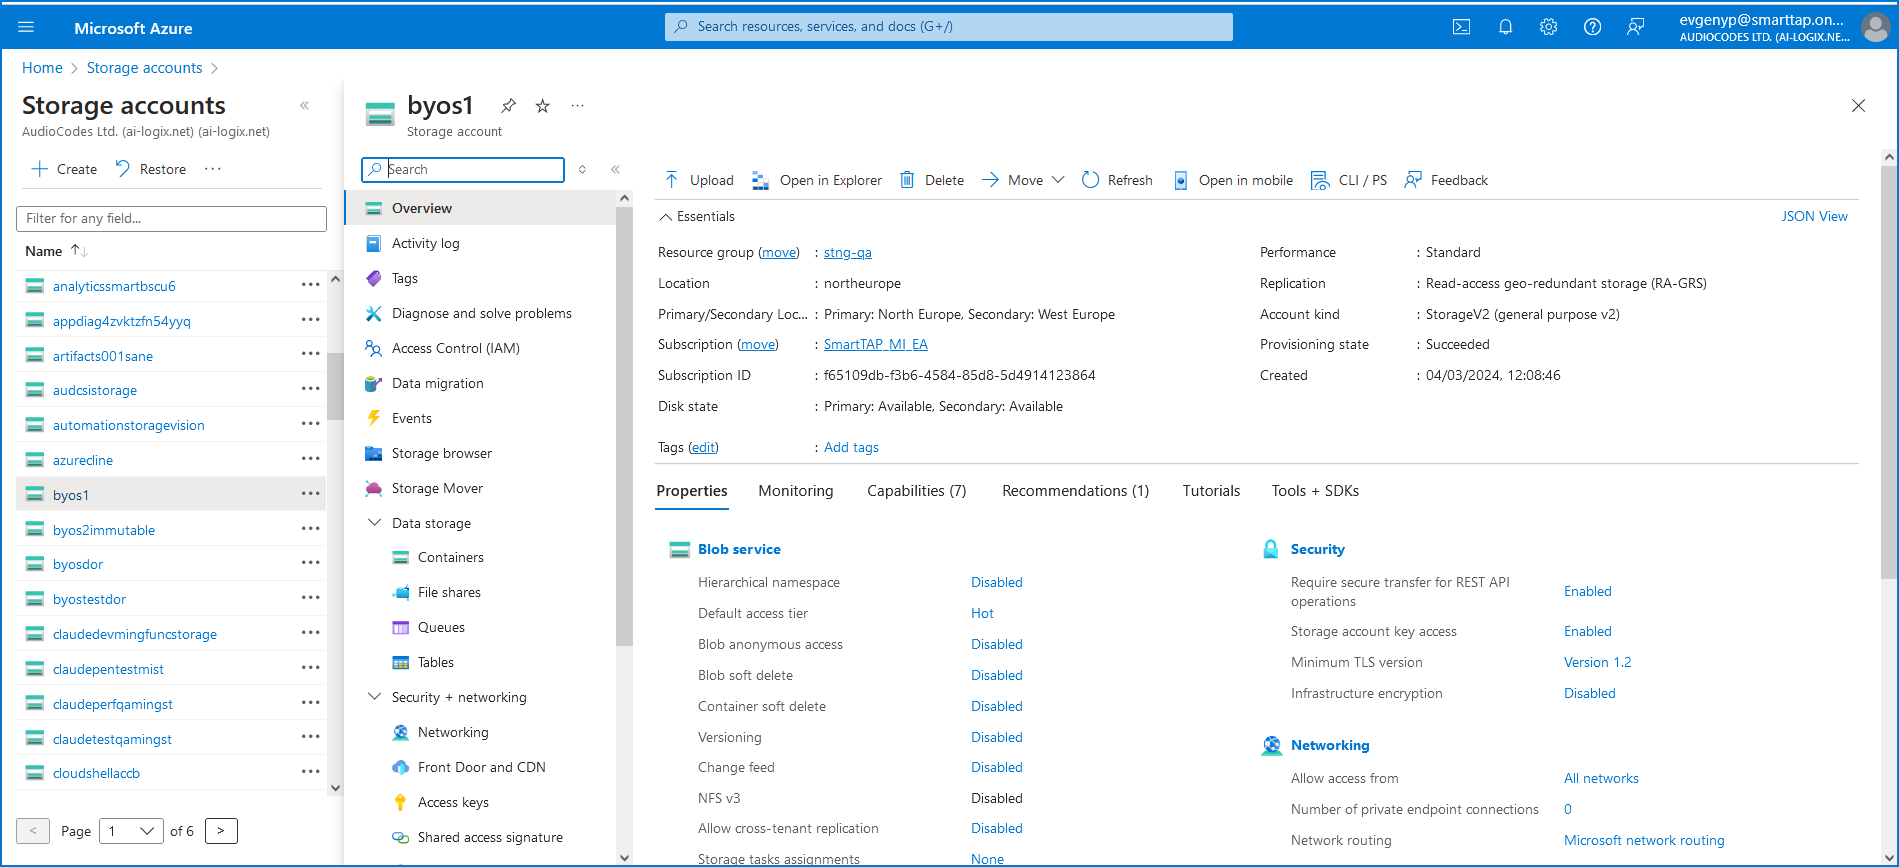
Login to the Microsoft Azure customer tenant, and open the relevant Blob Storage account. |
|
4.
|
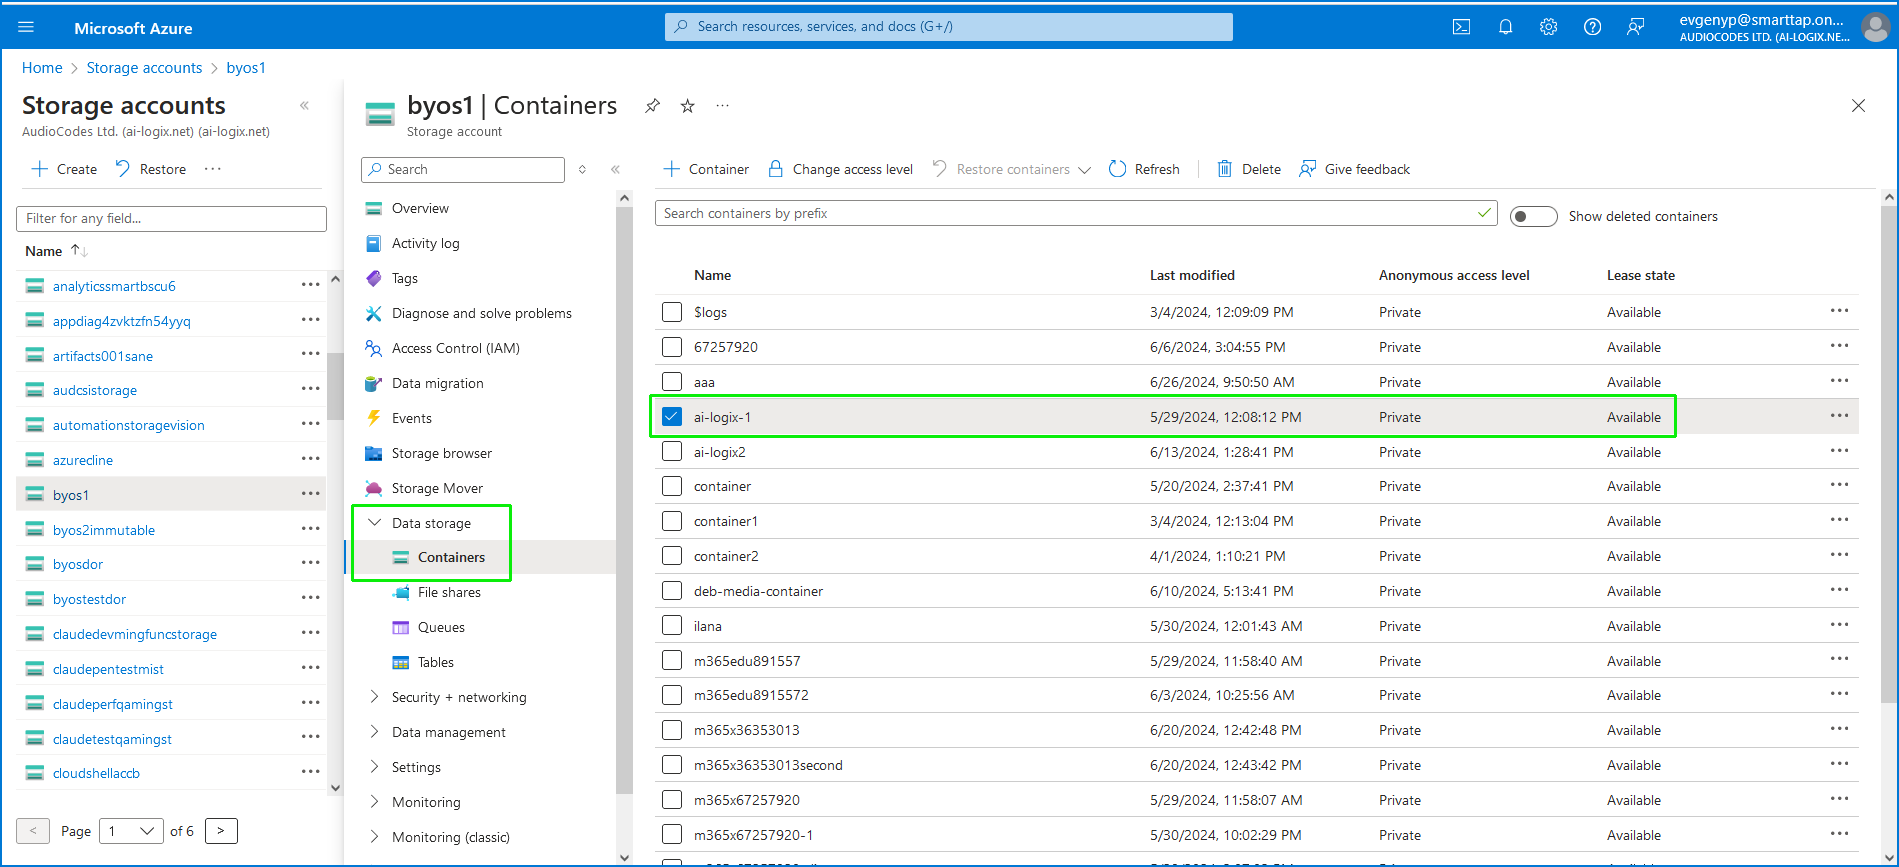
In Navigation pane, select Data storage > Containers, and then select the relevant container in which you wish to store media. |
|
5.
|
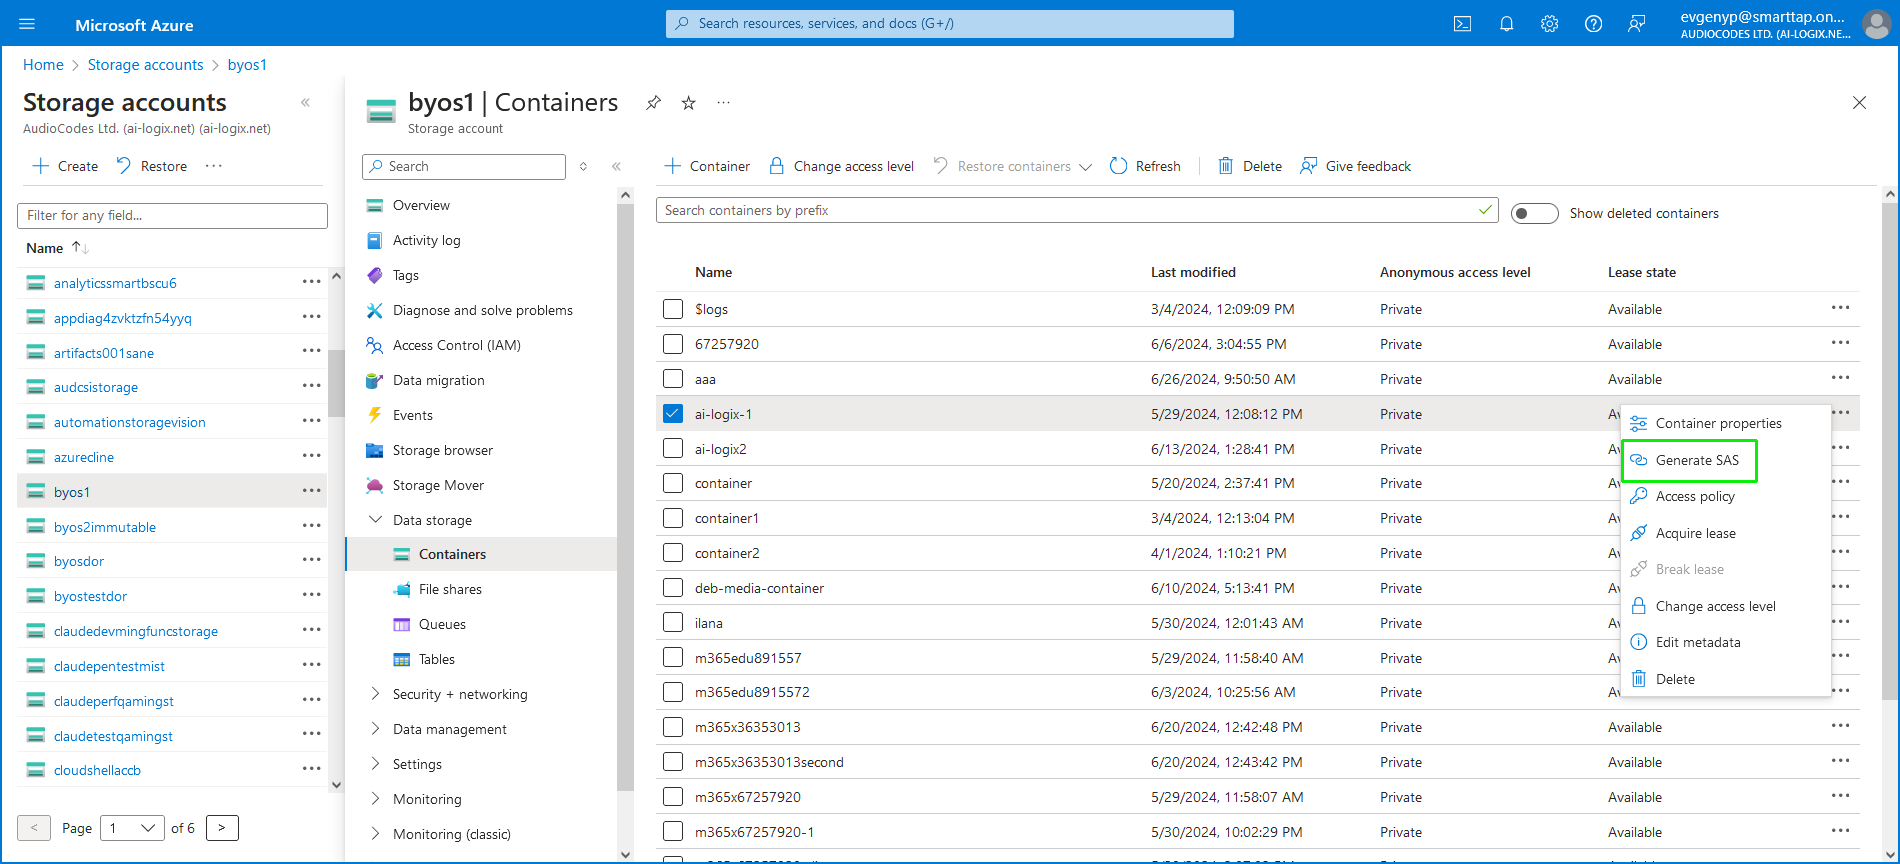
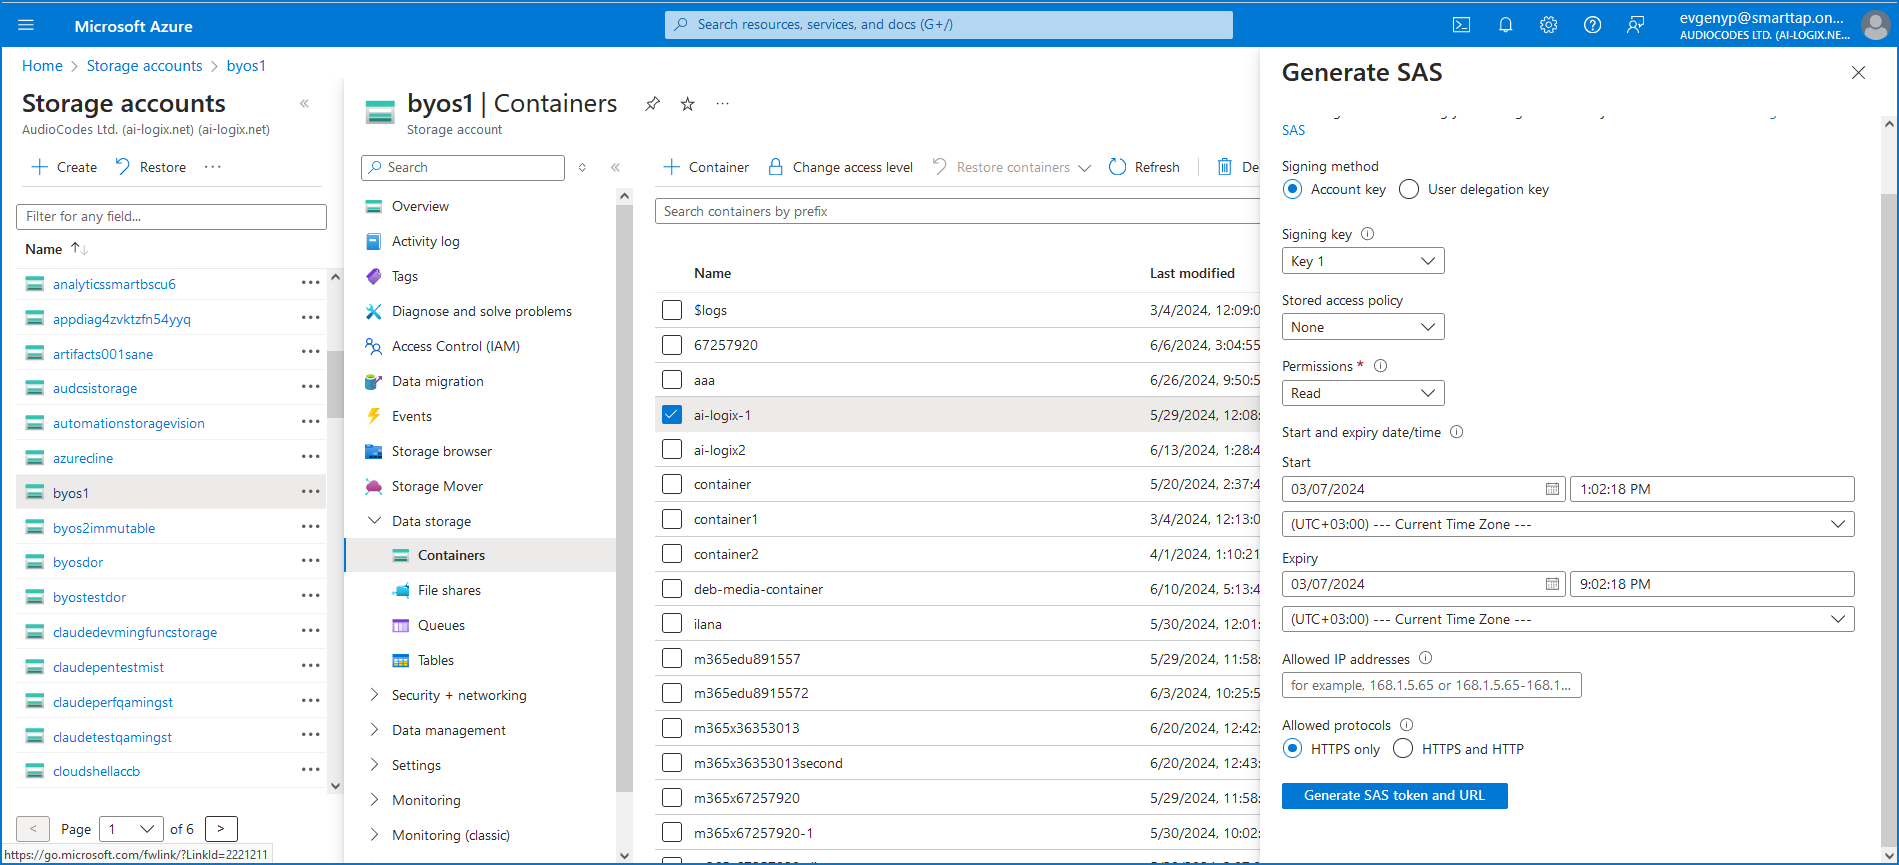
Select the entry and then from the .....right-click menu, choose Generate SAS. |
|
a.
|
Select the Account key check box. |
|
d.
|
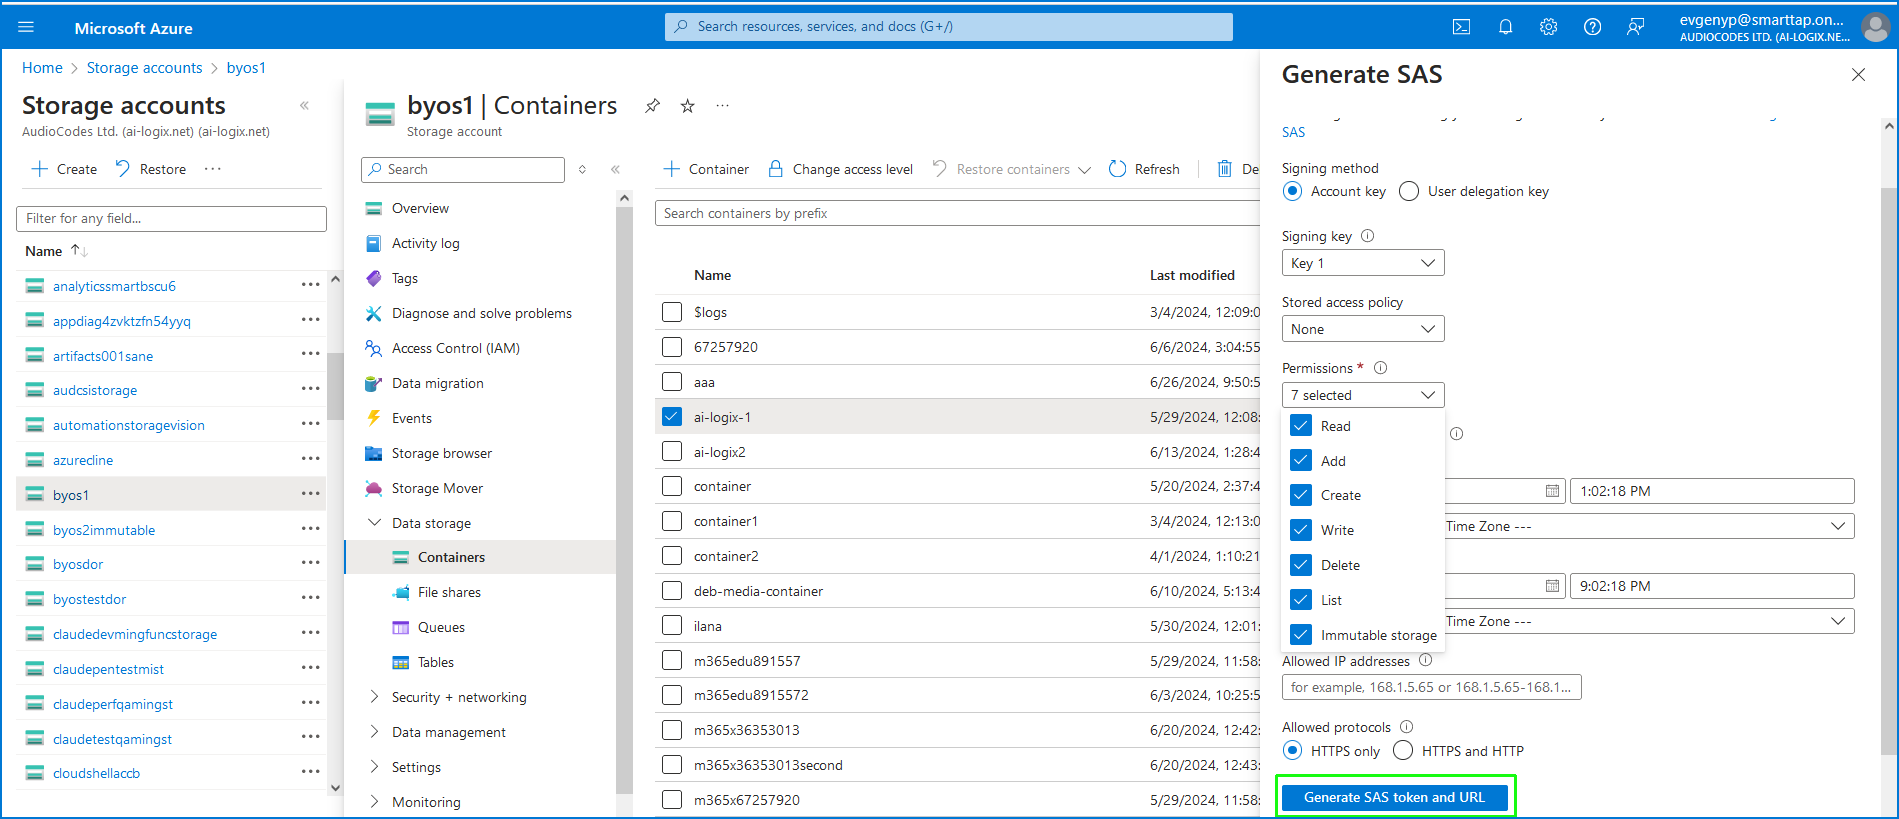
Select all permission check boxes. |
|
e.
|
Allowed protocols HTTPS only. |
|
7.
|
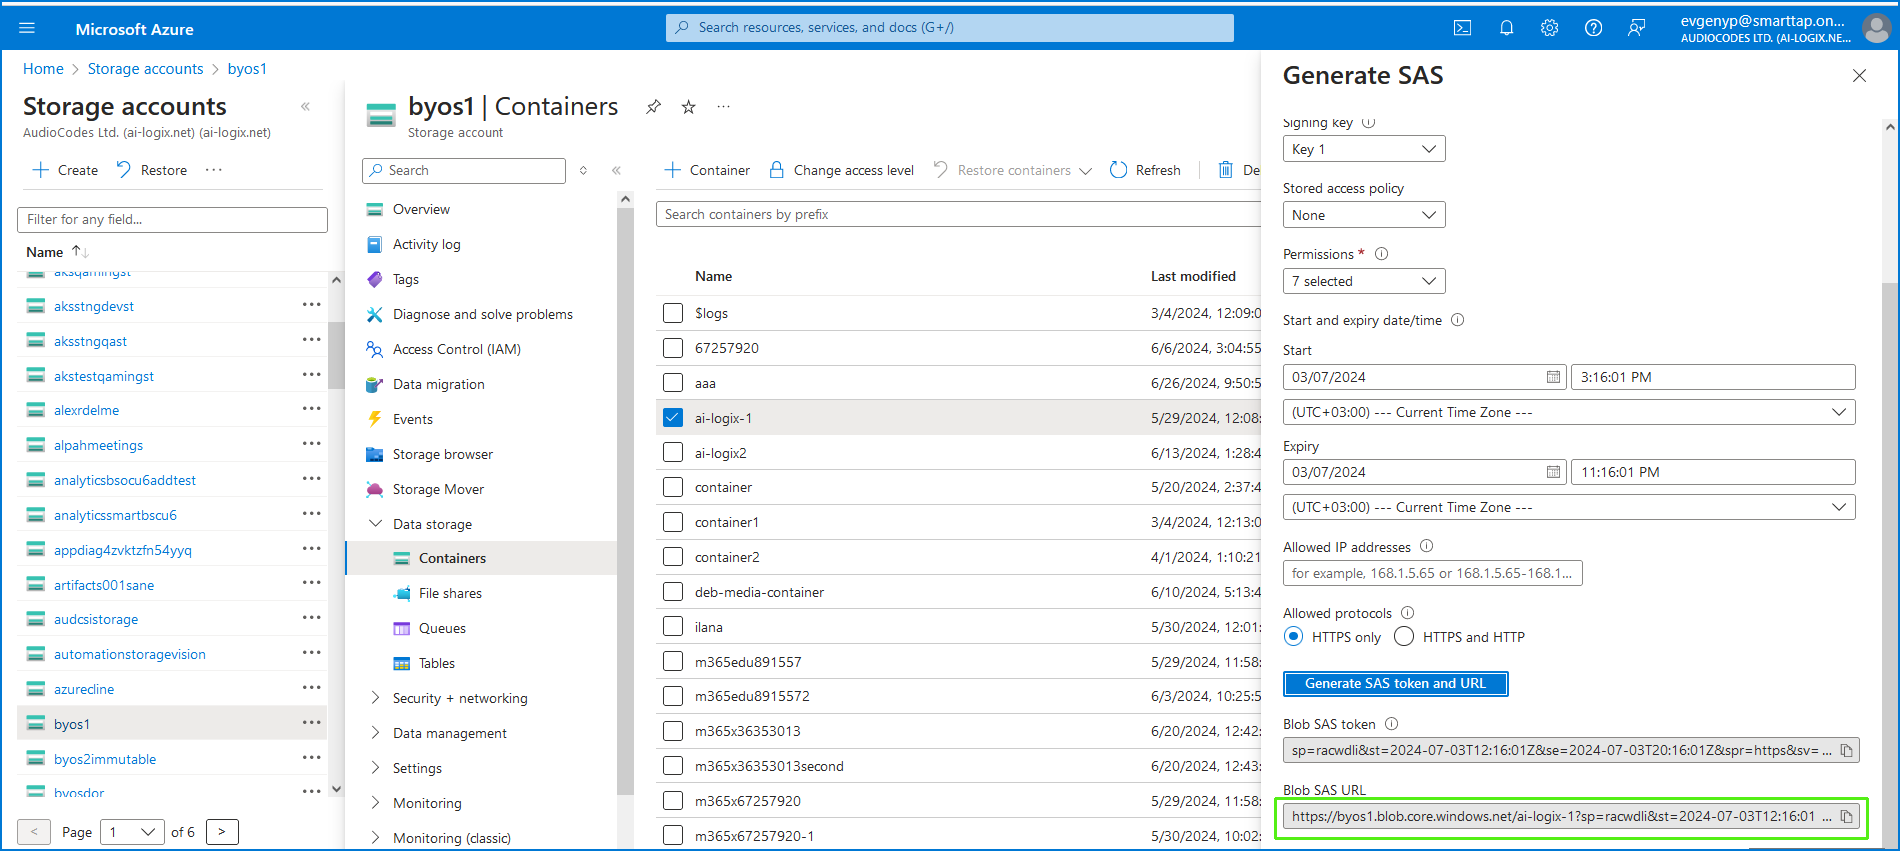
Click Generate SAS token and URL. |
|
8.
|
Copy the Blob SAS URL value to notepad. |
|
9.
|
Return to the Storage page in the Live Platform interface. |
|
10.
|
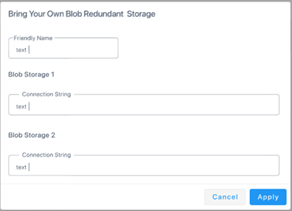
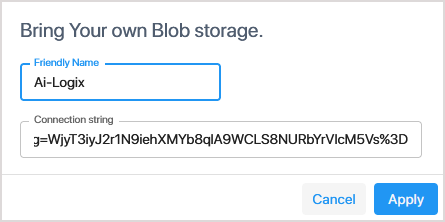
Click Bring Your Own Blob Storage. |
|
11.
|
Enter the name of the Blob storage container. |
|
12.
|
Paste the Blob SAS URL that you copied above to the Connection string field. |
|
13.
|
Click Apply. The new BYOS account is added. |