Create UCaaS Service Provider Tenant
Before you can onboard LiveOp 360 services, you must add a UCaaS Service provider entity to Live Platform under the Service Provider Live Platform tenant. Once this entity is added, you can add additional LiveOp 360 services and other service types under the same UCaaS Service provider.
| ➢ | Do the following: |
| 1. | In the Services page, from the Add Service drop-down, choose Add Service > LiveOps 360. |
| 2. | From the drop-down, select the relevant customer. |
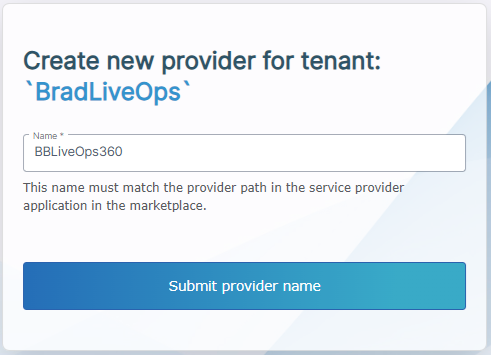
The above page is only displayed when a UCaaS service provider has not yet been added under a specific Live Platform Operation Center portal service provider tenant.
| 3. | Define a name for the UCaaS service provider; verify that the configured name matches the provider name defined in the provider URL path used to connect to the UCaaS server instance. Where <ucaasurl>/<serviceprovidername>: |
| ● | <ucaasurl> is the URL of the UCaaS server instance |
| ● | <serviceprovidername> is the service provider name as defined in Webex Cloud Connect |
| 4. | Click Submit provider name; the Service portal Settings page opens. |
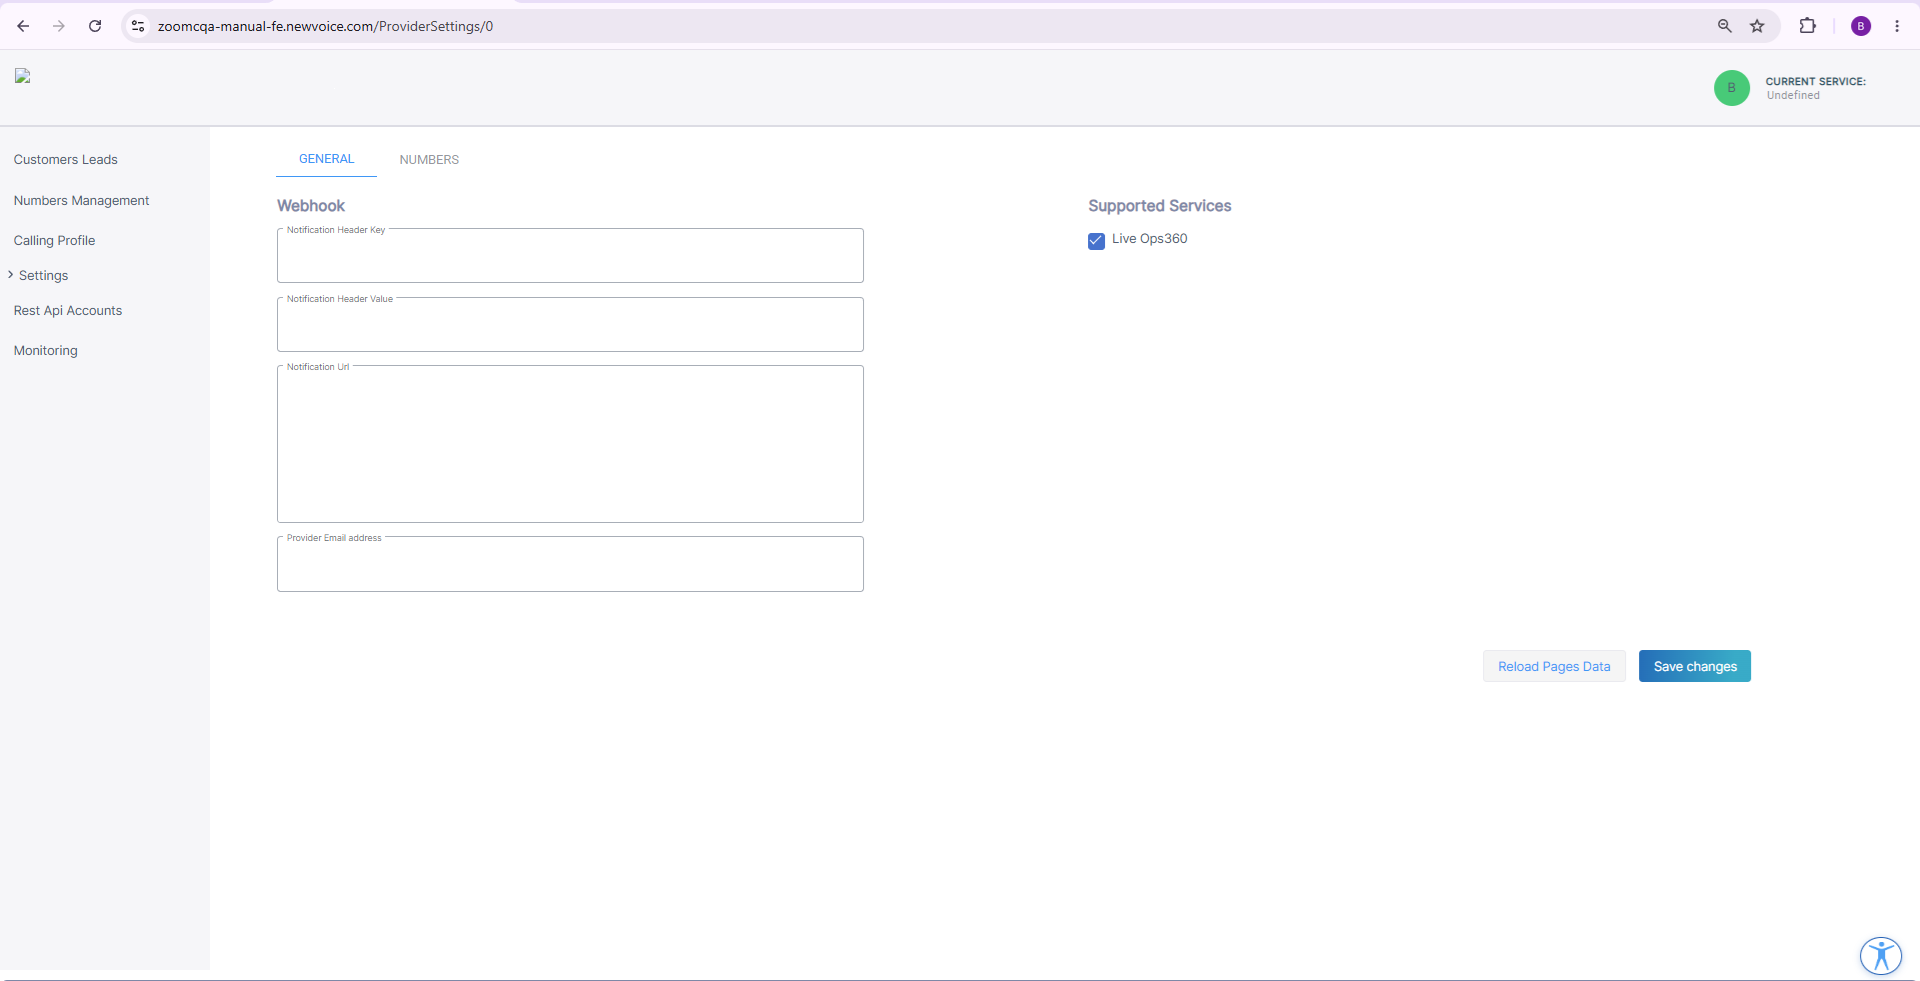
| 5. | Under Supported Services, select Live Ops360 and then click Save Changes. You can also click Reload Pages Data to refresh the page for the specific UCaaS service provider configuration. |
| 6. | Configure parameters according to the table below and then click Save changes. |
| 7. | Click Reload Pages Data to refresh the page for the specific UCaaS service provider configuration. |
|
Parameter |
Description |
|---|---|
|
Notification Header Key |
Header authentication key (header key: runkey) to connect to the destination address. |
|
Notification Header Value |
The passkey in the Header Value. |
|
Show Dialplan Check box |
Shows or hides the Use SBC Dialplan check box in the Upload Number dialog box. |
|
Notification URL |
The destination URL for the HTTP POST. |
|
Reload Pages Data button |
Click to refresh the page. |
|
Supported Services |
Select "Live Ops360" |
| 8. | Configure parameters according to the table below and then click Save Changes. |
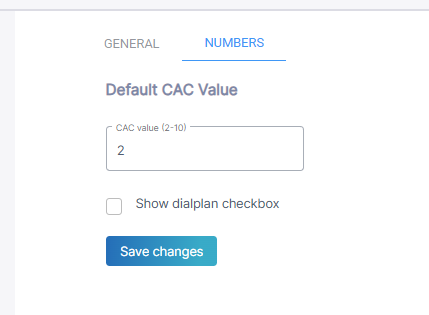
| 9. | Click the Numbers tab, configure parameters according to the table below, and then click Save Changes. |
|
Parameter |
Description |
|---|---|
|
Numbers |
|
|
Default CAC Value |
Enter the Default CAC value for the Number type 'User' (range 2-10). Each number uploaded to Live Platform with Number type 'User' inherits this value (read-only). |
|
Show Dialplan Check box |
Shows or hides the 'Use SBC Dialplan' check box in the Upload Number dialog box. |