Viewing Meeting Recap in List View
You can view the meeting recap of meeting recordings directly from the meeting recordings list view.
If you choose to send a recap by email to participants, Meeting Insights only sends it to internal participants (i.e., members of your organization).
|
➢
|
To view recap from list view: |
|
1.
|
In the Navigation pane, click  All meetings. All meetings. |
|
2.
|
Click either the  icon (if you have run AI) or icon (if you have run AI) or  icon, corresponding to the meeting recording that you want; the Meeting Recap dialog box appears: icon, corresponding to the meeting recording that you want; the Meeting Recap dialog box appears: |
|
3.
|
To perform global operations for the meeting recap: |
|
●
|
To send meeting recap to all participants by email: On the top of the dialog box, click  . . |
|
●
|
To download meeting recap to your computer as a PDF or CSV file: On the top of the dialog box, click  or or  , respectively. , respectively. |
|
●
|
To view meeting recap on Player page: On the top of the dialog box, click Open in player. For more information on managing recap on the Player page, see Managing Meeting Recap. |
|
4.
|
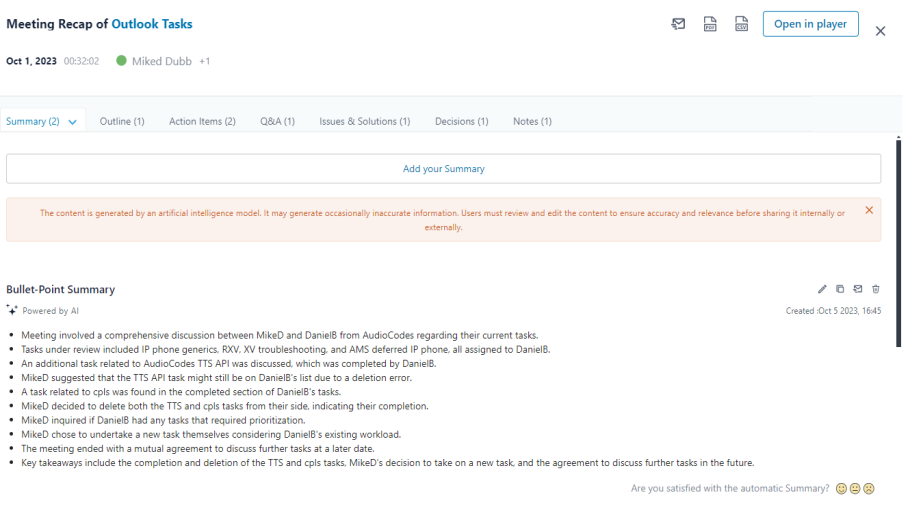
To view the Summary, select the Summary tab: |
|
●
|
To send summery by email: Click the down-pointing arrow on the tab, choose Send, add the people to send it to, and then click Send. |
|
●
|
To copy summery to your clipboard: Click the down-pointing arrow on the tab, and then choose Copy. |
|
●
|
To add a summary: Click Add your Summary, type your summary, and then click Add Summary. |
|
●
|
To manage AI-generated summary (Bullet-Point Summary or Summary): |
|
◆
|
To edit summery: Click  , edit the text as desired, and then click Update. , edit the text as desired, and then click Update. |
|
◆
|
To delete summery: Click  , and then in the confirmation box, click Delete. , and then in the confirmation box, click Delete. |
|
◆
|
To copy summery to clipboard: Click  , and then paste wherever (e.g., in a Word document). , and then paste wherever (e.g., in a Word document). |
|
◆
|
To send summery to email: Click  , add the people to send it to, and then click Send. , add the people to send it to, and then click Send. |
|
◆
|
To provide feedback on your satisfaction with the AI-generated summary: Click  , ,  , or , or  . . |
|
5.
|
To view the Outline, select the Outline tab: |
|
●
|
To copy outline to your clipboard: Click the down-pointing arrow on the tab, and then choose Copy. |
|
●
|
To manage AI-generated Outline: |
|
◆
|
To edit outline: Click , edit the text as desired, and then click Update. |
|
◆
|
To delete outline: Click , and then in the confirmation box, click Delete. |
|
◆
|
To copy outline to clipboard: Click , and then paste wherever (e.g., in a Word document). |
|
◆
|
To provide feedback on your satisfaction with the AI-generated outline: Click , , or . |
|
6.
|
To view Action Items, select the Action Items tab: |
|
●
|
To add an action item: Click New, type the action, assign it to a participant (optional), assign it a due date (optional), and then click Add Action Items. |
|
●
|
To manage AI-generated summary (Bullet-Point Summary or Summary): |
|
◆
|
To approve action items: To approve all AI-generated Action Items, click Approve All. To approve individual Action Items, click the corresponding Approve button. |
|
◆
|
To play action item in video: Click the button that displays the time in the video that relates to the action item. |
|
◆
|
To edit action item: Click , edit the action item as desired, and then click Update. |
|
◆
|
To delete action item: Click , and then in the confirmation box, click Delete. |
|
◆
|
To provide feedback on your satisfaction with the AI-generated summary: Click , , or . |
|
7.
|
To view the Q&A, select the Q&A tab: |
|
●
|
To send Q&A by email: Click the down-pointing arrow on the tab, choose Send, add the people to send it to, and then click Send. |
|
●
|
To copy Q&A to your clipboard: Click the down-pointing arrow on the tab, and then choose Copy. |
|
●
|
To manage AI-generated Q&A: |
|
◆
|
To edit Q&A: Click , edit the text as desired, and then click Update. |
|
◆
|
To delete Q&A: Click , and then in the confirmation box, click Delete. |
|
◆
|
To copy Q&A to clipboard: Click , and then paste wherever (e.g., in a Word document). |
|
◆
|
To send Q&A to email: Click , add the people to send it to, and then click Send. |
|
◆
|
To provide feedback on your satisfaction with the AI-generated Q&A: Click , , or . |
|
8.
|
To view the Issues & Solutions, select the Issues & Solutions tab: |
|
●
|
To send Issues & Solutions by email: Click the down-pointing arrow on the tab, choose Send, add the people to send it to, and then click Send. |
|
●
|
To copy Issues & Solutions to your clipboard: Click the down-pointing arrow on the tab, and then choose Copy. |
|
●
|
To manage AI-generated Issues & Solutions: |
|
◆
|
To edit: Click , edit the text as desired, and then click Update. |
|
◆
|
To delete: Click , and then in the confirmation box, click Delete. |
|
◆
|
To copy to clipboard: Click , and then paste wherever (e.g., in a Word document). |
|
◆
|
To send to email: Click , add the people to send it to, and then click Send. |
|
◆
|
To provide feedback on your satisfaction with the AI-generated Q&A: Click , , or . |
|
9.
|
To view Decisions, select the Decisions tab: |
|
●
|
To add a decision: Click New, type your Decision, and then click Add decision. |
|
●
|
To edit a decision: Click , edit the text as desired, and then click Update. |
|
●
|
To play decision in video: Click the button that displays the time in the video when the decision was added. |
|
●
|
To delete decision: Click , and then in the confirmation box, click Delete. |
|
10.
|
To view Notes, select the Notes tab: |
|
●
|
To add a note: Click New, type your Note, and then click Add note. |
|
●
|
To edit a note: Click , edit the text as desired, and then click Update. |
|
●
|
To play note in video: Click the button that displays the time in the video when the note was added. |
|
●
|
To make a note private or public: Click the Private or Public button, respectively. |
|
●
|
To delete a note: Click , and then in the confirmation box, click Delete. |